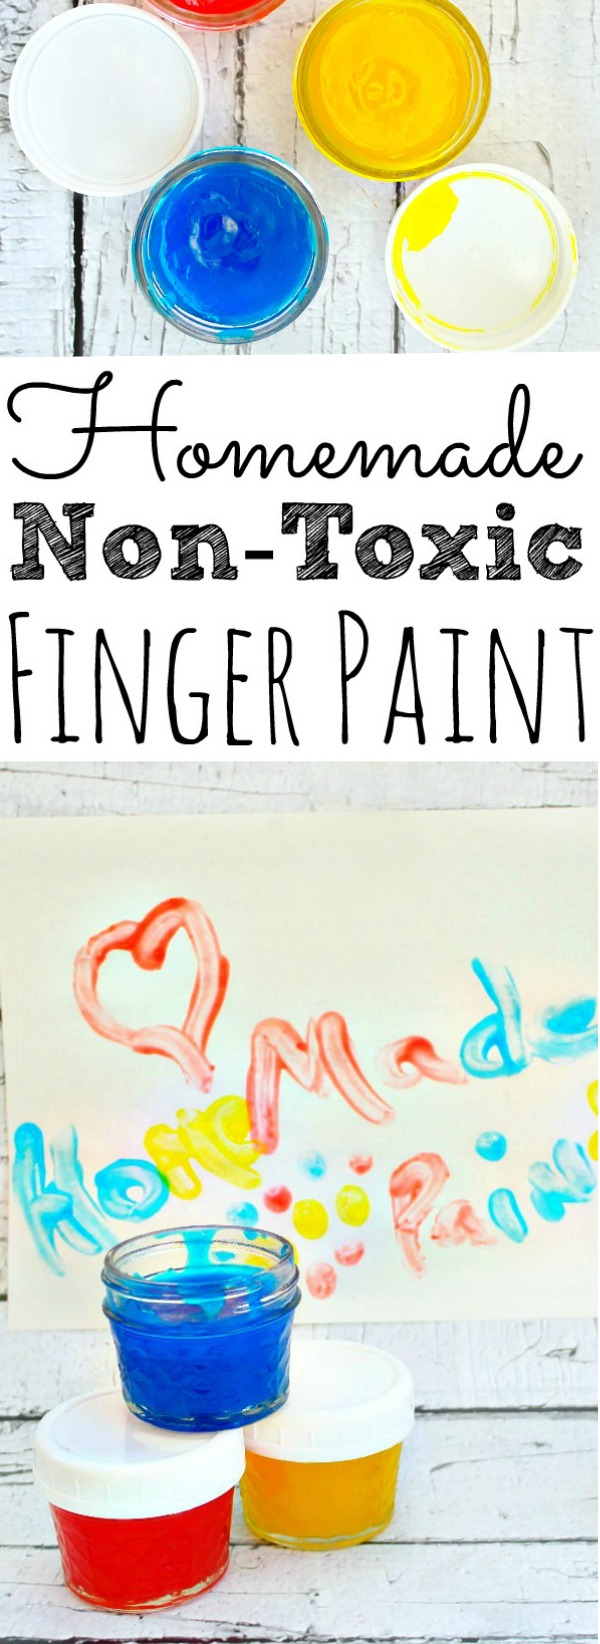
Homemade Finger Paint recipe that is non-toxic, easy to make, and perfect for younger kids to enjoy arts and crafts.
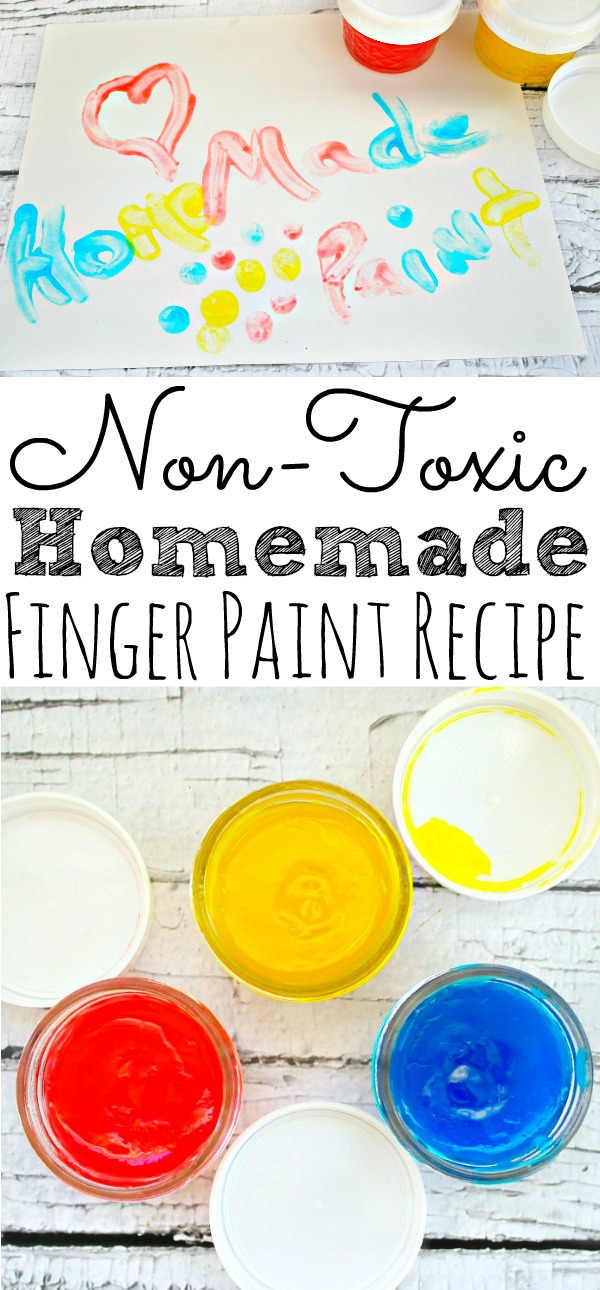
Non-Toxic Homemade Finger Paint
Finger painting is the perfect craft activity for kids to do at home.
This homemade finger paint recipe will only take about 10 minutes to make and because it’s non-toxic the kids can help you step by step.
It’s a great activity to incorporate into your science lessons for the older kiddos and the perfect sensory play activity for younger kids.
Although this paint recipe will only take you about 10 minutes to make, it will keep the kids busy for hours!
Finger paint is such a fun way for kids to express creativity and a great way of changing it up a bit from your crayons and markers.
Plus, I think it’s more fun!
Don’t worry, clean-up is pretty easy too!
This post contains some affiliate links for your convenience (it means if you click on a link and make a purchase I will earn a small commission. It will not cost you a penny more).
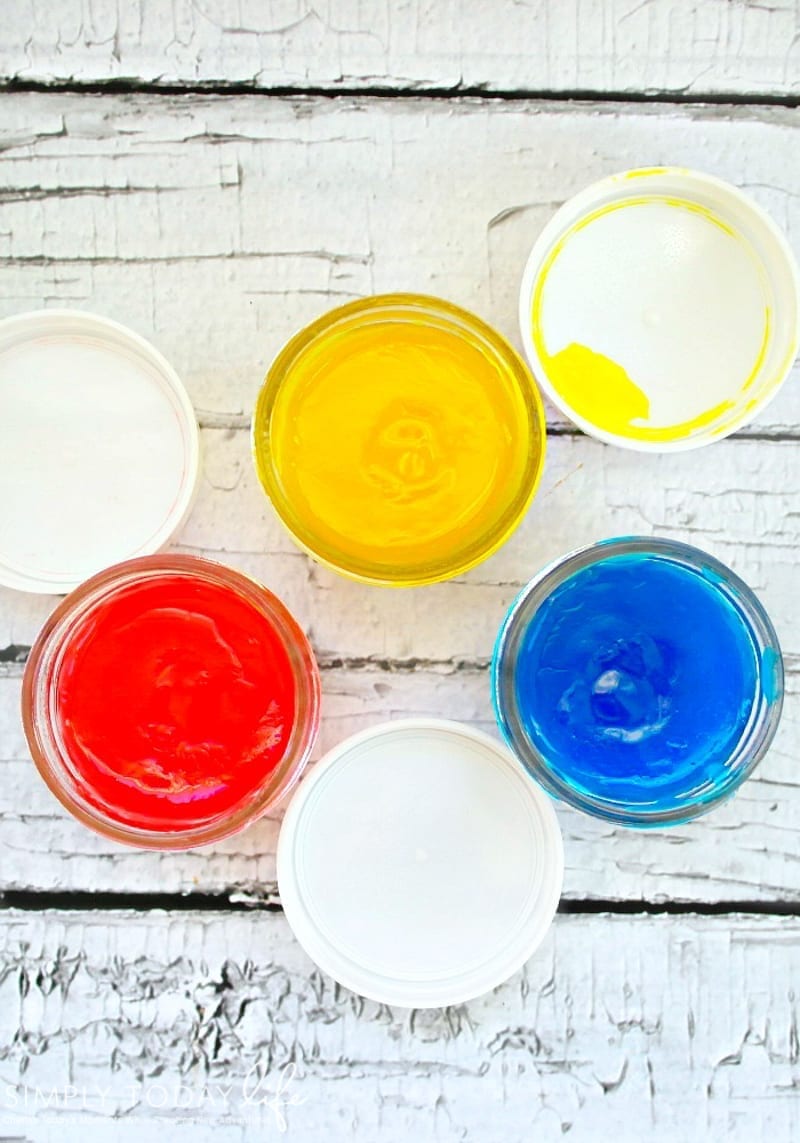
Why Make Your Own Finger Paint
There are tons of finger paint options in stores and available online too, but knowing what ingredients are in your finger paint is important.
Especially if you have younger children and toddlers.
This finger paint is made with all the kitchen ingredients that you would use in recipes.
So, there’s no worrying about the kids putting it in their mouth accidentally or because they are curious.
Who Can Use This Homemade Recipe
The best part about this finger paint recipe is that just about everyone can use it!
- Babies
- Toddlers
- Kids of any age
- Adults
- Food allergy-friendly
- Sensitive skin
Make sure that the ingredients you are using are safe for your child if they have skin sensitivities or food allergies like my daughter has.
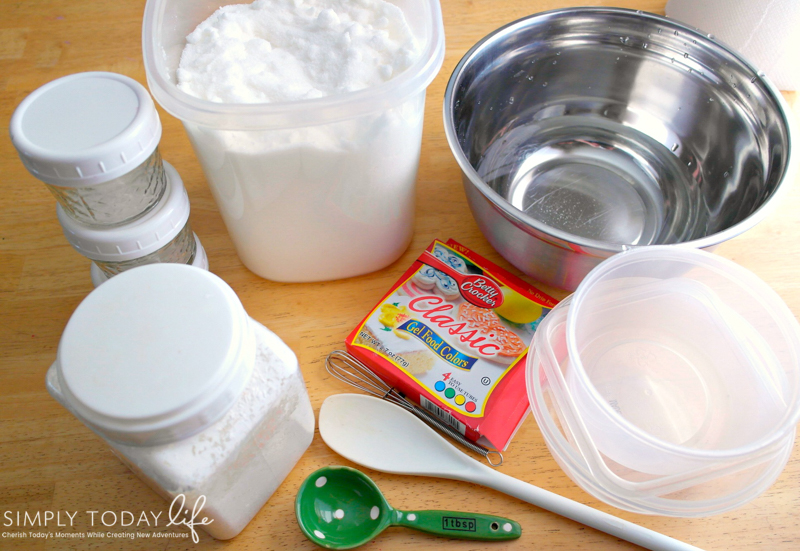
Finger Paint Ingredients
One of my favorite things about making my own batch of finger paint is that I can make as much as I want without going to waste.
The recipe below will make a small batch that will make about 1/3 of a cup of each of 3 colors.
You can easily double if needed!
This is also a non-toxic recipe and is made completely with food ingredients.
- 1 cup of cold water
- 2 tablespoons cornstarch
- 4 tablespoons sugar
- food coloring
- 3 plastic containers or bowls
- 3 Jars with covers (baby food jars work great!)
- small whisk or spoon
- finger paint paper
How To Make Homemade Finger Paint
- In a small container or bowl, combine the sugar and cornstarch.
- Pour into a saucepan.
- Add the water to the saucepan, and mix well.
- Bring the water to a boil slowly using medium-high heat.
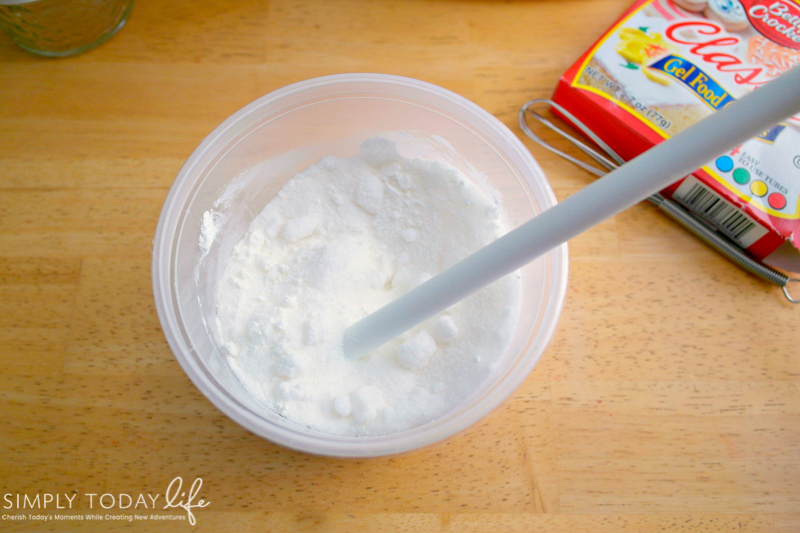
- Whisk continuously so that it does not stick to the bottom or burn.
- As soon as the mixture starts to bubble and thicken, remove the pan from the heat.
- Let cool for about 5 minutes.
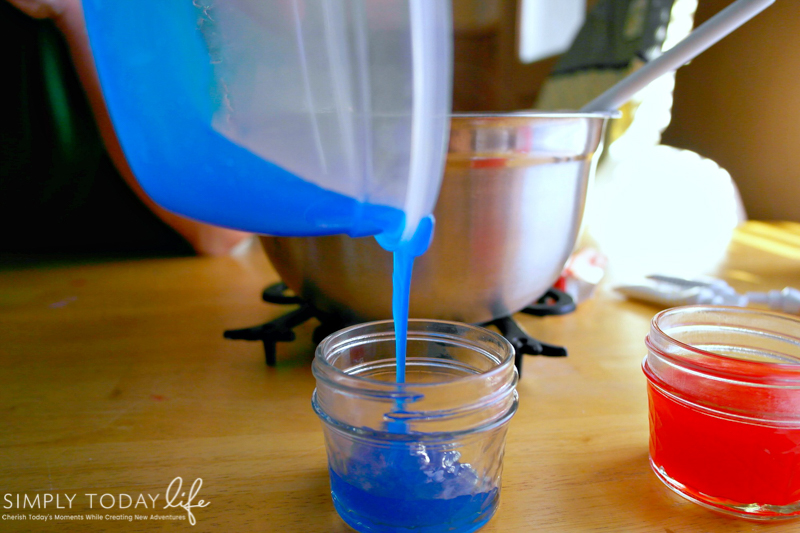
- Add a drop of food coloring to each plastic container or bowl.
- Pour the cornstarch mixture equally into each container.
- Mix well.
- Pour into jars, cover, and let cool completely before using.
As you can see this is a super easy and safe finger paint recipe that is even perfect for toddlers.
Most painting materials for kids contain some sort of chemicals in them and by making your own you know exactly the ingredients used.
I love that this is not only a great fun art activity for kids, but it’s also a great way to introduce older kids to science activities.
Finger Paint Resources
Here are some of my favorite jars and products to use when making our homemade finger paint recipe.
How Long Does Homemade Finger Paint Last
The trick about making sure your finger paint lasts is to keep it in an airtight container.
If you make a large batch I personally like to divide the paint into smaller containers for when the kids are using it.
This way you keep the other part of the batch clean, helping it last longer.
If kept in an airtight container your homemade finger paint can last up to an entire month.
Non-Toxic Store-Bought Finger Paint
Because not everyone has the time to make their own finger paint I’ve put together a list of some non-toxic finger paint options that you can order online.
Homemade Finger Paint
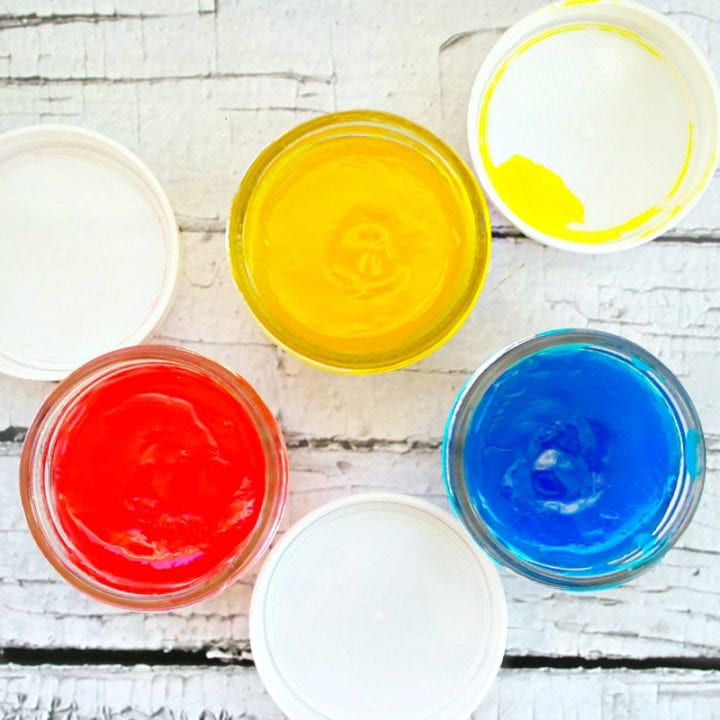
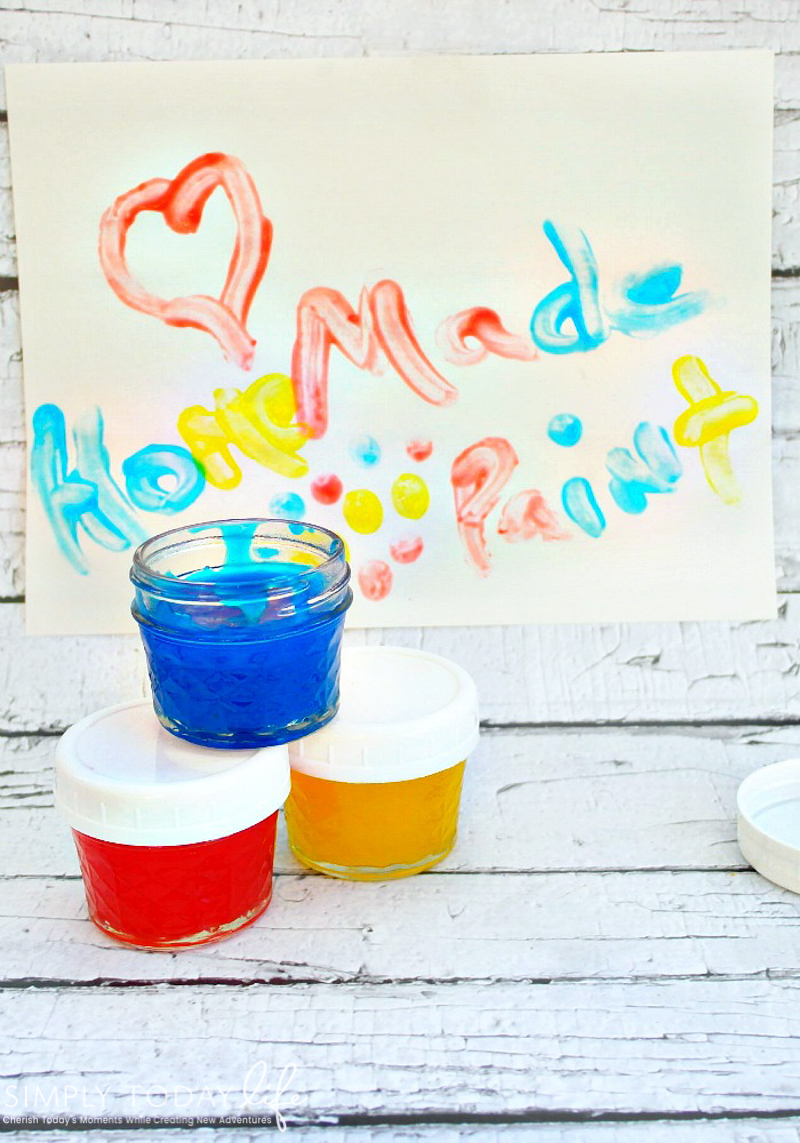
Make this kid-friendly homemade finger paint that is non-toxic and perfect for kids of all ages.
Materials
- 1 cup of cold water
- 2 tablespoons cornstarch
- 4 tablespoons sugar
- food coloring
Tools
- 3 plastic containers or bowls
- 3 Jars with covers (baby food jars work great!)
- small whisk or spoon
- finger paint paper
Instructions
- In a small container or bowl, combine the sugar and cornstarch.
- Pour into a saucepan.
- Add the water to the saucepan, mix well.
- Bring the water to a boil slowly using medium-high heat.
- Whisk continuously so that it does not stick to the bottom or burn.
- As soon as the mixture starts to bubble and thicken, remove the pan from the heat.
- Let cool for about 5 minutes.
- Add a drop of food coloring into each plastic container or bowl.
- Pour the cornstarch mixture equally into each container.
- Mix well.
- Pour into jars, cover and let cool completely before using.
You Are Also Going To Love:
If you loved making this Non-Toxic Homemade Finger Paint recipe, then you will also love the following craft ideas I have put together for you:
Have you ever tried making your own finger paint?

Mine came out very watery. What did I do wrong?
Hi, Hannah! Thank you so much for stopping by! I would add more cornstarch to the recipe. Add a little at a time and mix. The consistency should thicken up a bit. I hope this helps! Let me know if you have any other questions 🙂
Thank you for including adults in your list of who can use this recipe. Adults need sensory play too! 🙂