An easy Paper Plate Snowy Owl kids craft perfect for an arctic unit lesson! Plus, check out some more winter Paper Plate Crafts we have created.
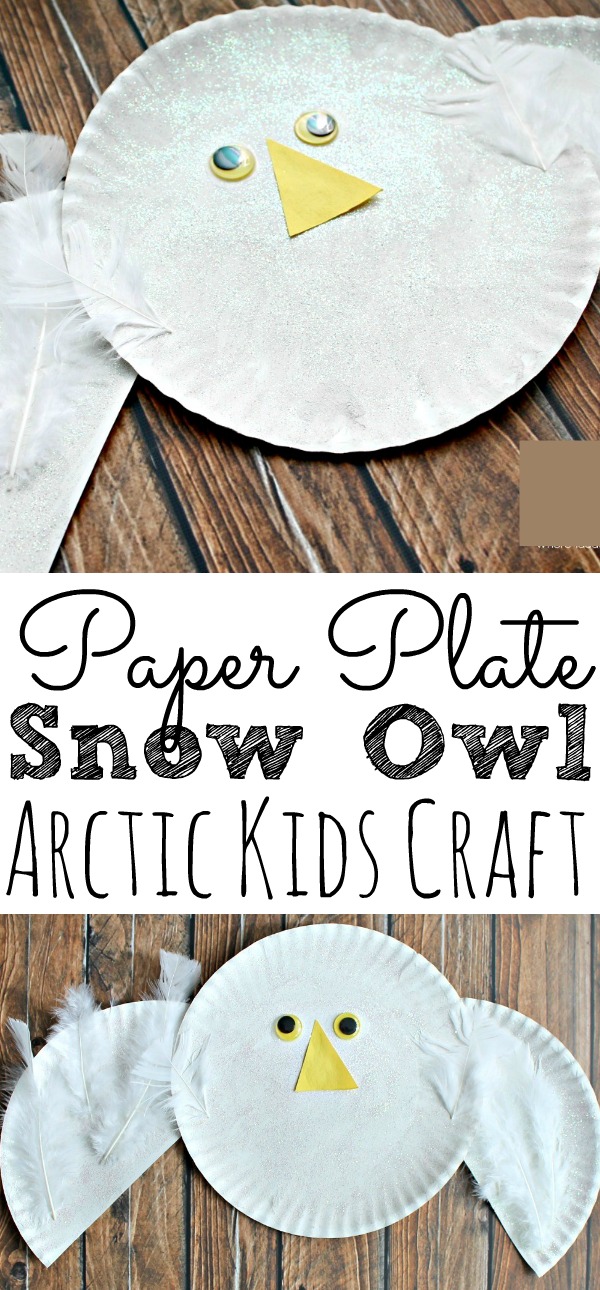
Paper Plate Snowy Owl Kids Craft
We have been studying Arctic animals this week and the girls have really been enjoying learning about how different animals live.
One of the animals we have been learning about has been the Snowy Owl, so we decided to make a fun craft to go along with our unit.
Crafts are a great way to keep the kiddos busy during the winter months.
This easy snow owl craft will be perfect for the kids whether they are still waiting to go back to school or they are learning about Arctic animals.
It’s a simple craft created with paper plates, paint, and feathers.
I bet your kids or students would love making these owls during the cold winter months.
This post contains affiliate links.
Materials Needed To Make Paper Plate Owl
Below you will find all of the materials needed to create this kids owl craft.
Plus, a link to all the resources right on Amazon so it gets shipped straight to your door!
- 3 Paper plates
- Googly eyes
- Orange or yellow construction paper
- Feathers in white
- White paint
- Silver or white glitter
- Scissors
- Craft glue
How To Make a Paper Plate Snow Owl Craft
Crafting is such a great way to allow kids to learn about animals in a fun way.
- Cut one of your paper plates in half. These will be the owl’s wings.
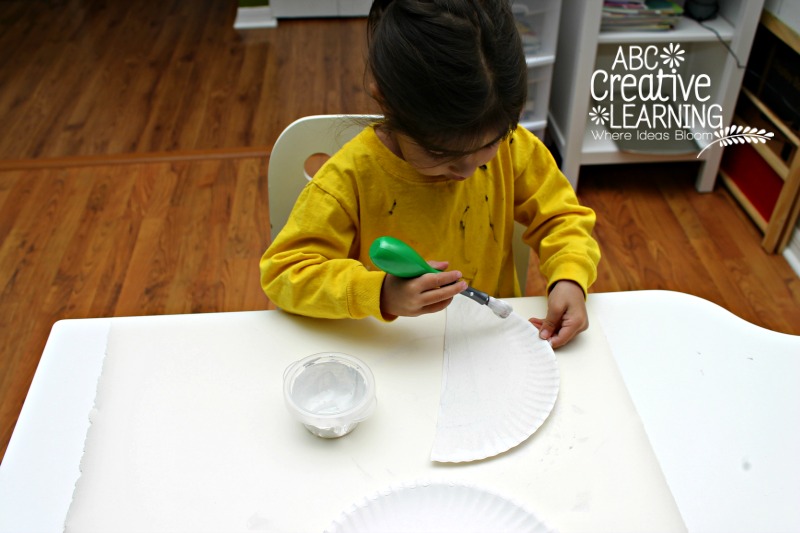
- In a small container add some white paint and lots of white glitters. Mix together.
- Go ahead and let your kiddos paint all three paper plate pieces completely. Even though the paper plates are already white, we really liked how the glitter shimmers against the white paint. You could also just add clear glue and white glitter, instead of the white paint.
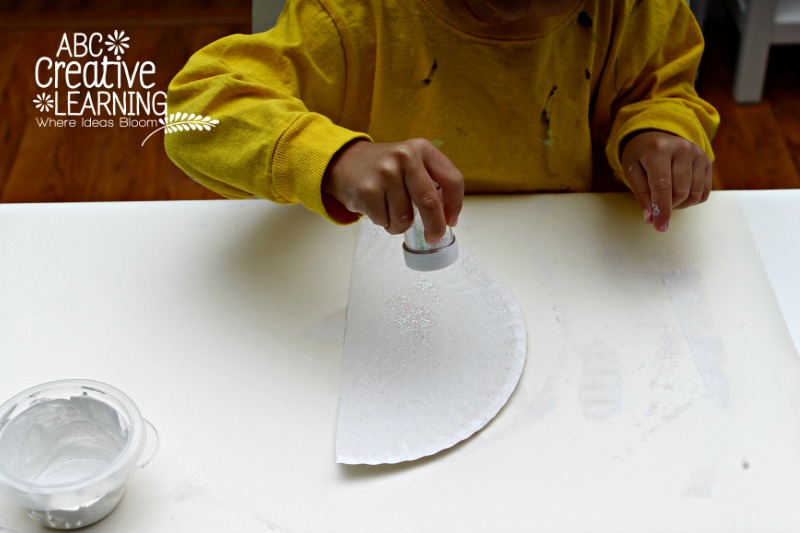
- For an extra shimmer effect sprinkle more glitter over the painted paper plates before setting aside to dry.
- Shake excess glitter off over the trash or a piece of paper. This way you are able to put it back in its container without wasting supplies.
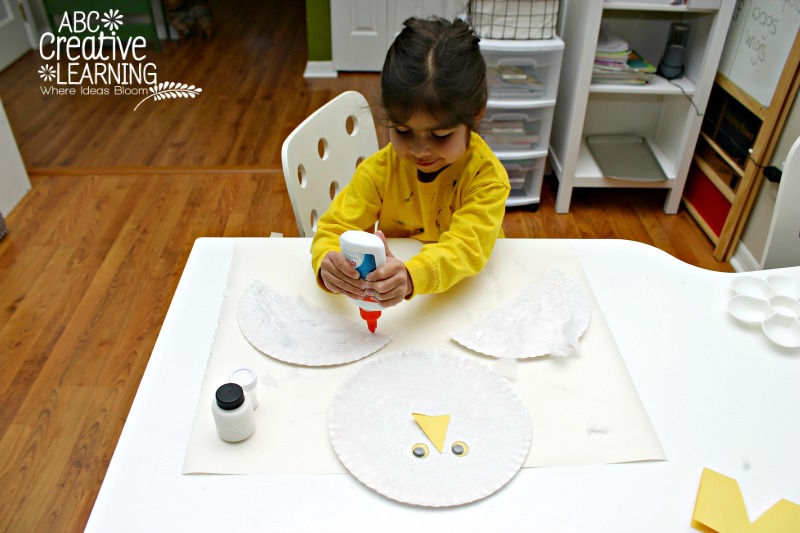
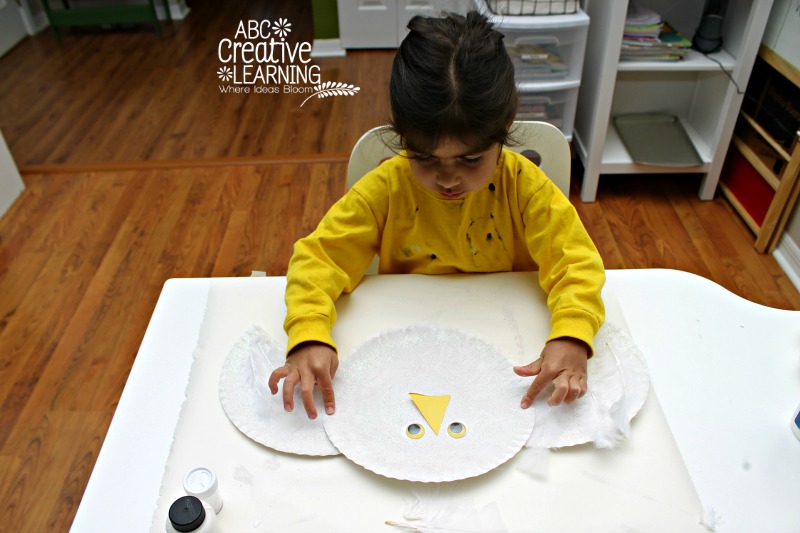
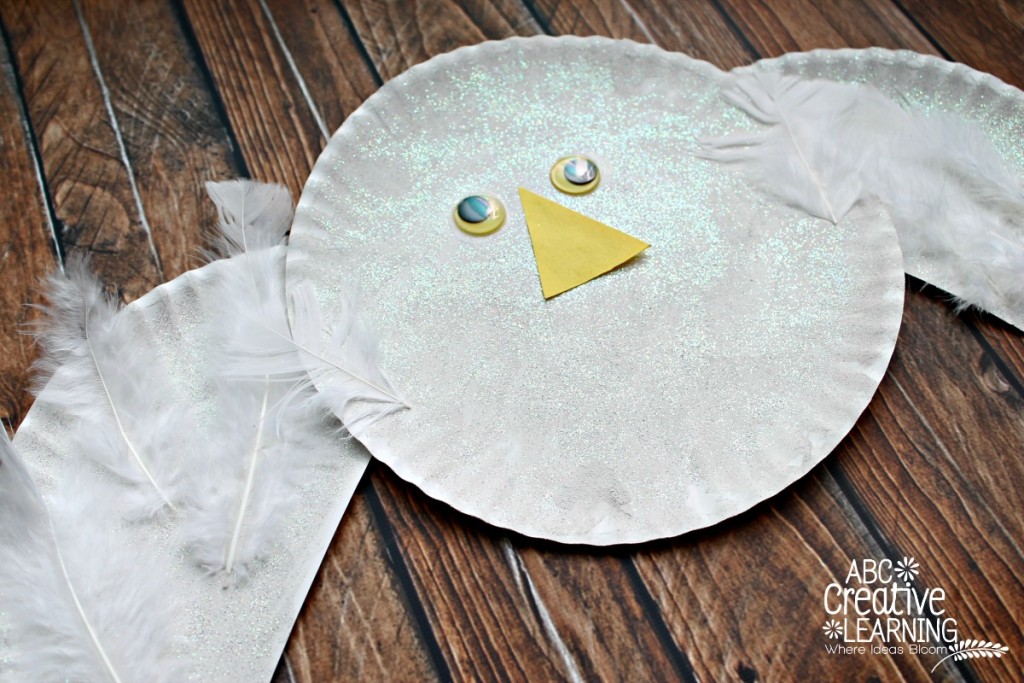
- Glue down the owl’s beak and eyes on the full plate. As you can see our beak is upside down, but this is how my little artist wanted it, so I let it be.
- For the two half plates, have your child glue on their white feathers.
- Allow drying for a few hours before attaching the owl’s wings.
- To attach the owl’s wings you can have your child either glue down the wings.
Tip: You could also attach the wings with brackets.
This would allow the owl’s wings to move up and down.
If you decide to add the brackets to your own owl, go ahead and cover them with a few pieces of white feathers.
Books About Snow Owls We Love
One of the things that my girls love more than crafts is reading.
So I thought I would share our favorite Snow Owl books that would be perfect when making your Paper Plate Snowy Owl Craft.
- Little Owl’s Snow
- Snowy Owls
- Snowy Owls – Animals That Live In The Tundra
- A Snow Owl Story
- Snow Owls Are Awesome
- Little Owl’s Night
So I believe this Arctic snow owl turned out so cute and the girls loved playing with them around the house.
It was the perfect craft while learning about Arctic animals and their habitats.
Plus, don’t forget all of the skills kids are working on when creating with their hands like fine motor skills and creativity!
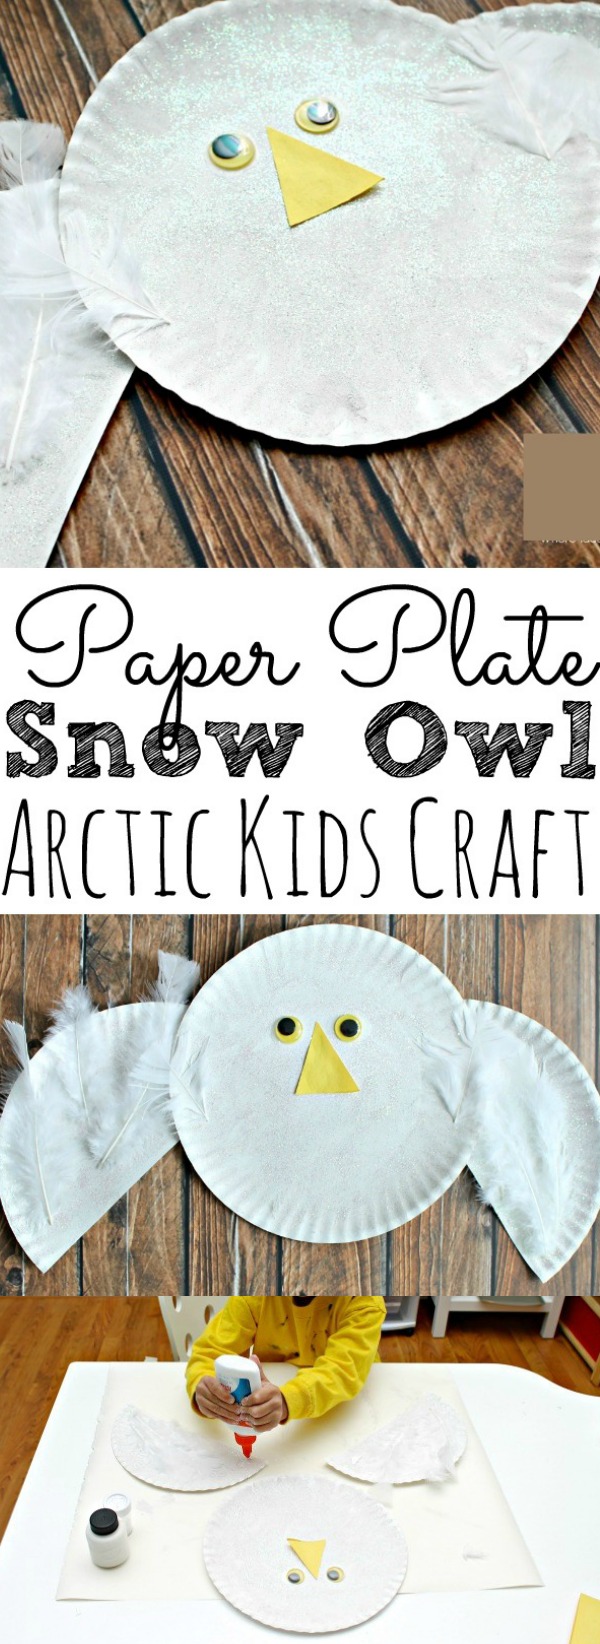
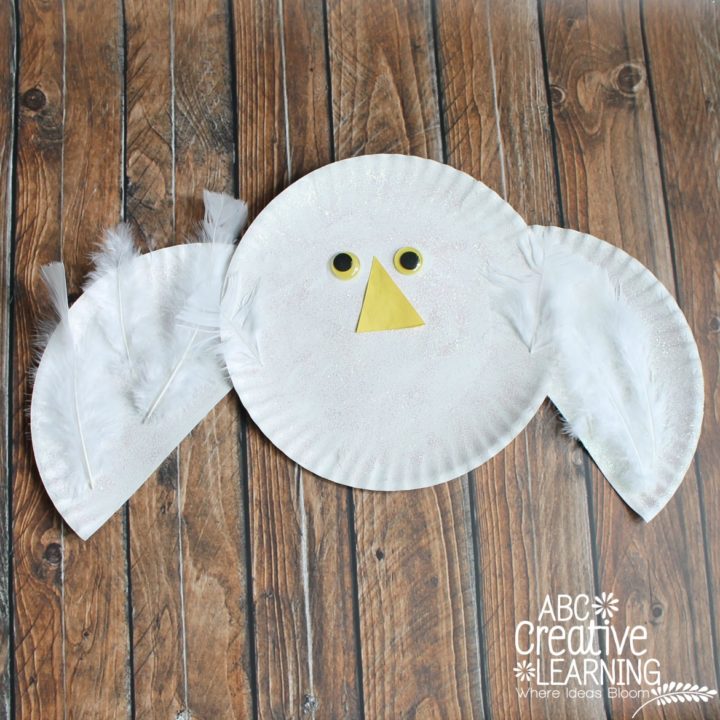
Paper Plate Snow Owl Kids Craft
Learning about Arctic animals? Create this fun Snowy Owl Paper Plate Crafts kids will love! Easy to make and perfect for an Arctic unit.
Materials
- 3 Paper plates
- Googly eyes
- Orange or yellow construction paper
- White feathers
- White paint
- White glitter
Tools
- Scissors
- Craft glue
- Paint Brushes
Instructions
- Cut one of your paper plates in half. These will be the owl’s wings.
- In a small container add some white paint and lots of white glitters. Mix together.
- Go ahead and let your kiddos paint all three paper plate pieces completely. Even though the paper plates are already white, we really liked how the glitter shimmers against the white paint. You could also just add clear glue and white glitter, instead of the white paint.
- For an extra shimmer effect sprinkle more glitter over the painted paper plates before setting aside to dry.
Shake excess glitter off over the trash or a piece of paper. This way you are able to put it back in its container without wasting supplies. - Glue down the owl’s beak and eyes on the full plate. As you can see our beak is upside down, but this is how my little artist wanted it, so I let it be.
- For the two half plates, have your child glue on their white feathers. Allow drying for a few hours before attaching the owl’s wings.
- To attach the owl’s wings you can have your child either glue down the wings.
Notes
Tip: You could also attach the wings with brackets. This would allow the owl’s wings to move up and down. If you decide to add the brackets to your own owl, go ahead and cover them with a few pieces of white feathers.
More Winter Crafts For Kids
If you loved this Paper Plate Snowy Owl Kids Craft, then you will also love the following winter arctic crafts I have put together for you:
What is your child’s favorite arctic animal?


I love this! Paper plate crafts are the best 🙂 Thanks for joining in with Tuesday Tutorials #pintorials
I love paper plate crafts! This is so cute! Thanks for sharing it!
Hi, of course this paragraph is genuinely nice and I have learned lot of things from it concerning blogging.
thanks.