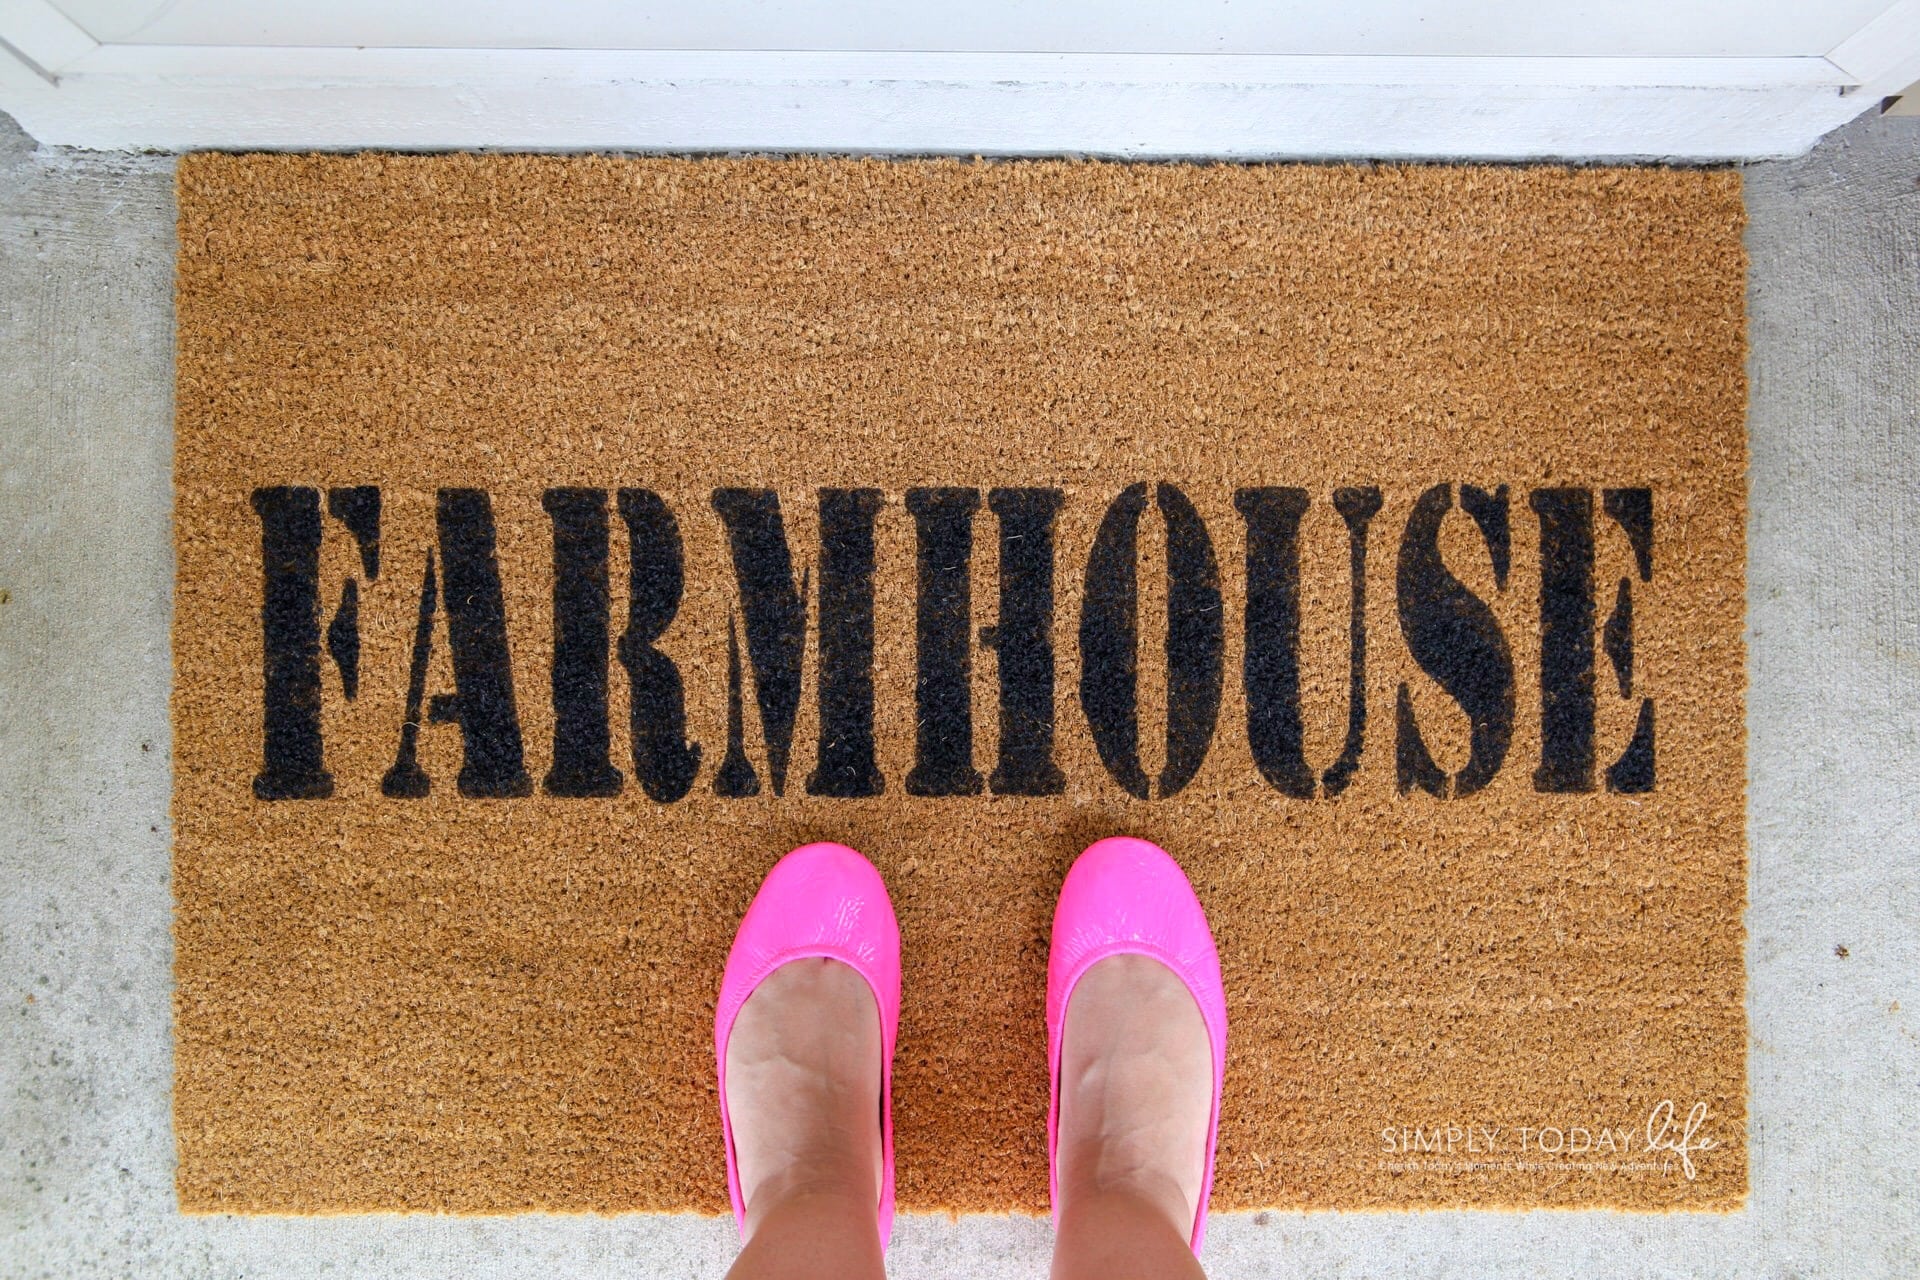
I created this custom doormat with chalk paint tutorial to ease my budget-friendly home decor needs! The best part about this budget-friendly home craft is that you don’t even need a cutting machine and easily spruces up your front entrance.
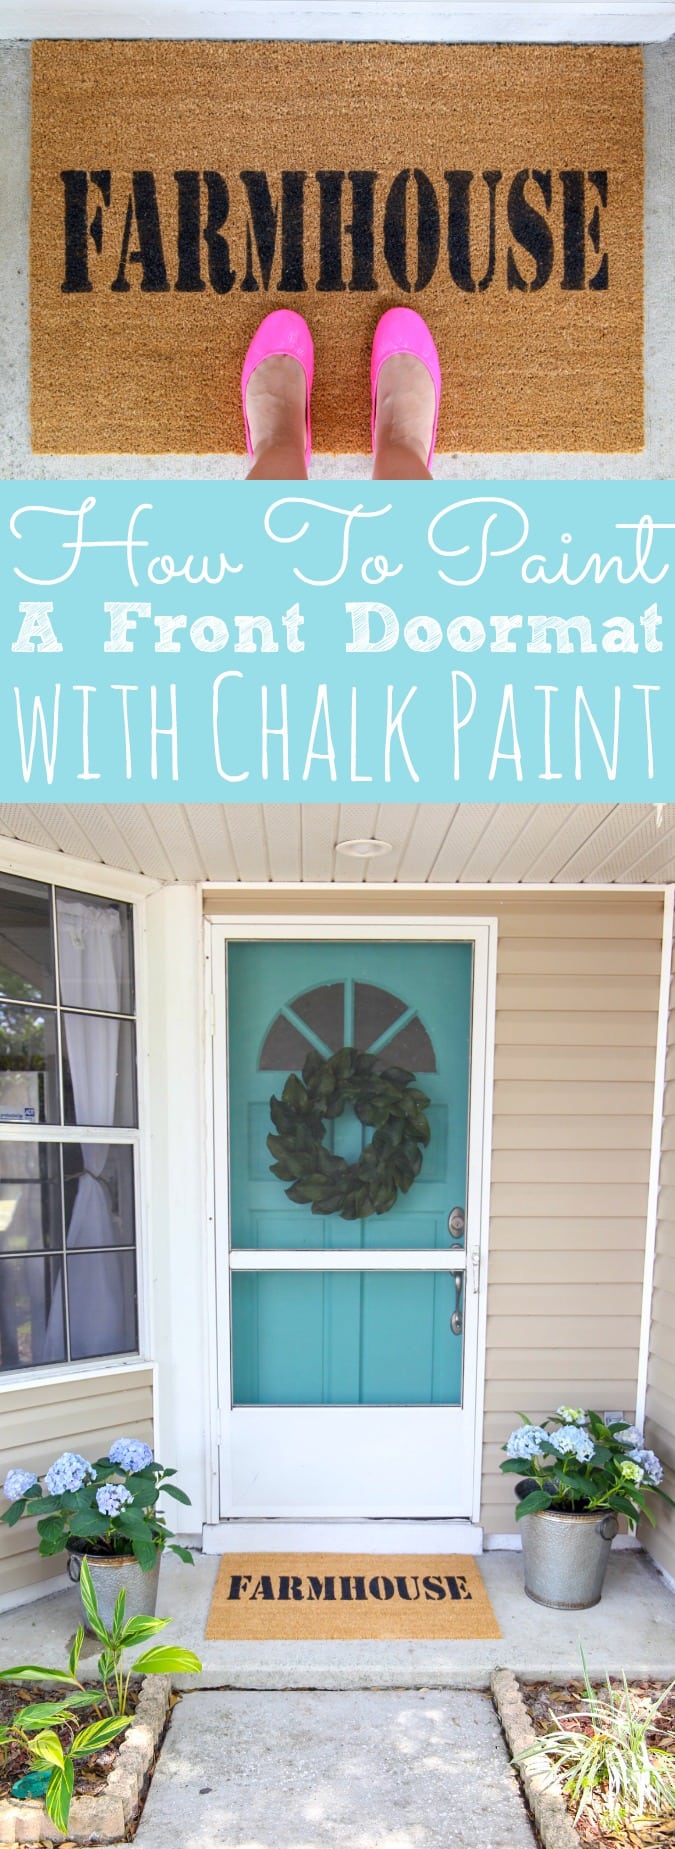
How To Paint A Custom Doormat With Chalk Paint
My husband often tells me that I have great ideas for crafts and if you follow the blog then you know I love creating kid-friendly crafts. In fact, it’s what the blog was mainly about a few years ago, but my creative side has been wanting me to do some home renovations and home DIY crafts. I will admit that I may be having way too much fun with all the home crafting!
This post may contain commissioned affiliate links.
I’ve been dying to create a custom doormat for our home using chalk paint. Especially because I couldn’t find anything I liked on a reasonable budget. Everything I wanted I needed a cutting machine to help me with my lettering. Then a light bulb went off. I can totally do this myself! My husband, amazing that he is, agreed with me! So, today I’m bringing you all how I created my personalized DIY front doormat.
Let’s get started!
Materials Needed For Painted Doormat
- Front Doormat (I got mine at IKEA for super cheap!)
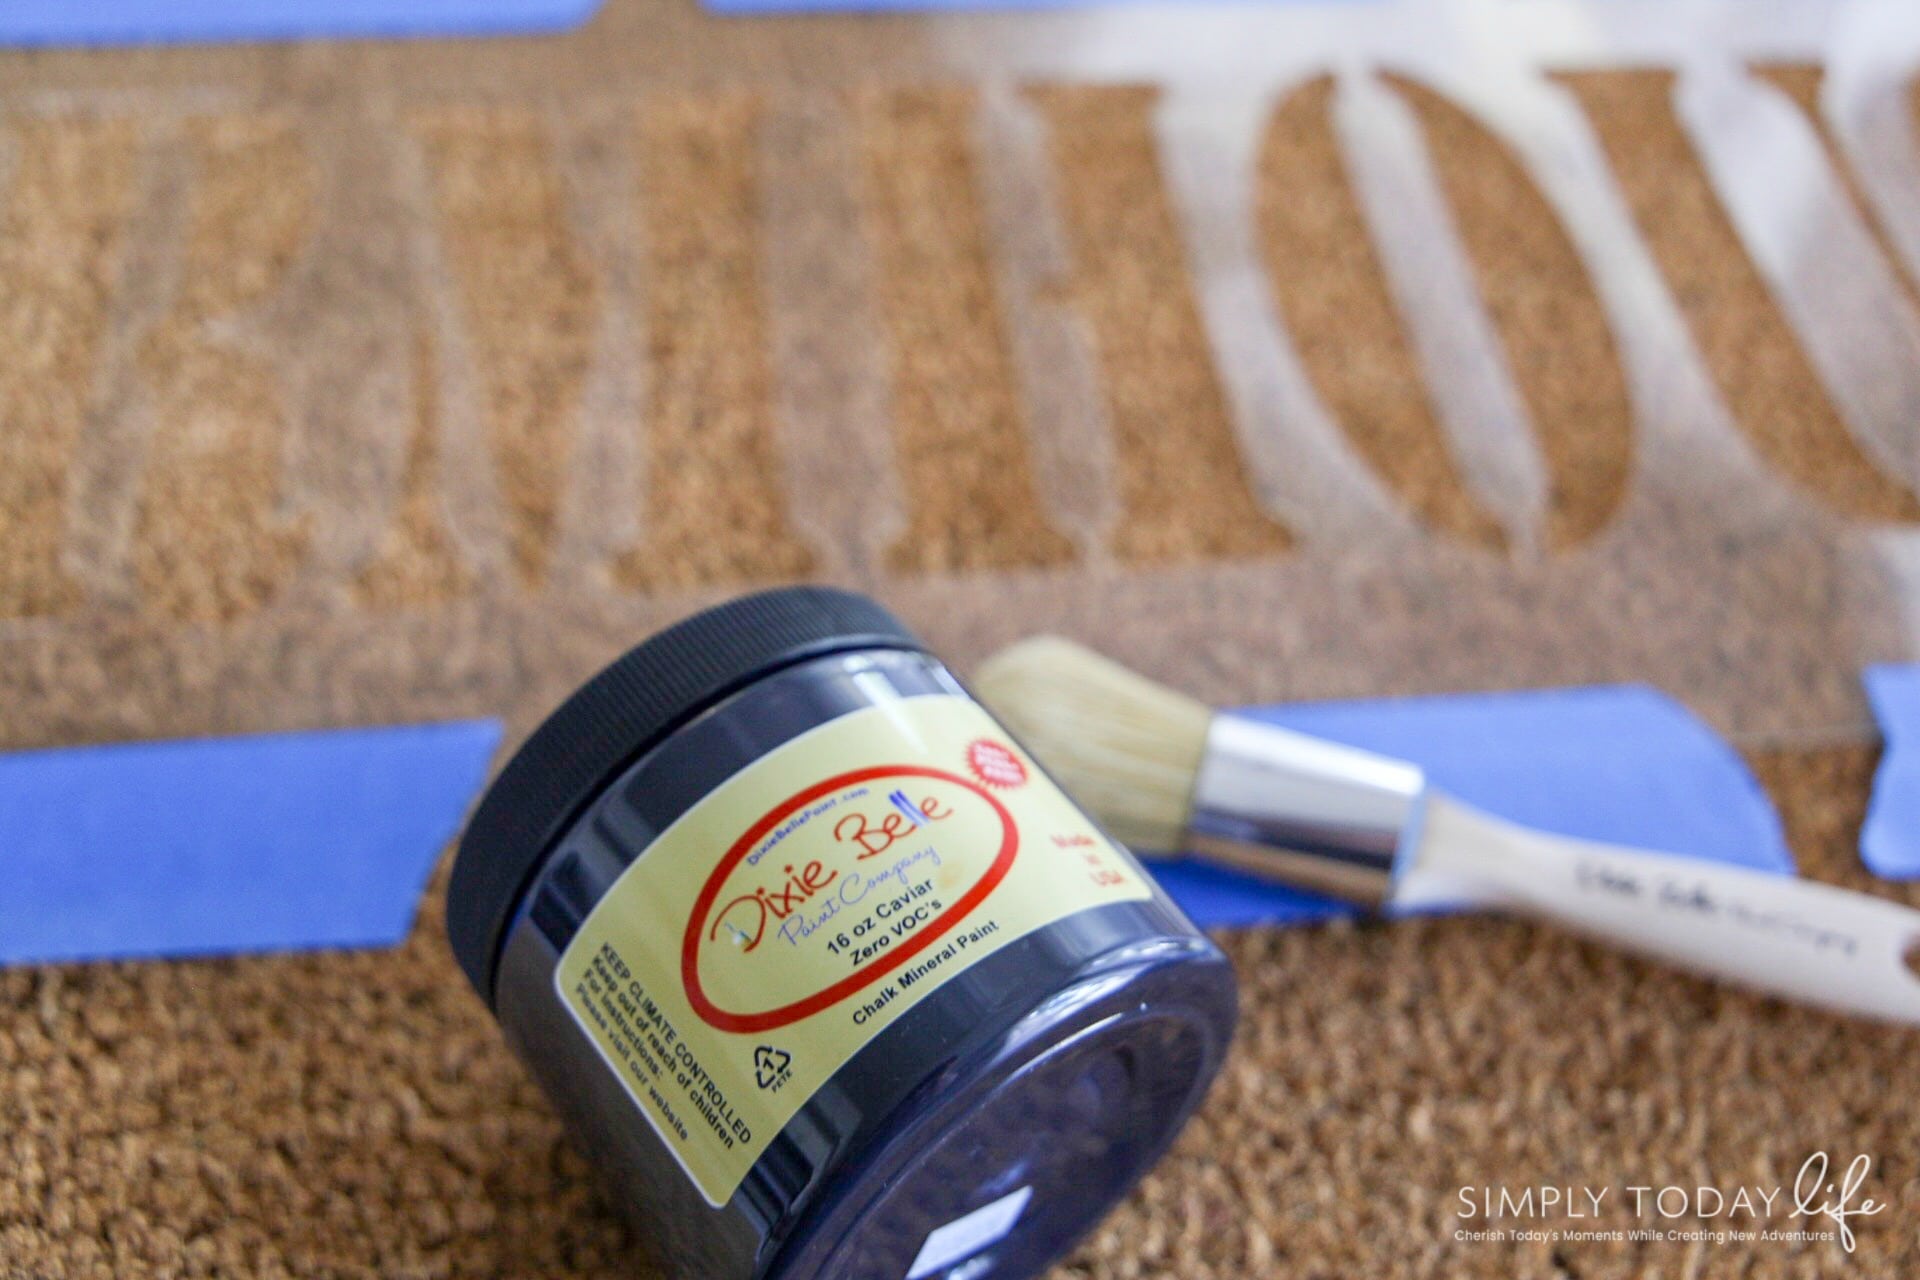
- Chalk Paint Paint in Caviar
- Paint Brush
- Easy Peasy Wax Finish Spray
- Stenciling
- Painters Tape

How To Create A DIY Painted Doormat
Once you have figured out what you want your doormat to say, you need to pick the perfect size mat. There are tons of sizes. Don’t do what I did and purchase your mat first. The design I had chosen would not fit on my mat and now I’m waiting for my new mat to arrive. Which will be going on our back porch.
You then want to find the perfect decor stencil or to make your own purchase a set of stencils. Don’t worry if they are paper. You can easily laminate any type of stencils and then use an X-Acto knife to cut out the center areas. Luckily I found exactly the stencil design I was looking for with Dixie Belle and I was super excited to get started!
Painting Your Mat With Chalk Paint
I found that the easiest way to keep the stencil centered and to keep it in place was to use painters tape. The painter’s tape will keep your stencil from sliding around when you are painting the letters, plus it doesn’t ruin your new mat.
- Tape down your stencil
- Dab paint on each letter. I noticed that when I brushed the paint on it wouldn’t sit properly, but when I dabbed the paint on it was darker and penetrated the mat perfectly.
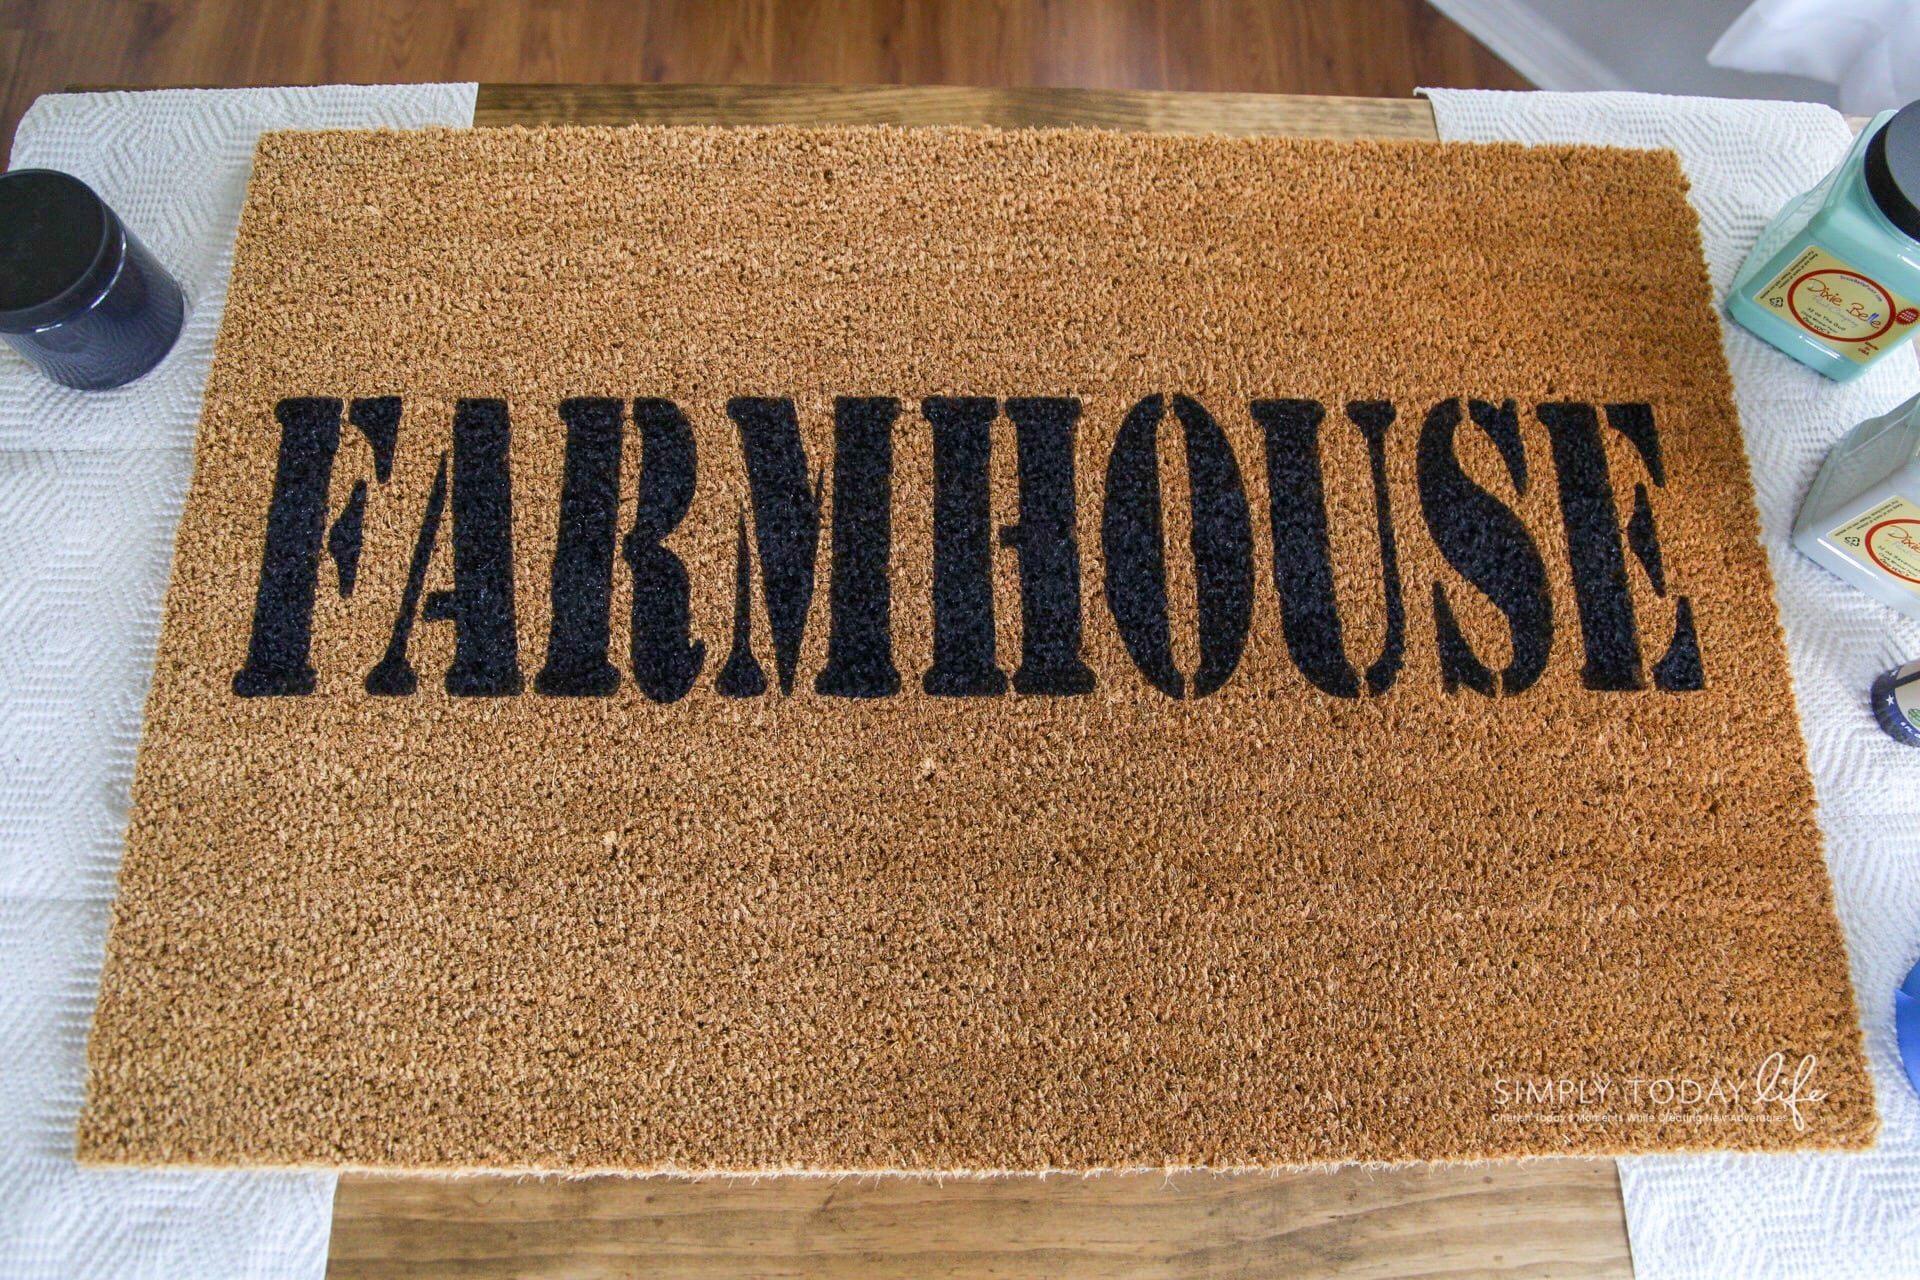
- Once you finished painting all of your letters gently remove the stenciling from the mat.
- Take the stencil outdoor and clean off the paint.
- Allow your mat to dry for 24 hours.
- Spray some of the Dixie Belle Wax Finish Spray to protect the letters.
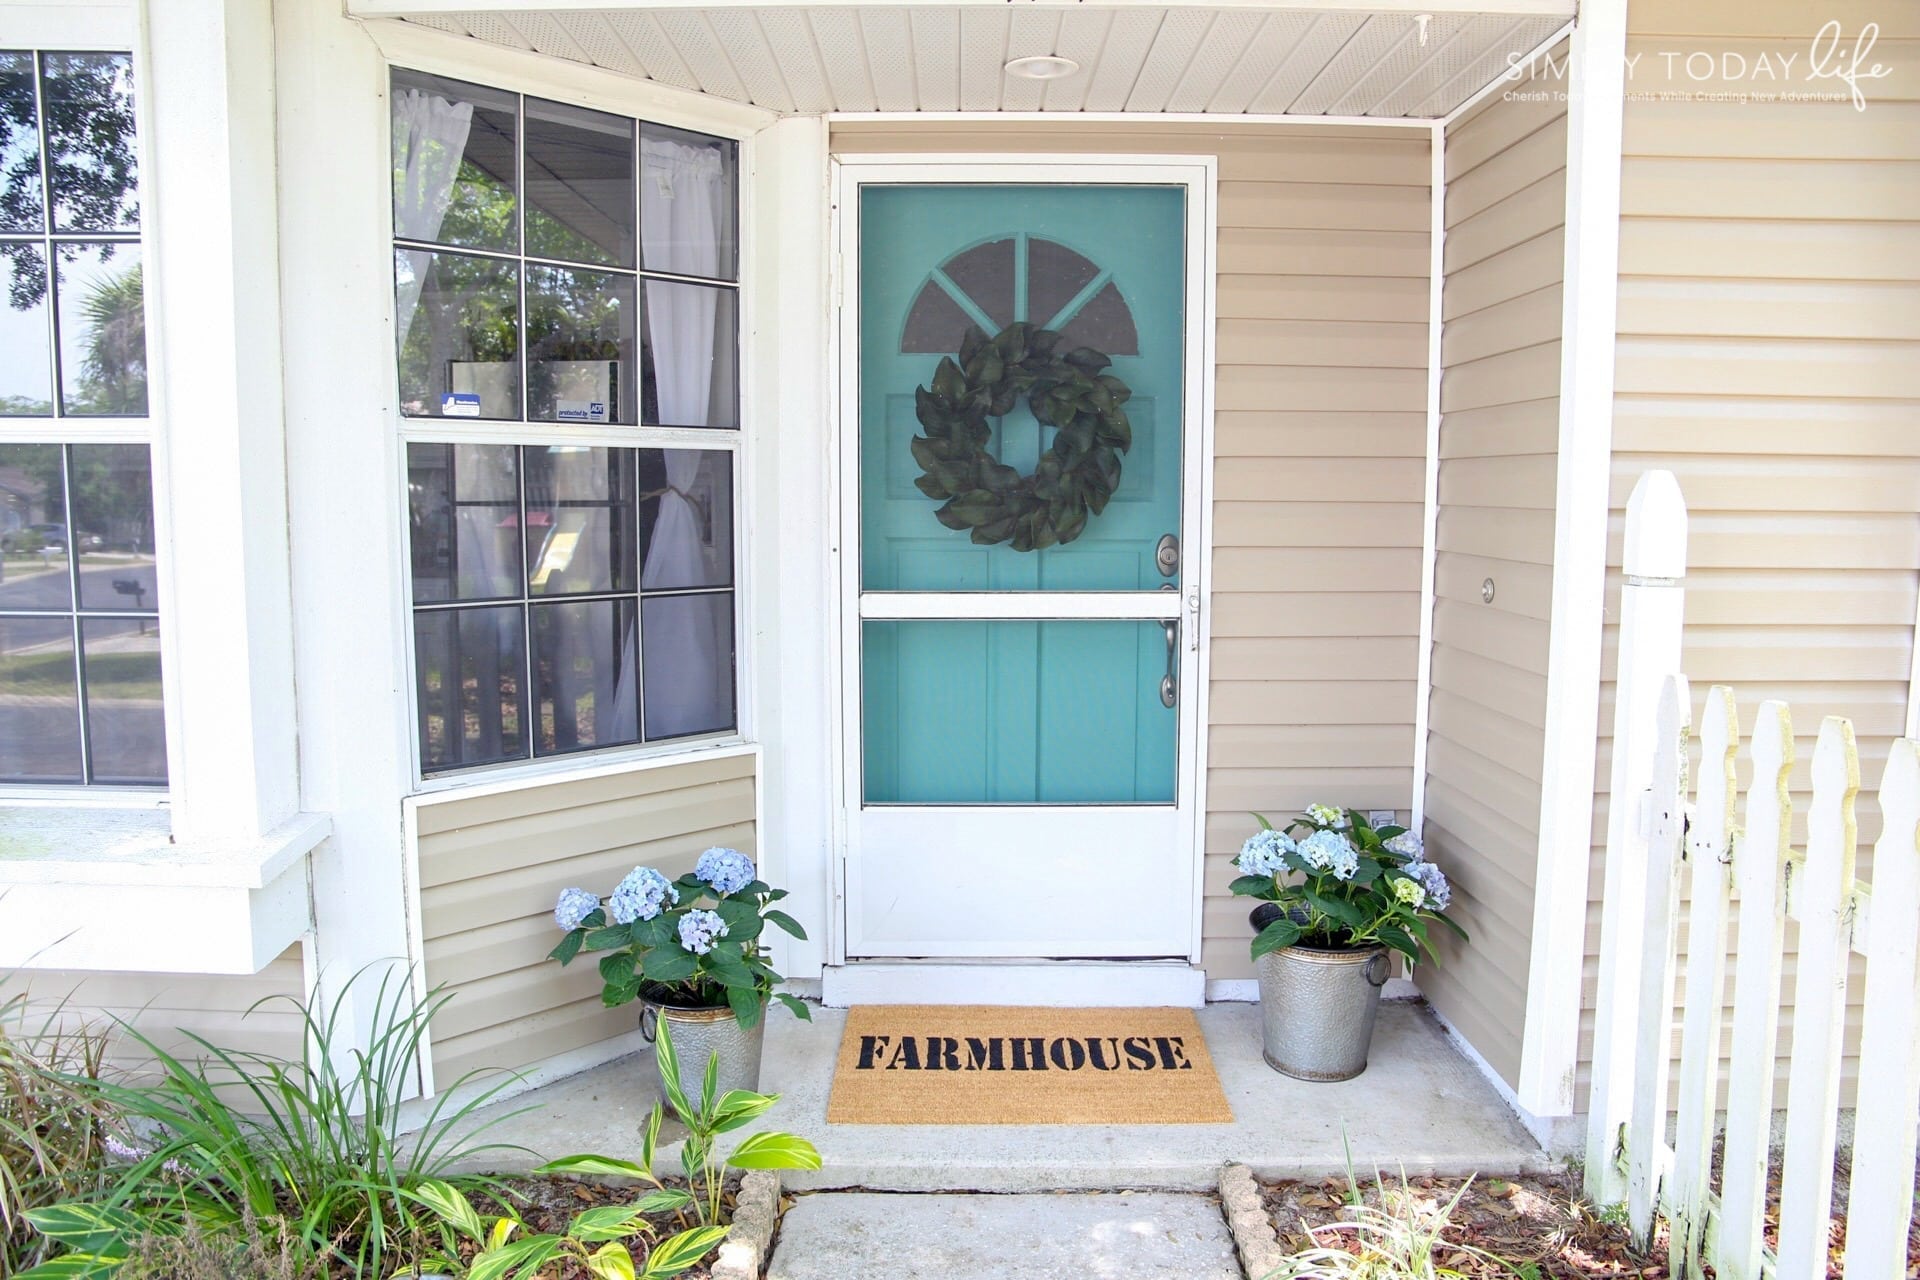
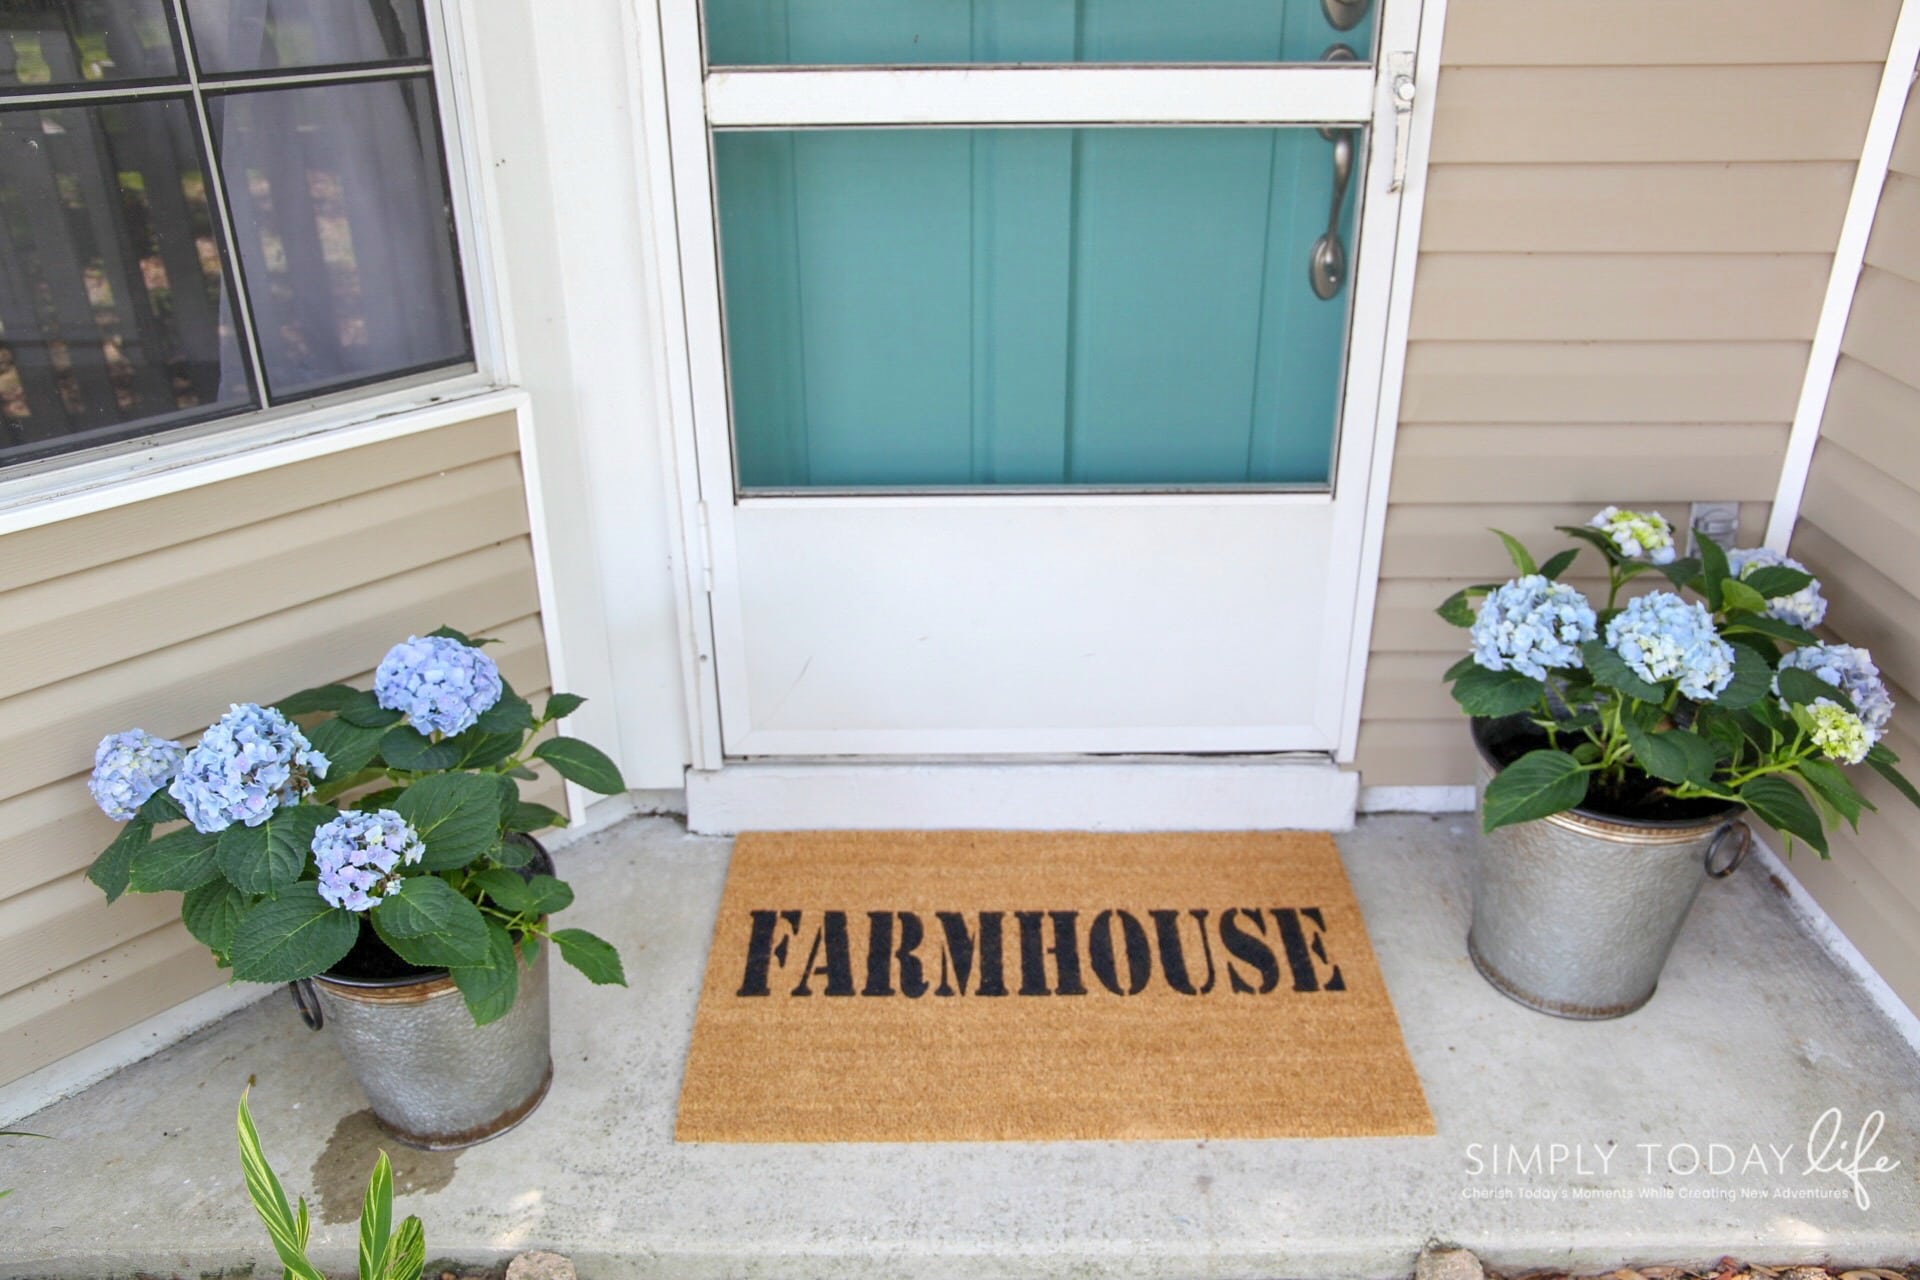
- Decorate your front door!
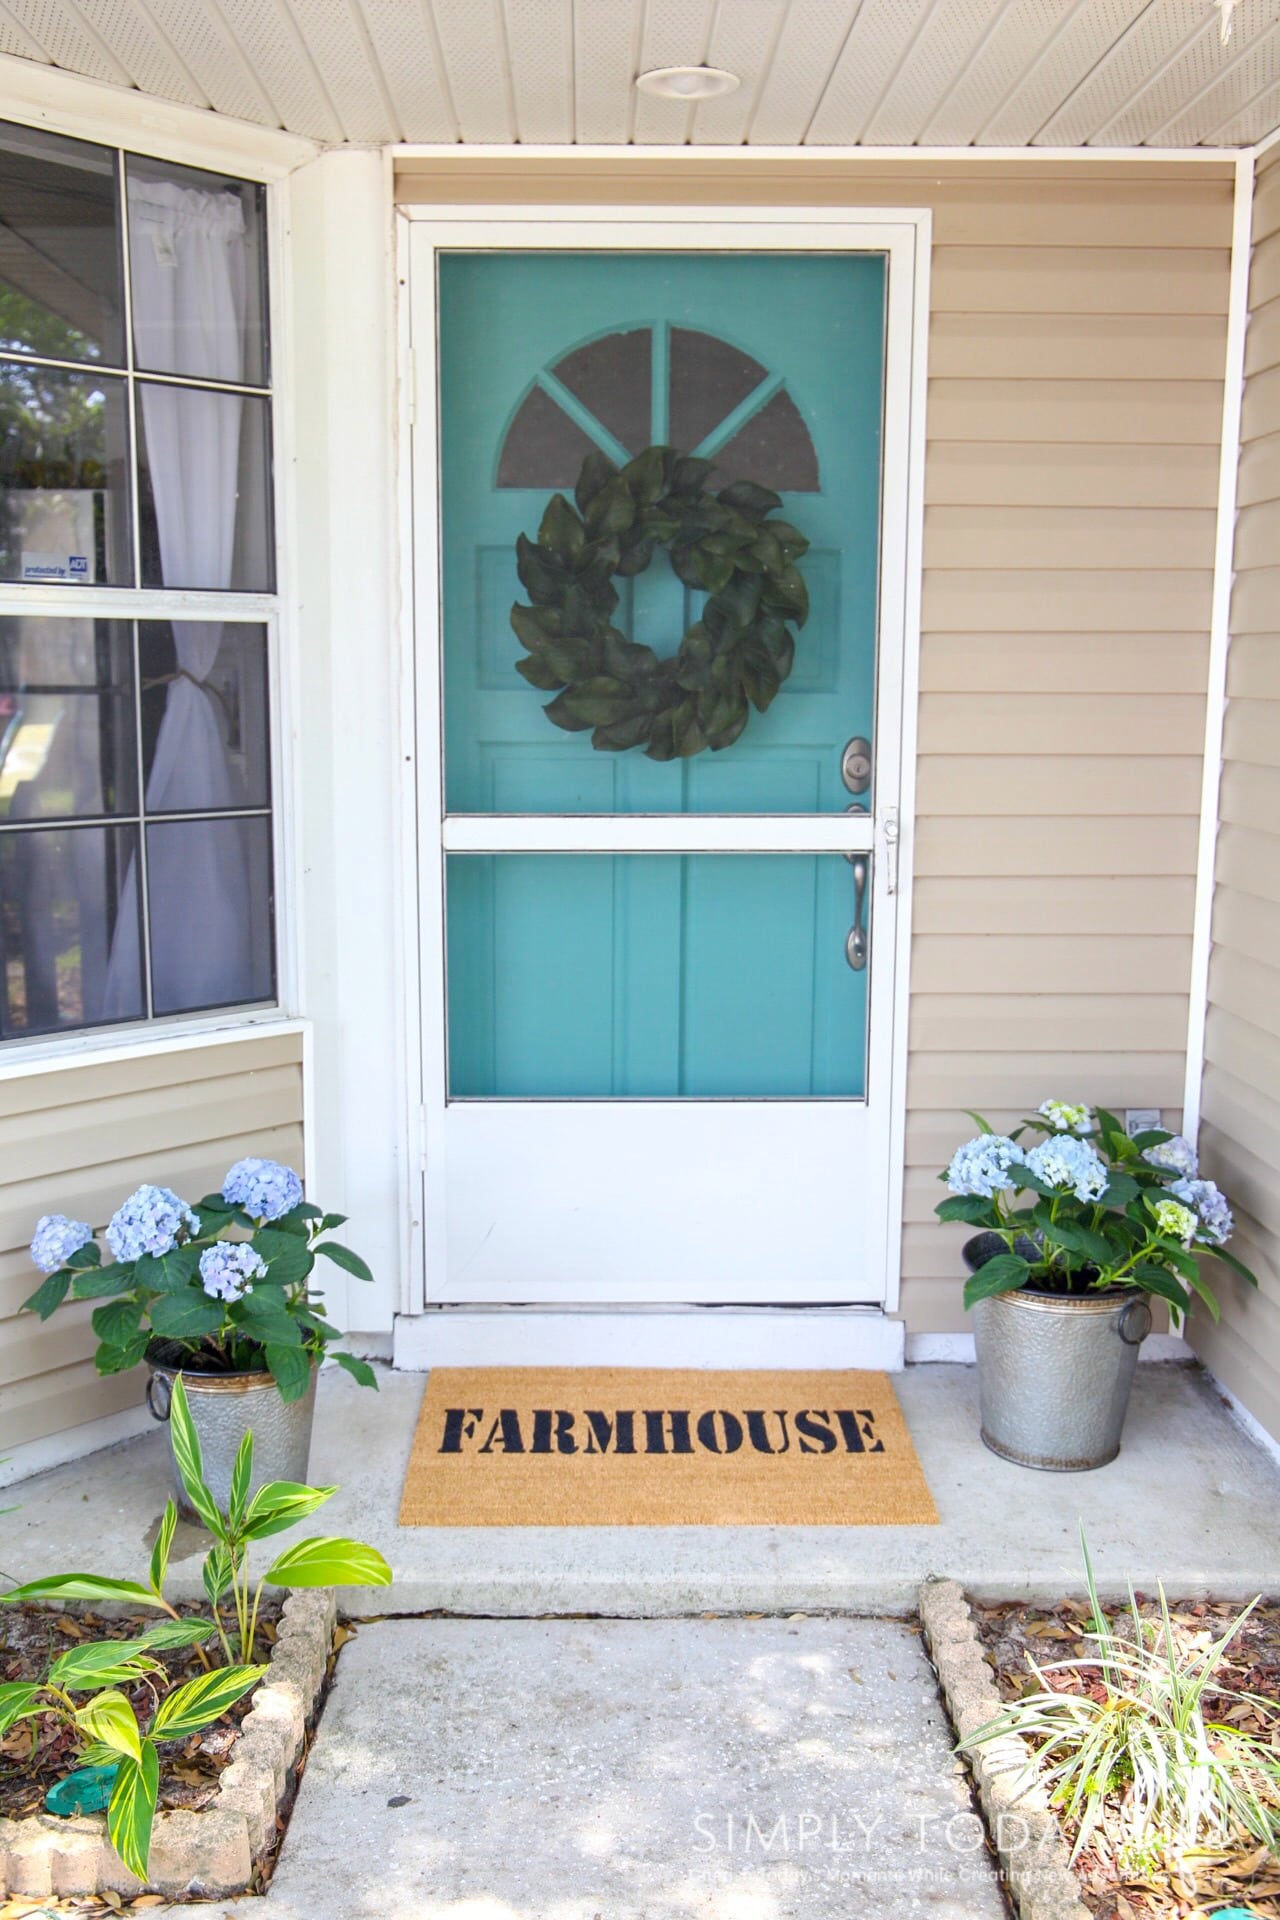
I wanted to make sure that my mat was waterproof. So, using Dixie Belle Wax Spray I covered the lettering part of the mat with two coatings. This will create a barrier on the mat so that water doesn’t sit or penetrate. Especially with all the Florida rain, we get in the summer.
That’s it! A super easy and budget-friendly craft that will keep you busy all year long with seasonal ideas. I know I can’t wait to create some Fall or Winter mats for your front door.
Make sure to come back soon because I have a few more items that I’m adding to my front door area! You are going to love the next DIY project I have planned!
You Are Also Going To Love:
If you loved this DIY How To Paint A Custom Doormat Tutorial With Chalk Paint, you will also love the following DIY projects I have put together for you:
Will you be creating your own front door mat?


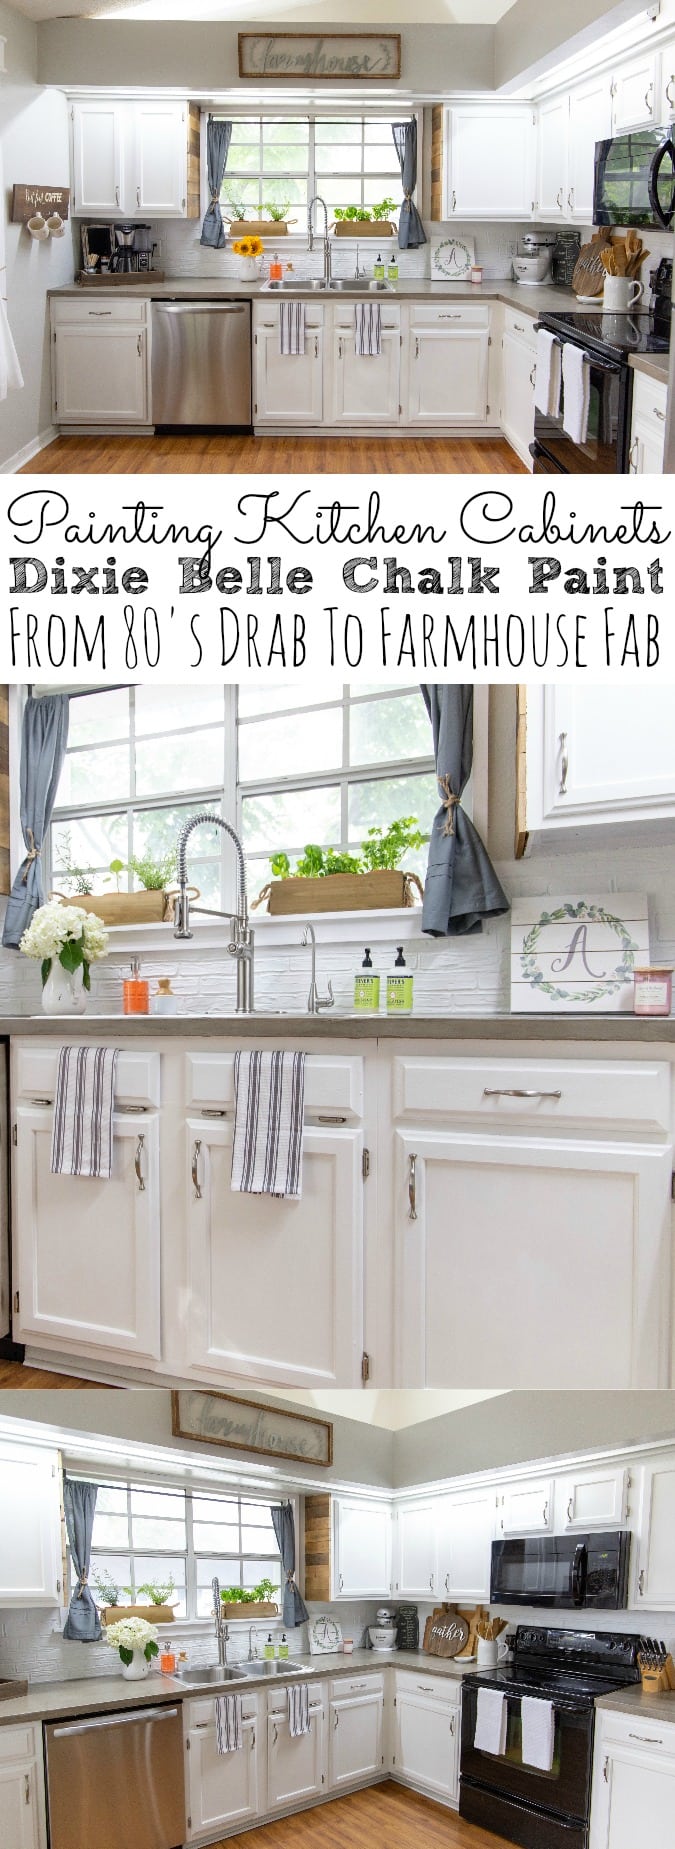
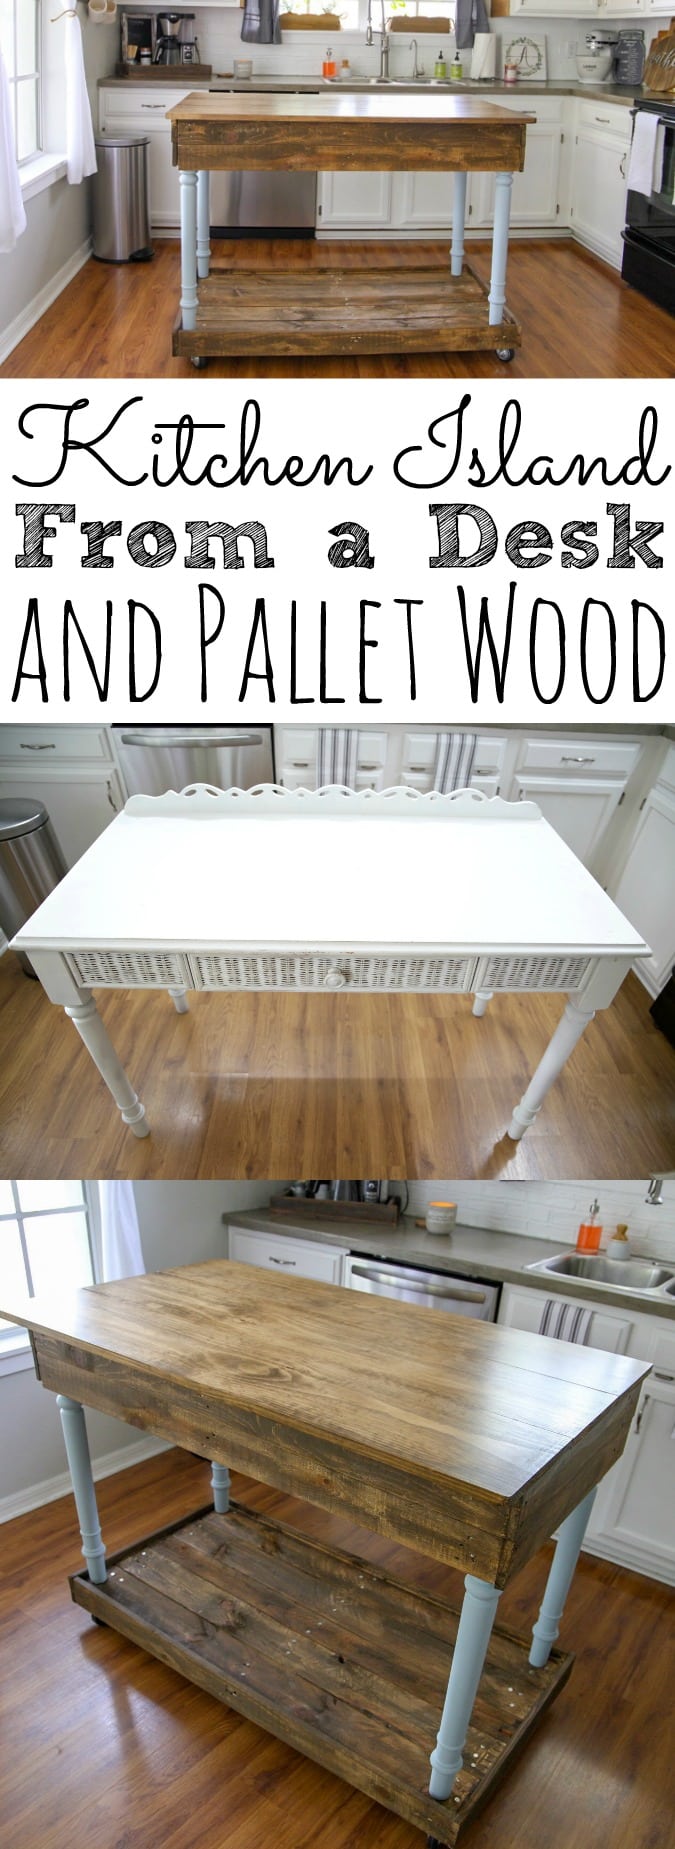
Okay, I’m ofociually obsessed with this paint and your beautiful farmhouse! The kitchen island you did was my favorite. I want to paint some bookshelves and my front door! I don’t know how I’d choose a color!
Awe, thanks so much! The best part is that Dixie Belle Chalk Paint paint is thicker than regular paint, so a little will go a LONG way! Their colors are beautiful, so I know exactly what you mean! Those sound like some great DIY projects! Good luck!!
I have this generic white bookcase that I would love to paint. I’m imagining bunker hill blue paint and maybe a crackle finish.
Oh that sounds amazing!!!!
I am dying to try their gold metallic topcoat. I have seen a couple beautiful projects and would love to try to for myself.
We have an antique dresser being used as a kitchen island but it really needs a makeover and the NO PAIN GEL STAIN-WALNUT would be perfect.
I would buy stencils and brushes
They have amazing stencils and I love their brushes!
I would get tobacco gel stain and farmhouse green!
I love their gel stain!! So easy to use!
I would purchase stencils, prushes and paint, COBALT BLUE CHALK MINERAL PAIN.
I love their stencils and brushes! I’ve been wanting to check out Cobalt Blue paint too!! Good Luck!
I love the look of this paint! Plus it doenst wash away! Great color options
It’s so easy to use too! Yes, they have some amazing colors!
I would go crazy wit this store. I love the apricot pain and the buttercream paint. The bklue chalk paint would be an amazing match for my daughters bedroom.
I would buy Patina paint and spray, as well as the prime start.
I would buy a couple of transfers.
I would buy the Dixie Belle paint company apron.
I would have to have some of their metallic paints and brushes! They have gorgeous colors!
I would buy some stencils, chalk paint and brushes!
https://dixiebellepaint.com/welcome-stencil-lg-horizontal/
Definitely my top choice
I could use a doormat and would love to try this DIY project.
Hi Victoria,
Beautiful work!
Could you pls kindly advise what paint color you used for your front door? I really like it.
Have a great day!
Genevieve
Hi Genevieve! Thank you! This was one of my favorite colors, but they unfortunately not carry it anymore. This is the closest color they have that matches the one on the door https://dixiebellepaint.com/haint-blue-chalk-paint/?aff=103
Hope that helps 🙂
Thanks for sharing this, this sure looks very helpful.
Glad it was helpful!