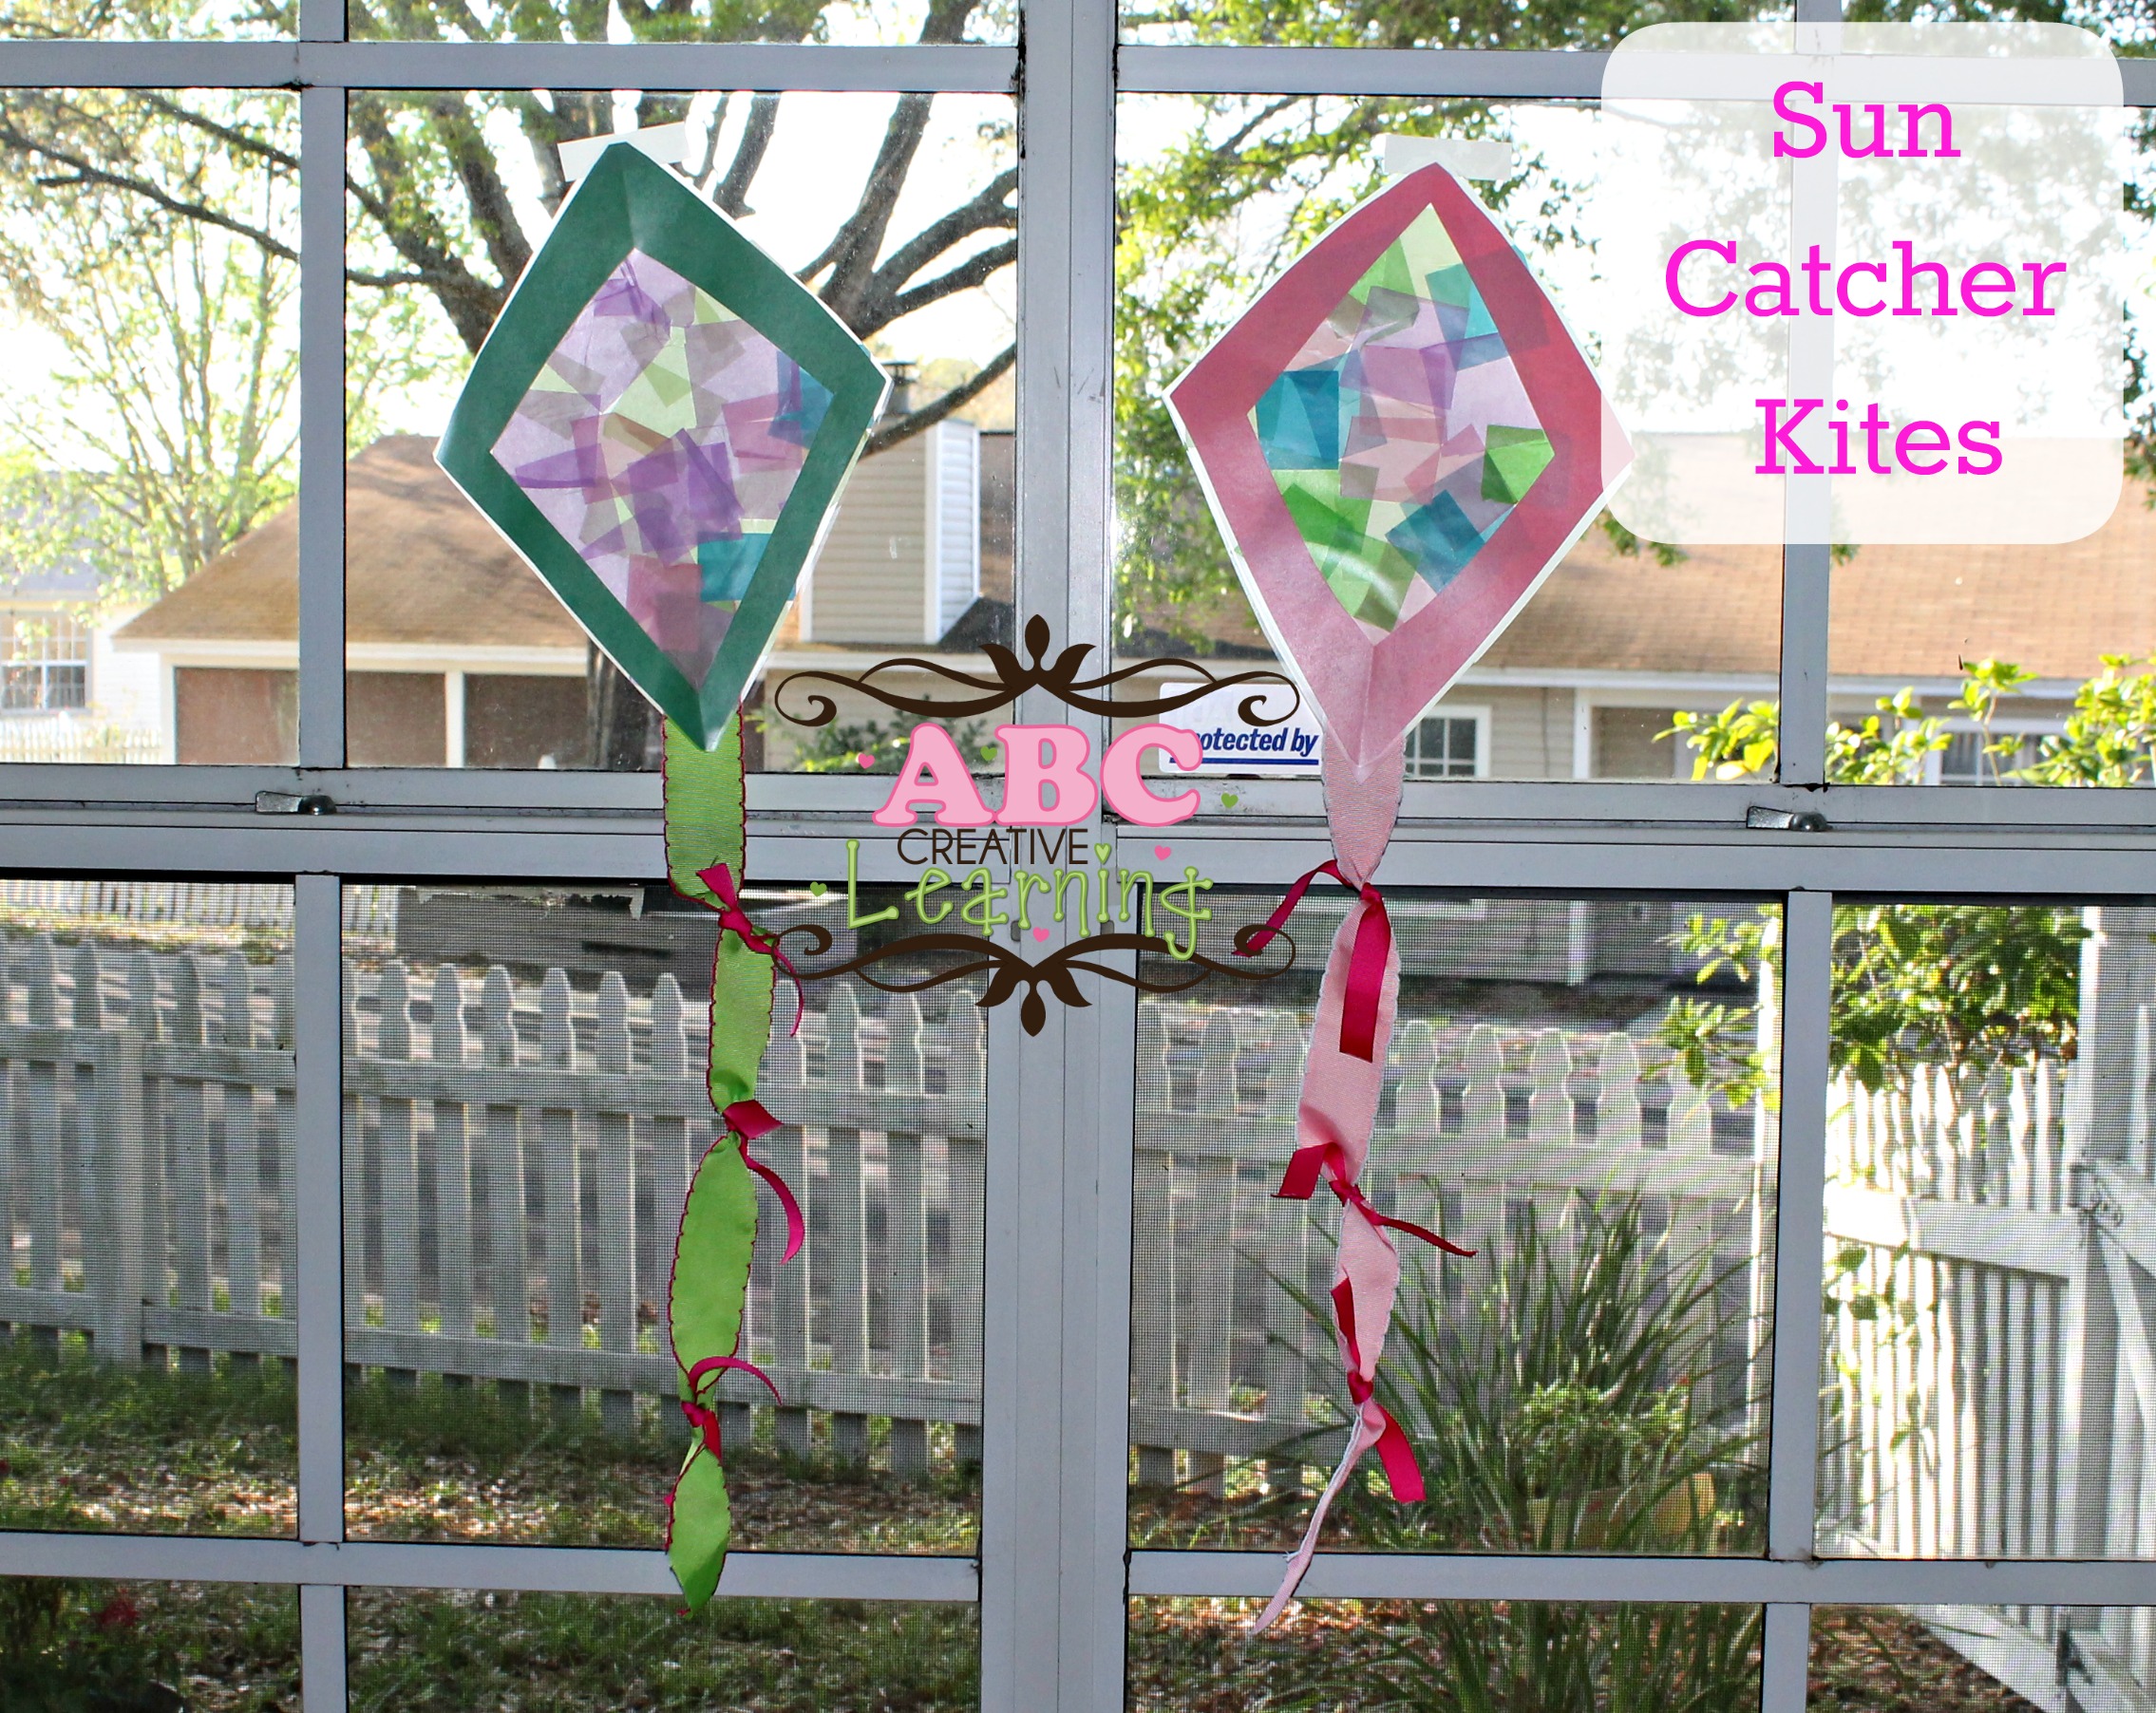
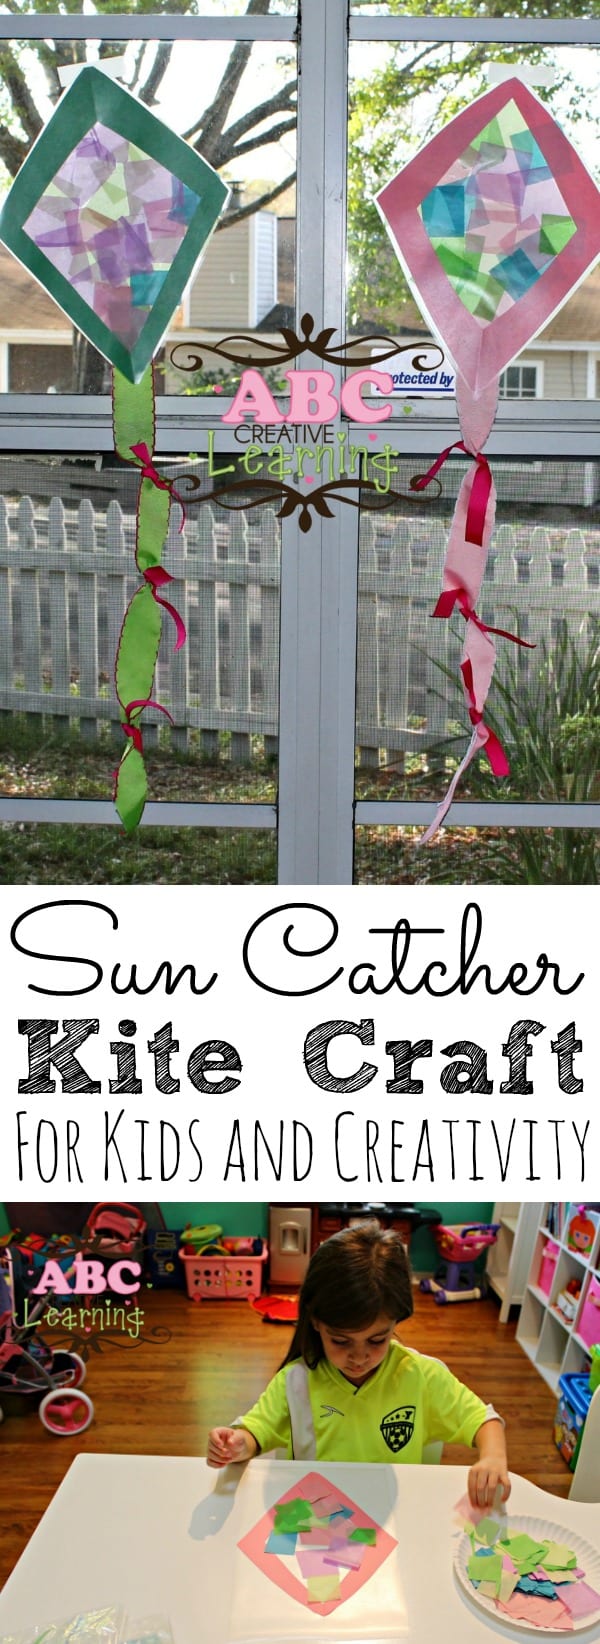
Spring is finally here and these Sun Catcher Kite Craft for kids is perfect for the windows. Kids will enjoy creating these fun kites while practicing their fine-motor skills and creativity.
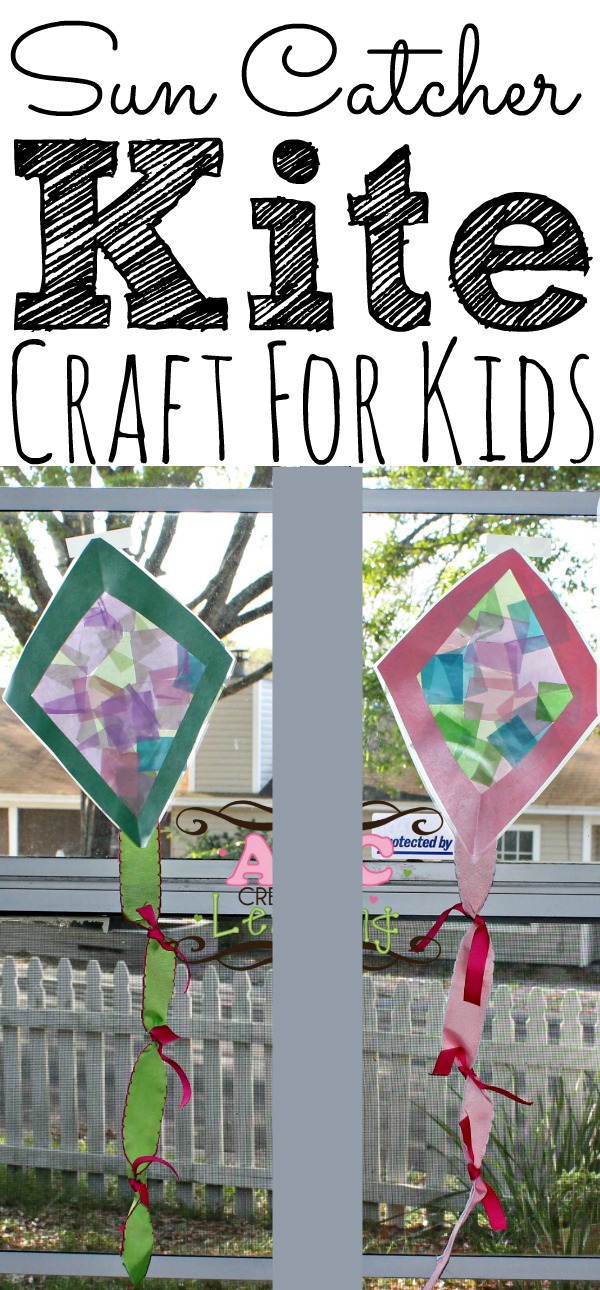
Sun Catcher Kite Craft
Now that Spring is finally heading our way it’s time to start working on some fun spring crafts! The girls really enjoyed making their Shamrock Suncatchers for St. Patrick’s, so we decided to create some fun sun catcher kites to hang on our windows.
This post contains affiliate link.
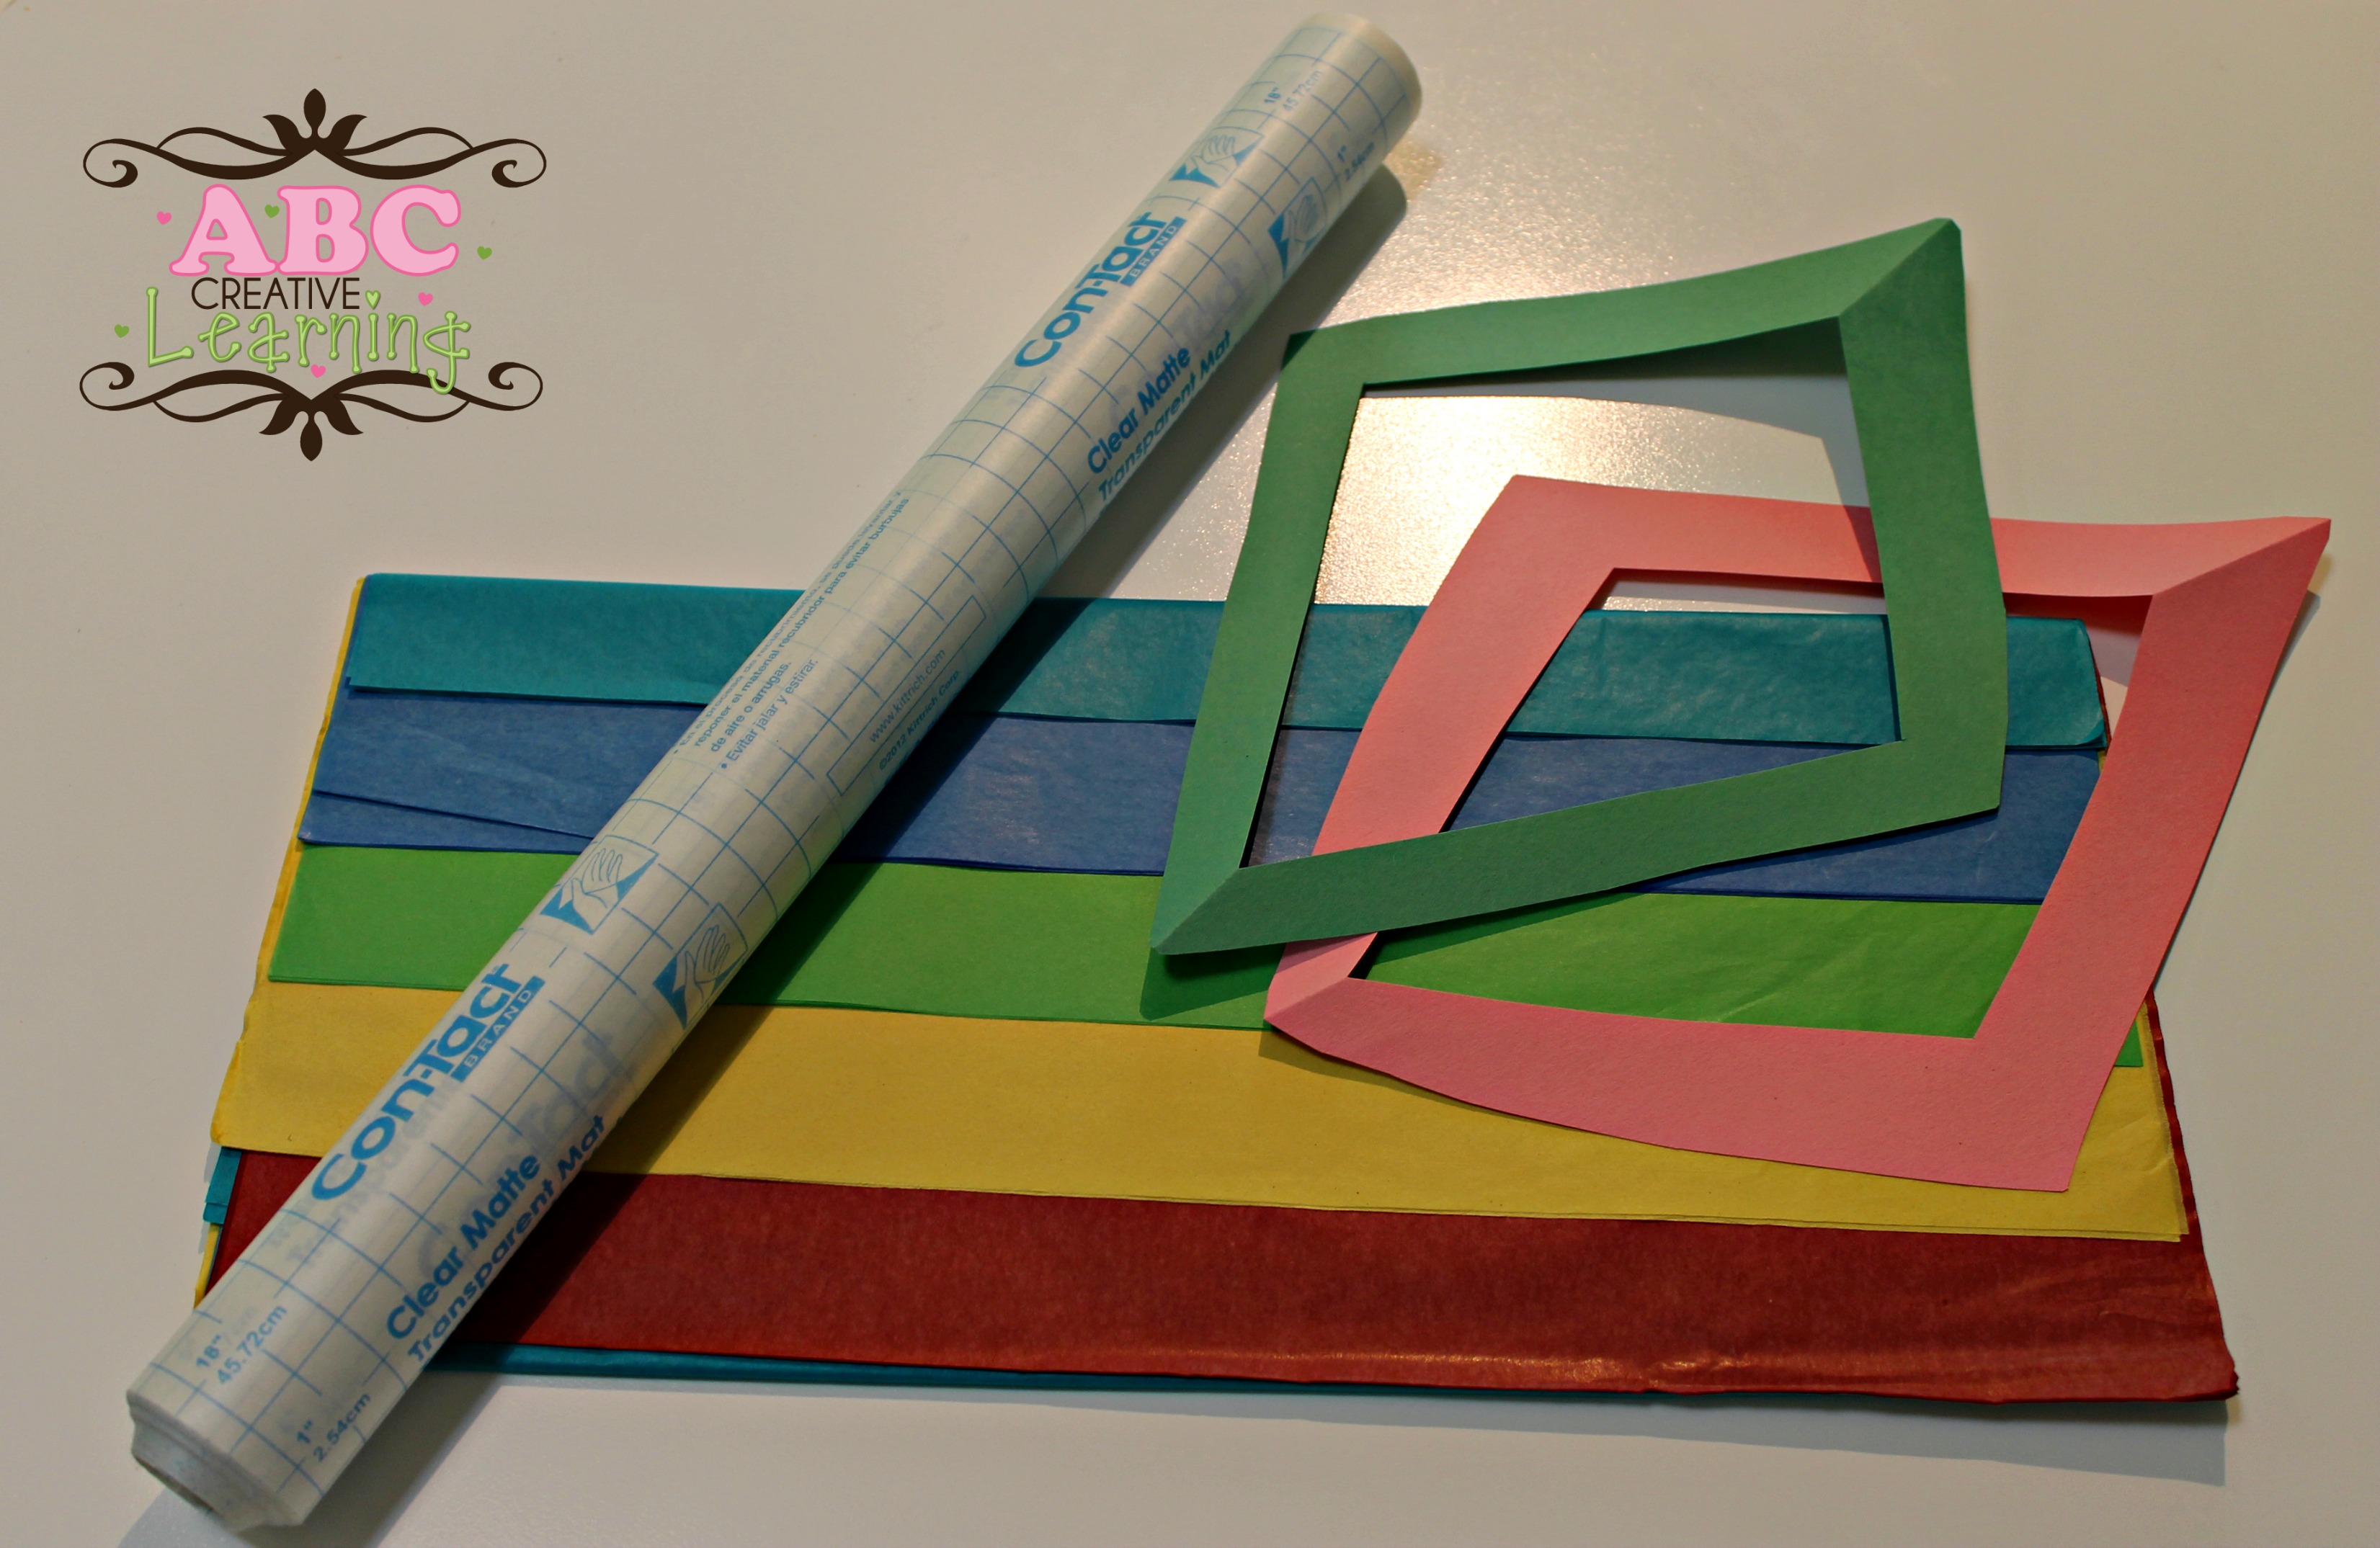
Materials Needed:
- Contact paper
- Tissue paper
- Construction paper (cut into a diamond)
- Ribbon
- Scissors
- Tape or glue
AMAZON
Kite Craft Instructions
- The first thing you want to do is cut out a diamond for your kite and cut out your tissue paper into squares. Lay your kite on top of your contact paper and cut out a square big enough that will cover the entire kite. You will need two pieces of contact paper in this size.

- Peel your contact paper apart and lay sticky side up. Slowly lay down your kite cutout so that everything is laying flat and even.
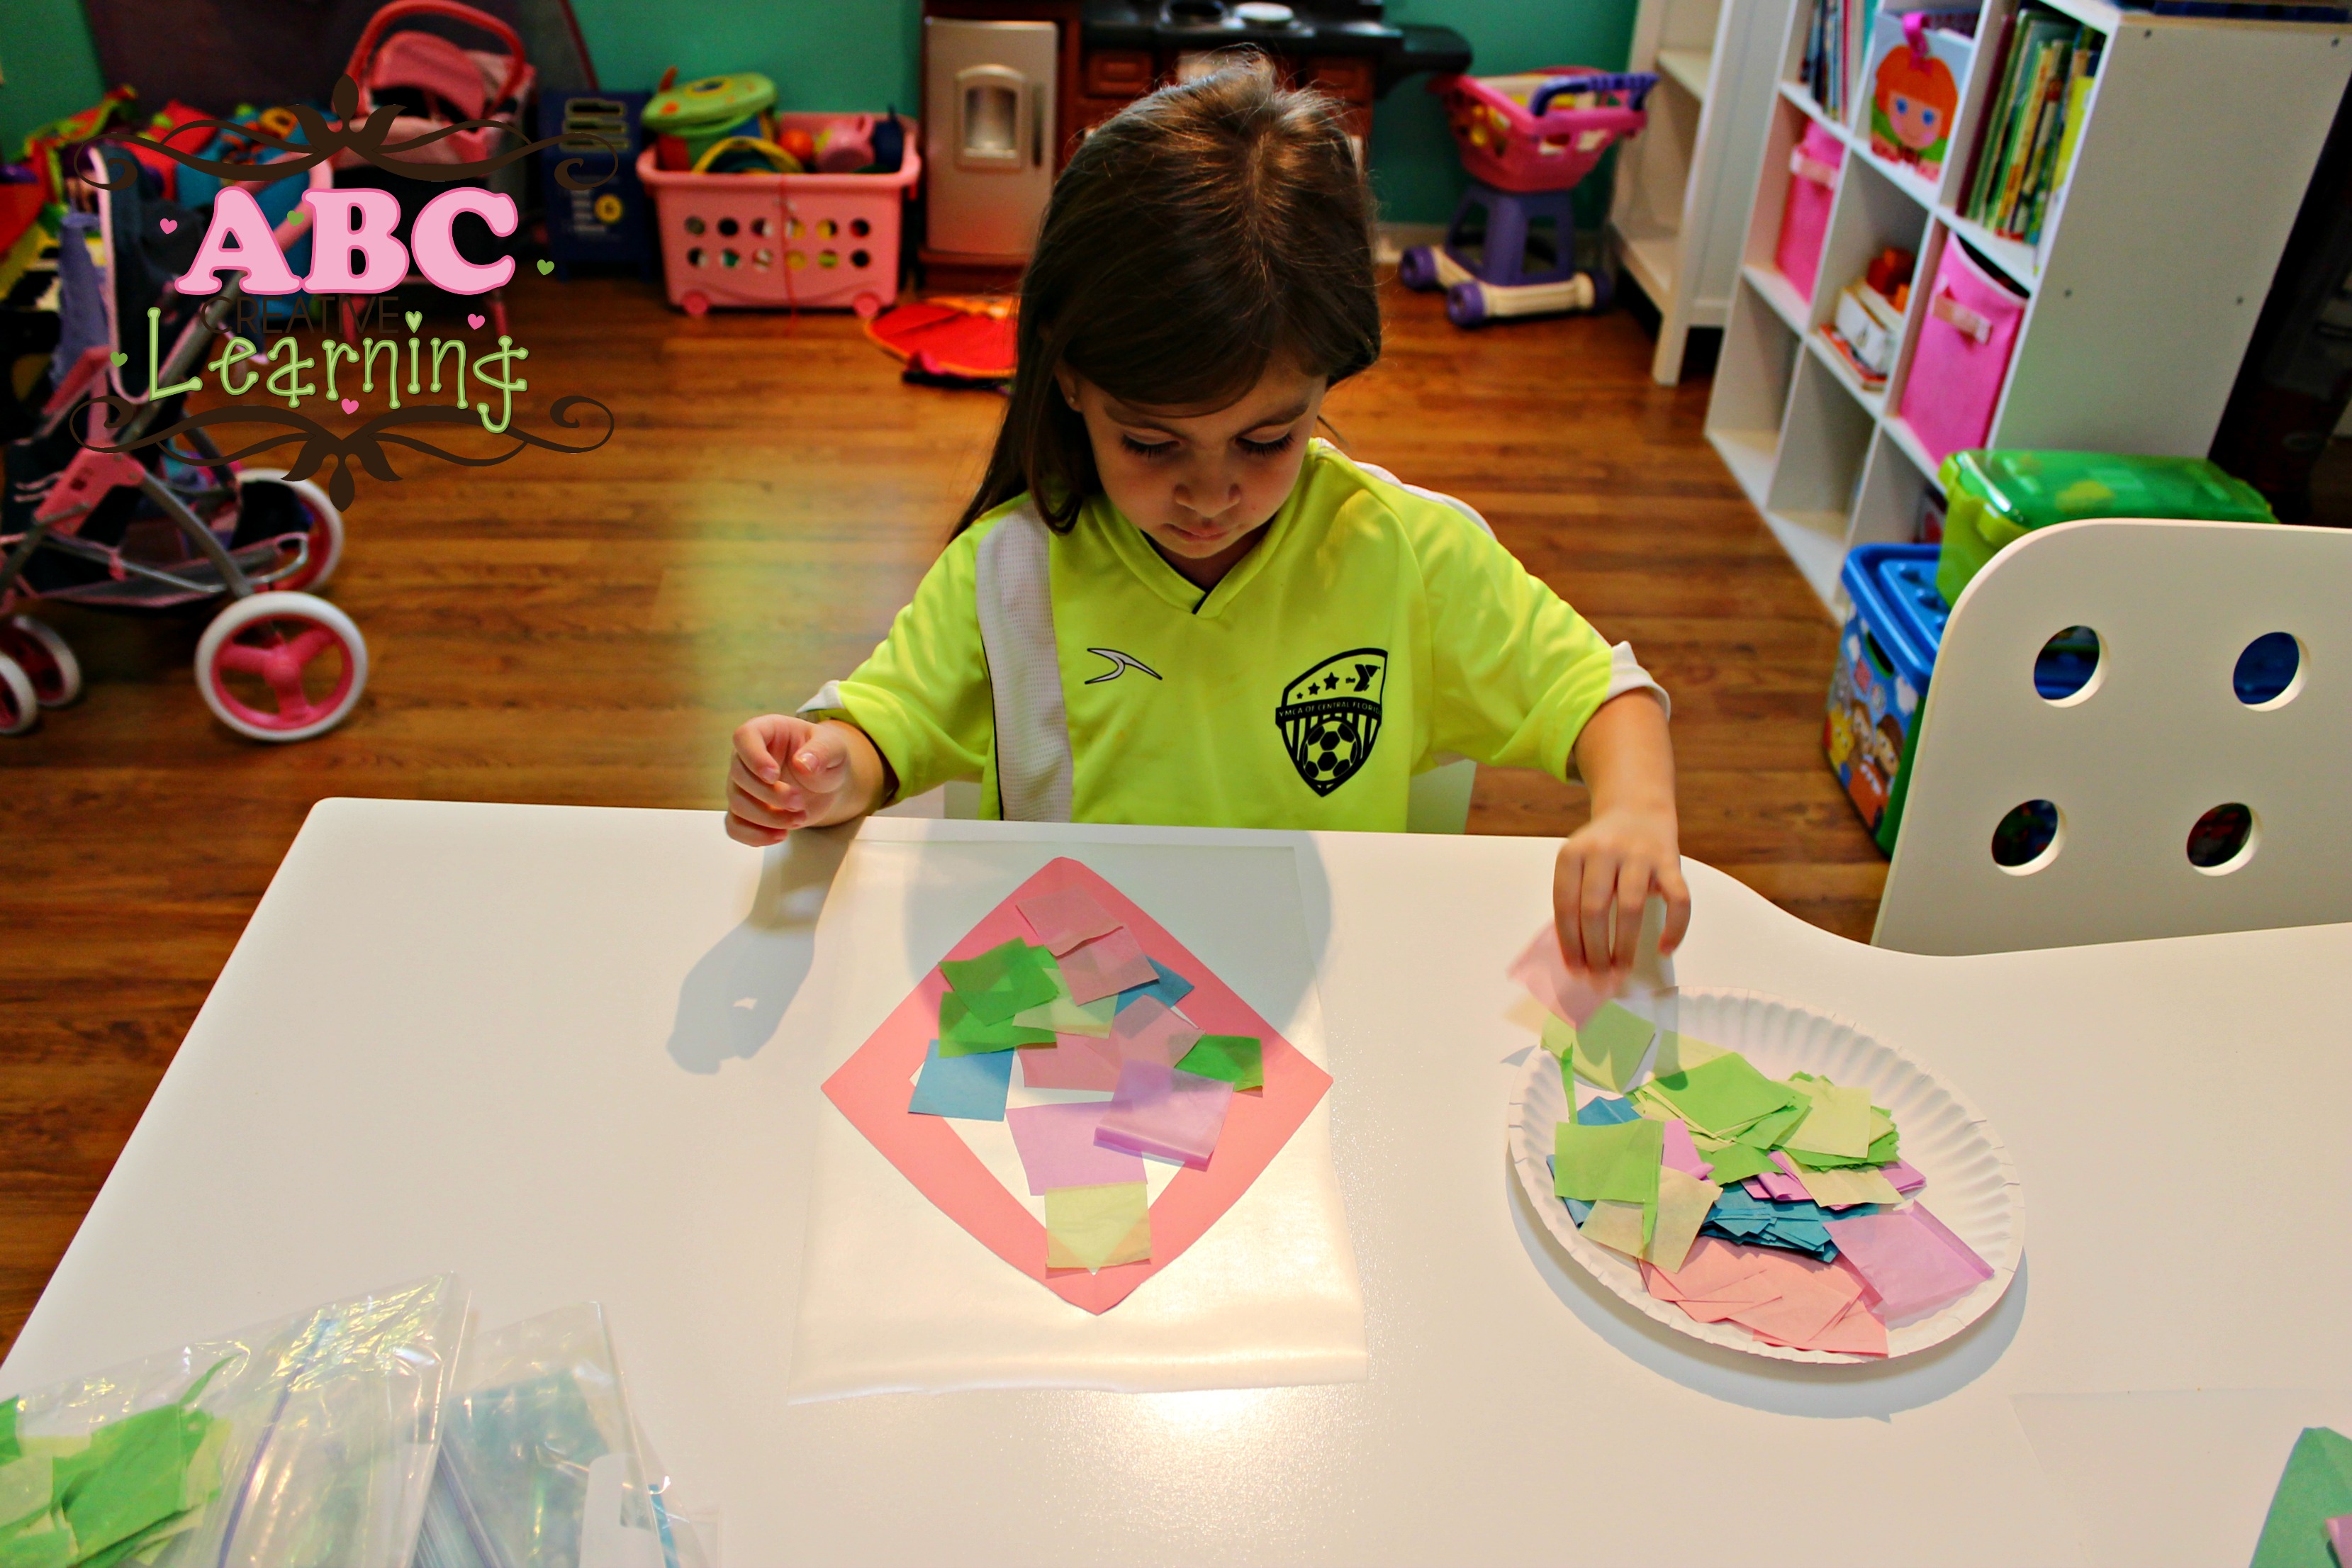
- Lay your square tissue papers on the inside sticky part of your kite. Make sure to cover all of the contact paper. You can use one color or many colors. My girls really wanted to do some pastel spring colors and it looked so good! I think they are ready for Spring just like everyone else.
- Once the inside is completely covered with tissue paper take your second piece of contact paper and lay it right on top. Go ahead and cut all of the excess paper around your kite, leaving a little bit on the edge so it stays together.
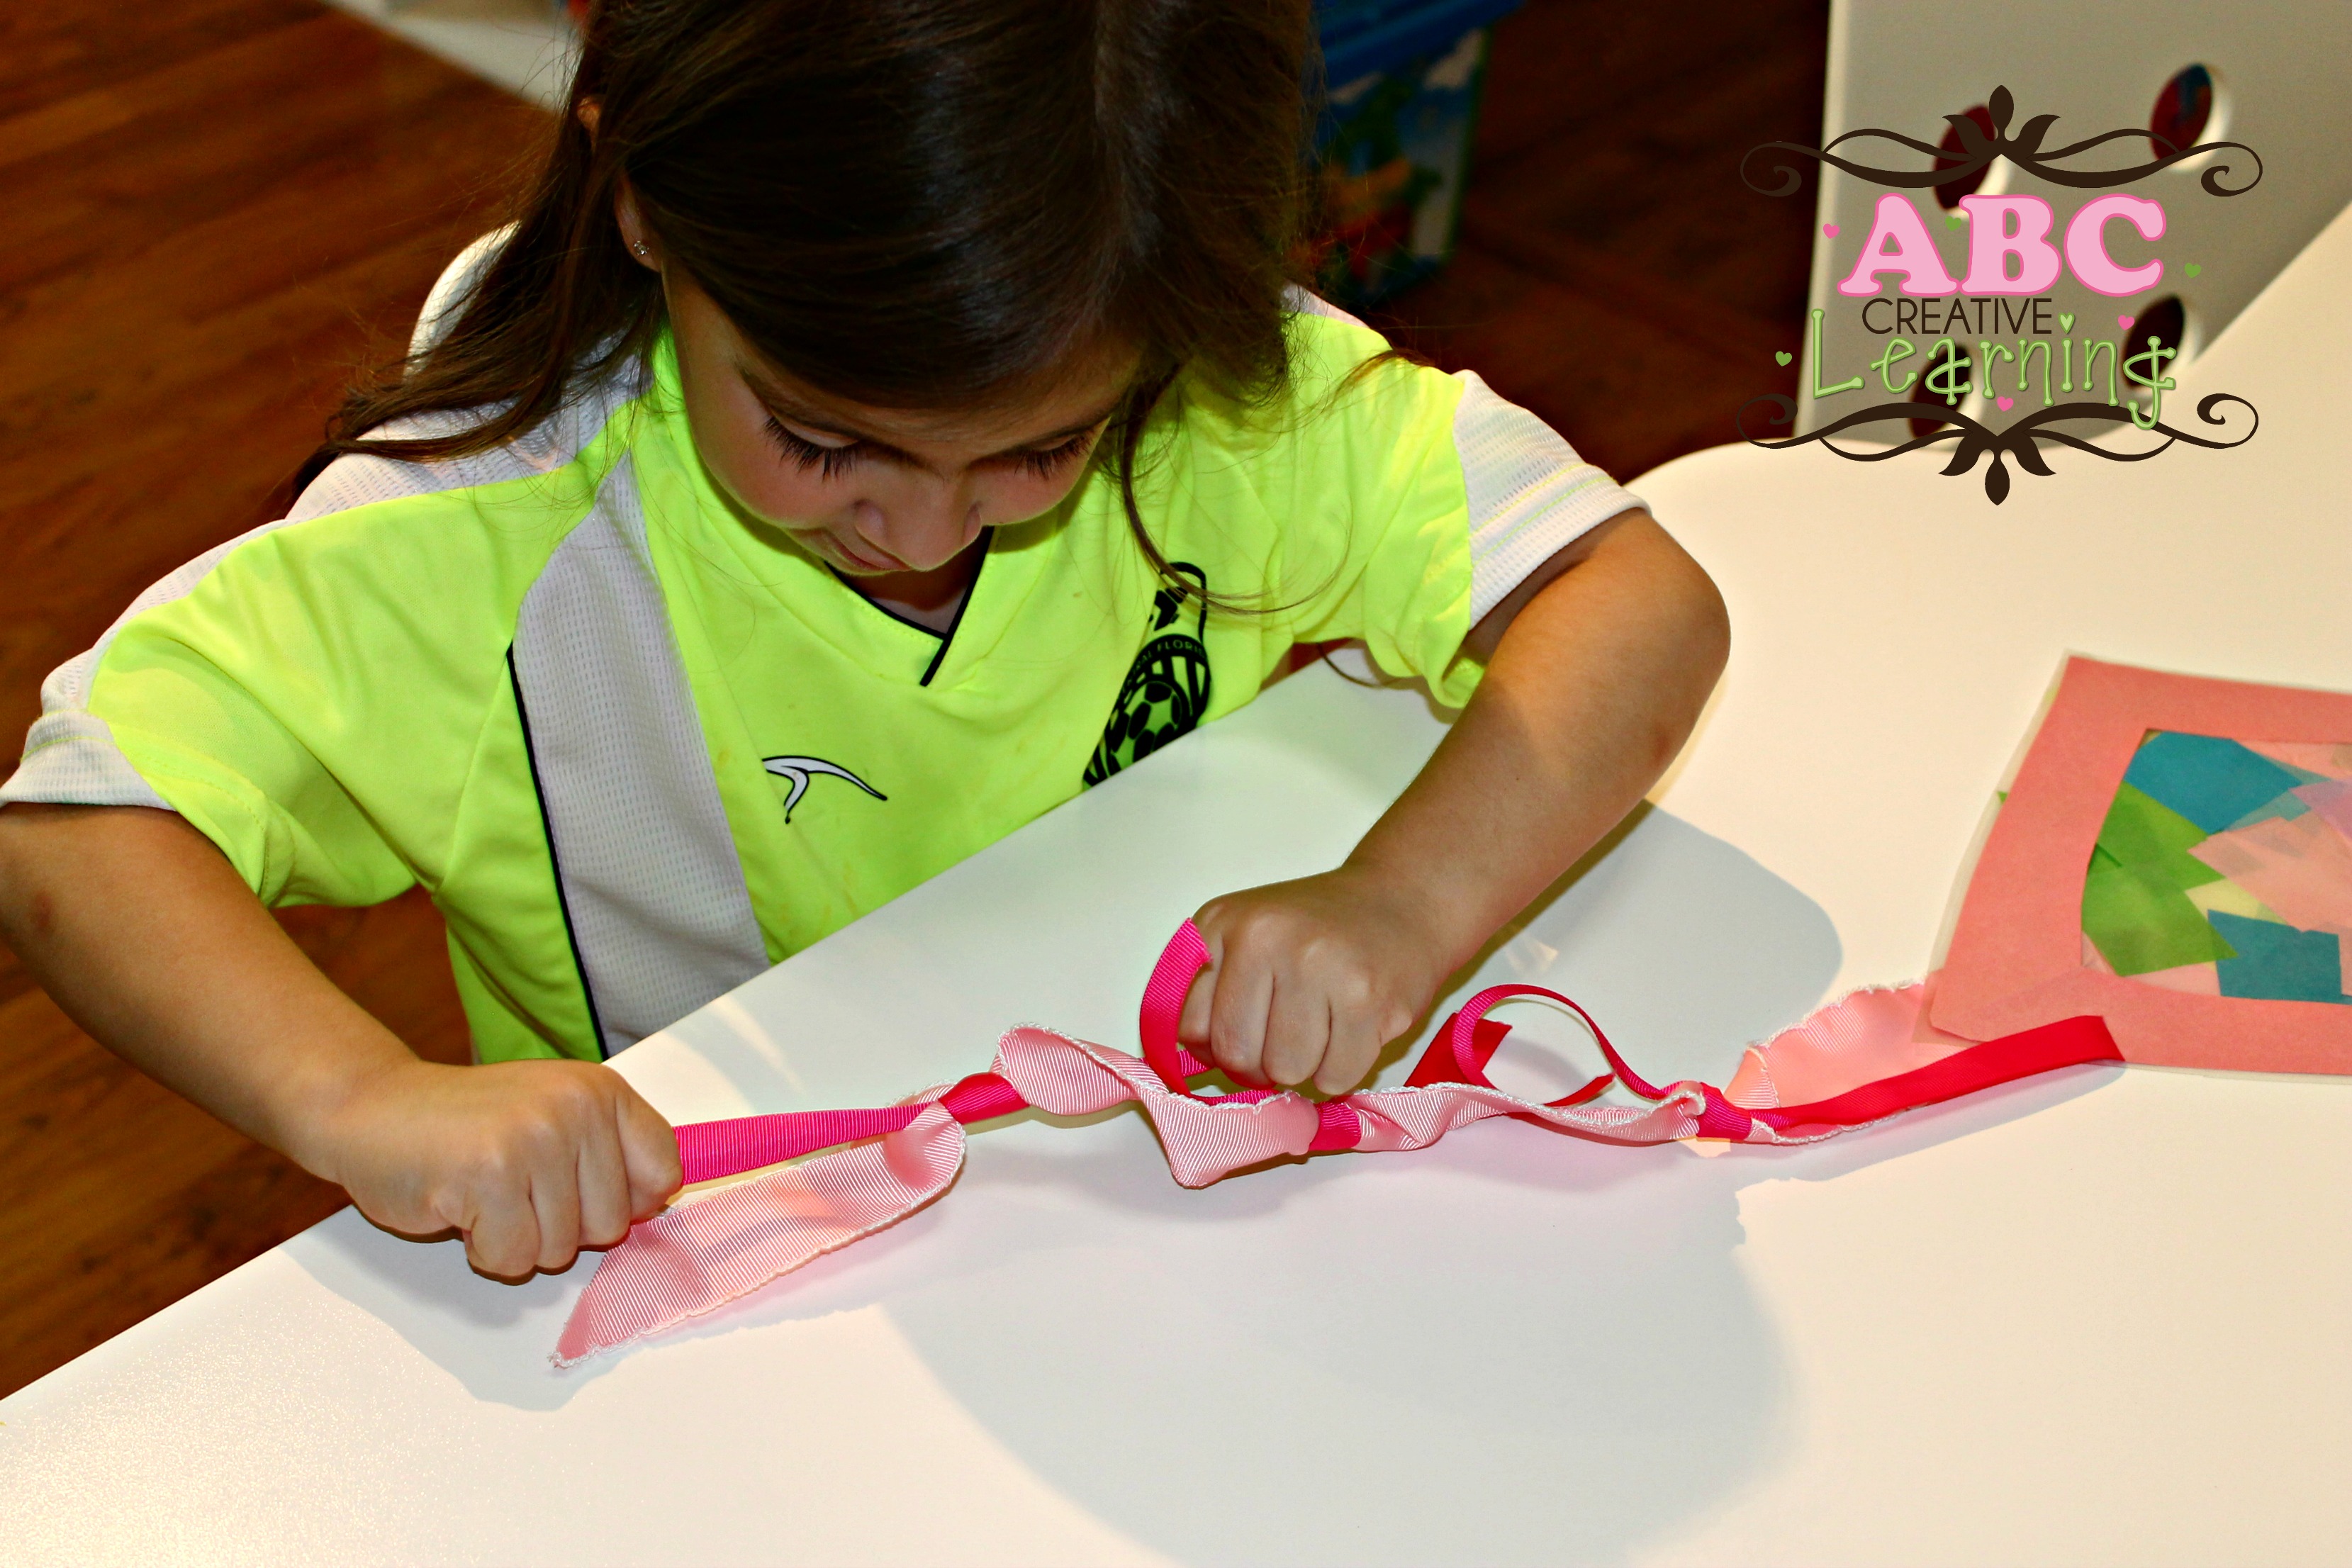
- Choose some ribbon to match your kite. Cut a long piece of ribbon and then using a different color cut out 3-4 smaller pieces for bows. Using tape or glue attach your longer piece of ribbon on the back side of your kite.
- For the smaller pieces of ribbon just simply tie them with a knot on your long piece of ribbon as decoration. Kaidence had a little bit of trouble with these so I helped, but Kaelyn did a fantastic job in tying her knots. A great activity for fine motor skills!
You Are Also Going To Love:
If you loved these Suncatcher Kids Crafts, then you will also love the following spring crafts I have put together for you:


Who else is ready to go Fly a Kite?


Thank you for sharing – this is such a cute SPRING craft!! Can’t wait to make it with my son. 😀
Thanks Valerie! It was fun to make and just looks so Springy in our Living Room 🙂
These are so fun…..kids love them and they are so pretty with the light shining through them. Thank you for posting this. Gentle Joy
Thank you so much! Have a great week!
LOVE these! So cheerful! Thank you for bringing these to Treasure Box Tuesday- sharing on Google+! 🙂
Thank you for stopping by Joy 🙂
What a beautiful spring craft! I’m “pinning” this to our Mary Poppins board!!
Thank you Susan!
I love this idea! I have tissue paper and always wondered what to do with it – now I know! Perfect craft! perfect for a sunny day! Thank you for linking up to the Anything Linky Party! Featured your post on FB 🙂
Yes, I love using tissue paper for crafts! Thank you so much for sharing 🙂 Have a great weekend!
This is really adorable! Tissue paper is a great craft tool isn’t it?
Thank you for stopping by the Thoughtful Spot Weekly Blog Hop this week. We hope to see you drop by our neck of the woods next week!
Yes, we LOVE tissue paper! And glitter of course 🙂