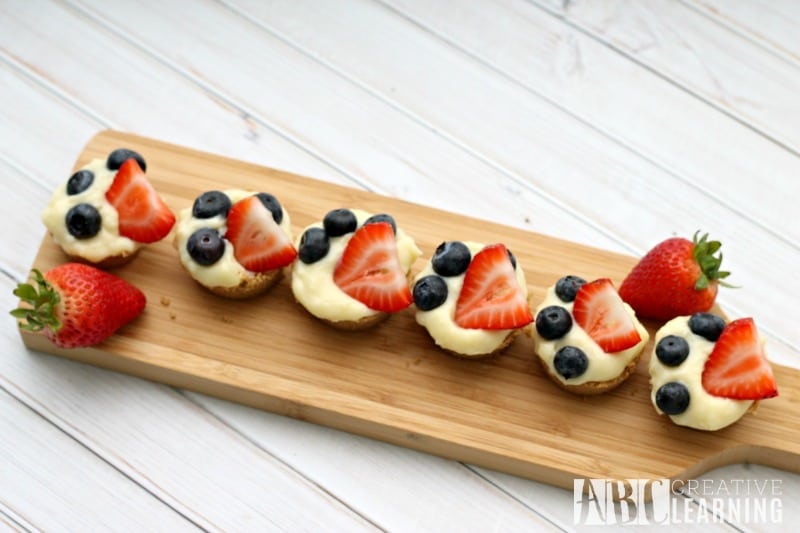
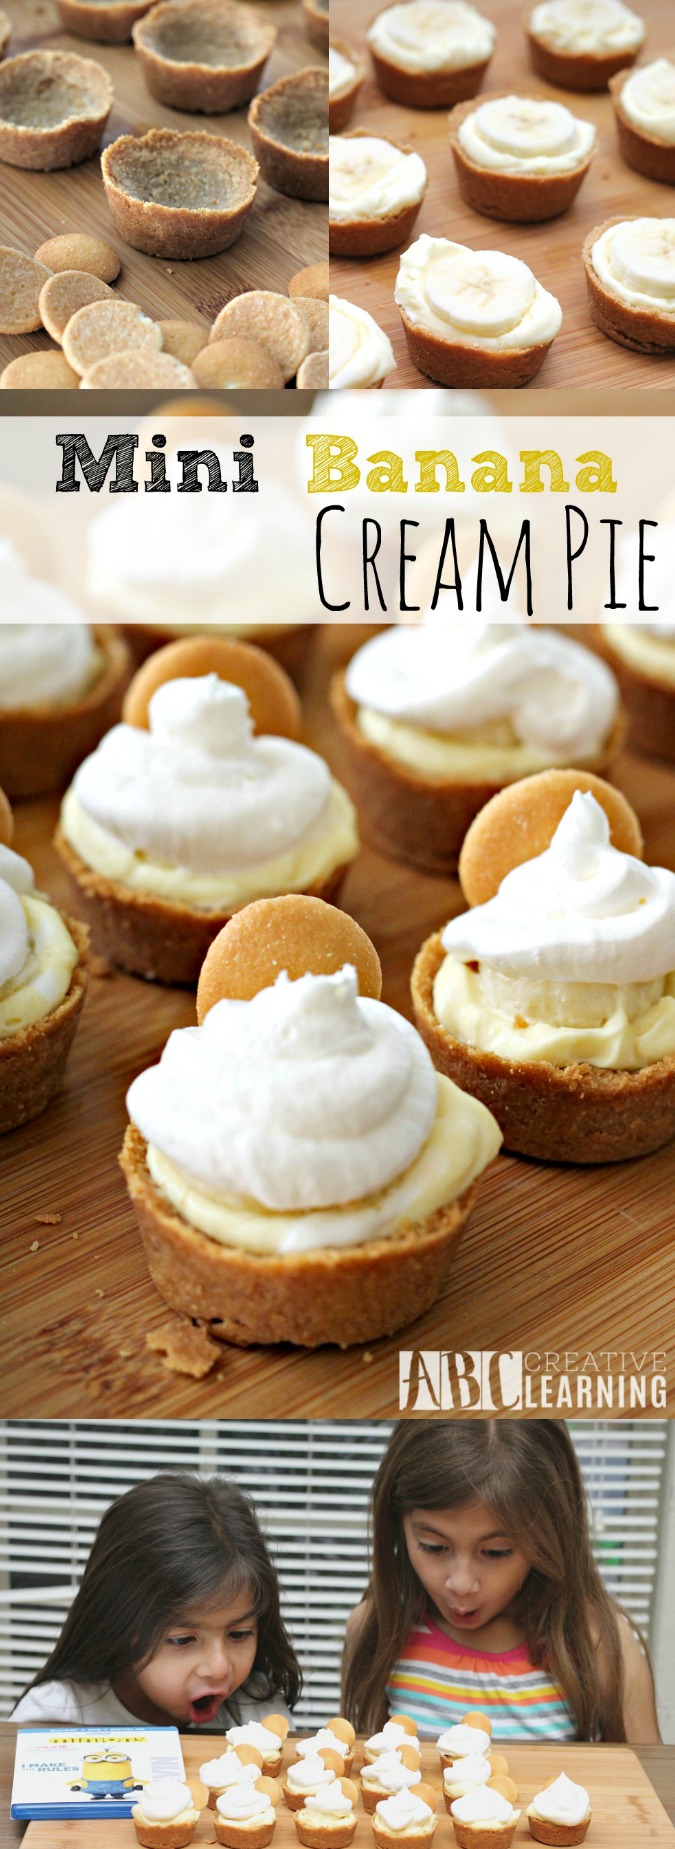
This delicious and easy Mini Fruit Tart recipe is perfect for the wonderful summer memories that we are about to create. Add your favorite fruits and berries to make this dessert a special treat!

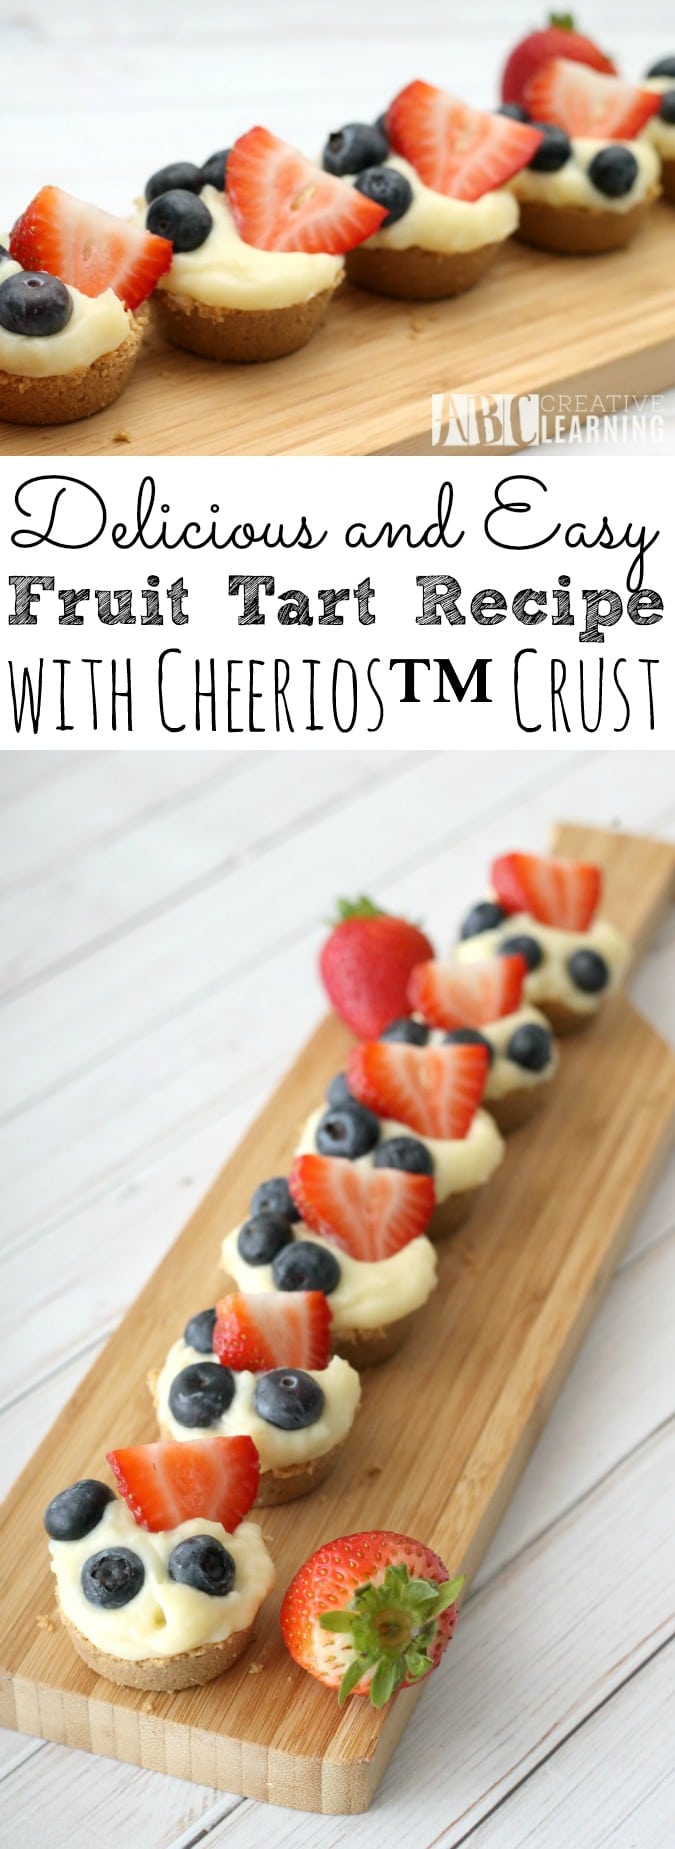
Easy Mini Fruit Tart Recipe with Cheerios™ Crust
Are your kids eating non-stop all summer like mine are? I feel as they are trying to store food for winter! Like if when school starts I will no longer feed them delicious meals! Especially when I make this fruit tart recipe that I create with a Cheerios™ crust. I mean come one! Who doesn’t love Cheerios™?
This post contains affiliate links.
Ingredients Needed For Fruit Tart Crust
- 2 cups of Cheerios™
- 1/2 cup of melted butter
Ingredients Needed For Vanilla Cream Tart Filling
- 2 cups of milk
- 2 teaspoons of vanilla extract
- 2 eggs
- a pinch of salt
- 3 tablespoons of cornstarch
- 1/2 cup of sugar
- 4 tablespoons of room temperature butter
Fruit Toppings For Mini Tarts
- sliced organic strawberries
- organic blueberries
- your favorite fruits
How To Make Tart Crust With Cheerios
- Preheat oven to 350 degrees.
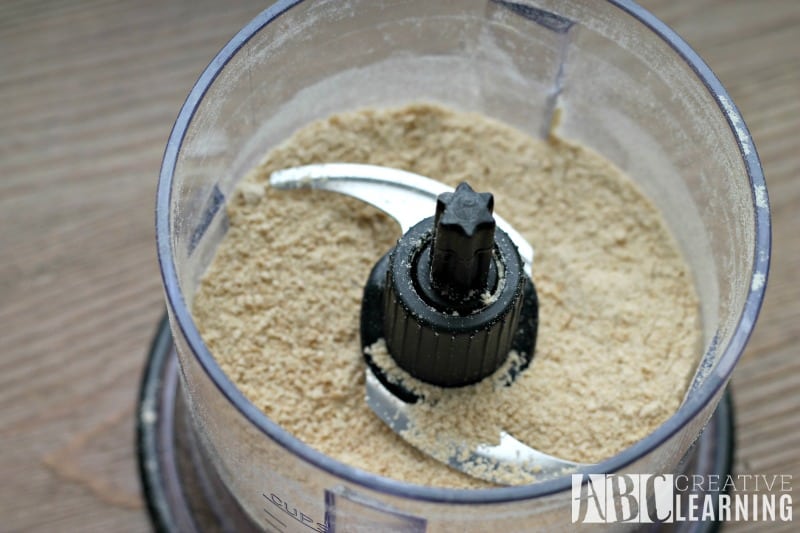
- In a food processor pulse your Cheerios™ until only crumbs remain. If you don’t have a food processor as I did for so long, you can easily crush them by using a ziplock bag and a rolling pin.
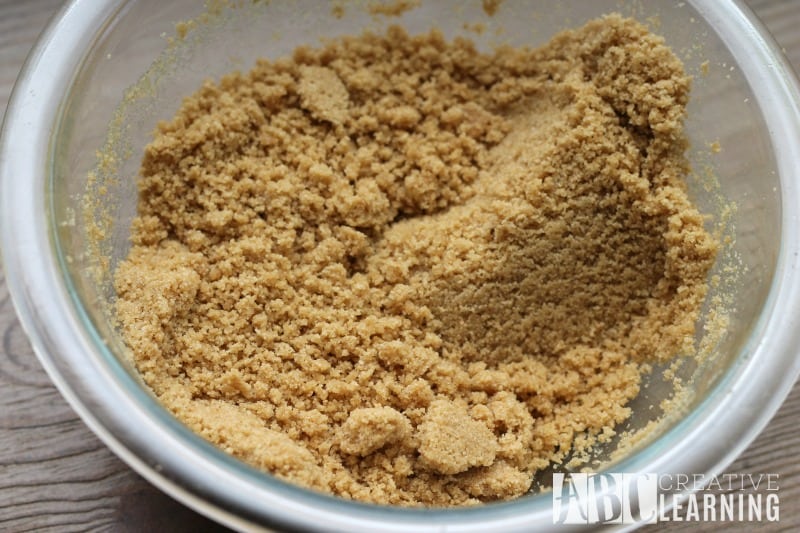
- Use a medium-size bowl add your Cheerios™ crumbs and your melted butter.
- Mix together until all ingredients are combined.
Tip: I like to use a fork to make sure all the pieces are nicely sealed together.
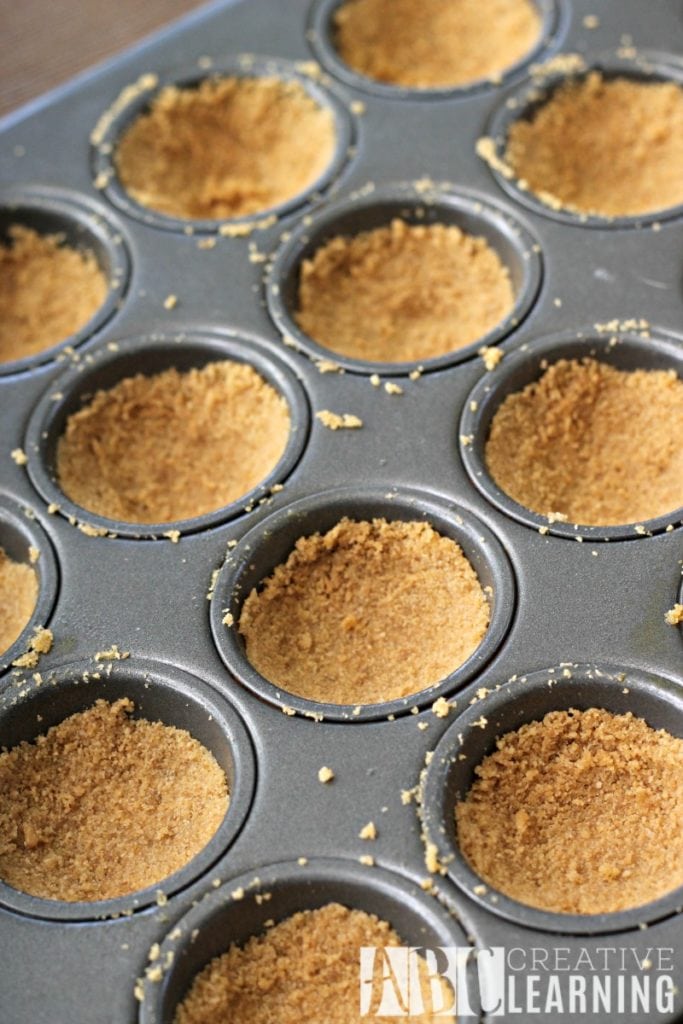
- Spray your mini cupcake pan.
- Using a spoon add your crumbs to each cupcake space, making sure that you are pressing firmly and creating a pie shape. Make sure to press down in the middle to create a deep space for your filling and on the edges. Because we are using a cereal-based crust, it will crumble if it’s too thin.
- Bake for about 10 minutes on 350 degrees or until edges is golden brown.
- Allow your mini pie crusts to cool off completely before adding the filling.
Tip: The easiest way to pop out your crust is to lay a cutting table on top and then flip the pan over. Tap a few times and your crusts will pop right out.
How To Make Fruit Tart Filling
While your crust bakes and then cools off, work on your vanilla filling. I’ve made this vanilla filling different ways now, but I think this is my favorite and my girls really do agree!
- On medium heat, saucepan add your milk, vanilla, and salt. Bring mixture to a boil, stirring every once in a while. Set aside.
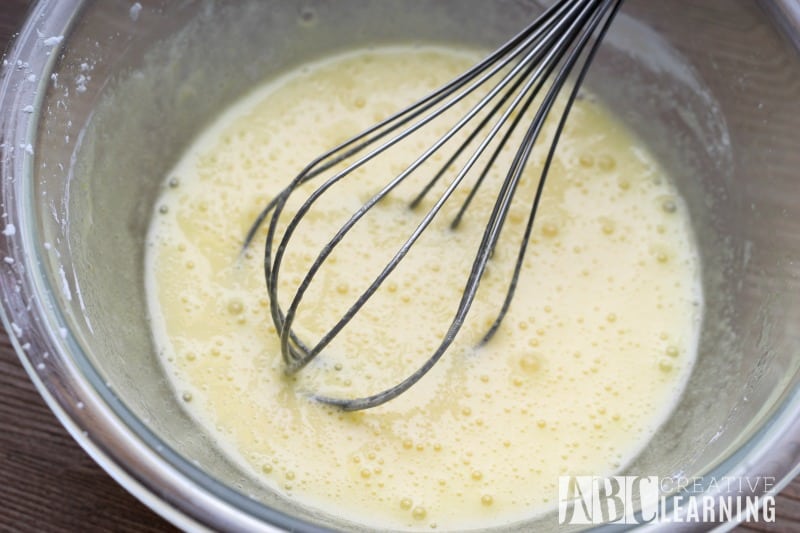
- Using a medium bowl mix together your eggs, cornstarch, and sugar. Add this mixture into your saucepan with your milk.
- Turn the heat up to a medium-high and whisk until your liquid mixture thickens and turns into your cream. If you see that your mixture is not thickening after 4 or 5 minutes, turn the heat up just a bit more, but make sure to keep whisking everything together.
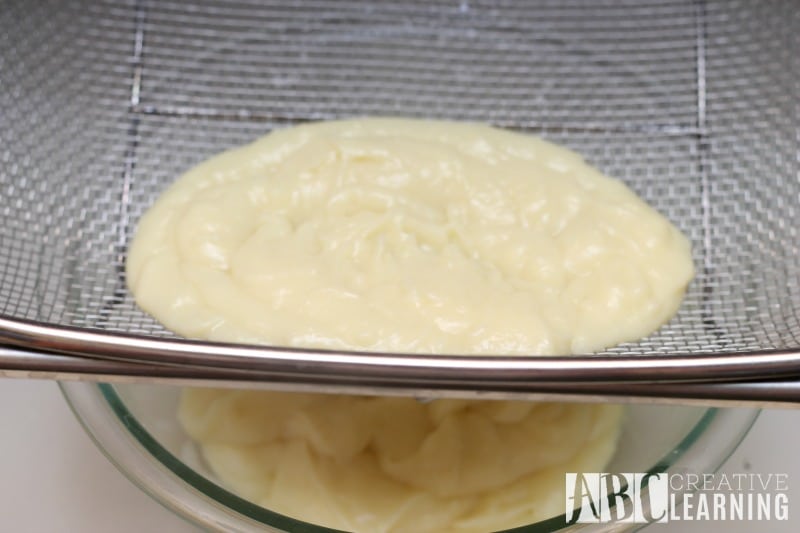
- Pour your cream over a sieve in a bowl to thin it a bit more. This is not necessary, but I like the smoothy consistency that the sieve really gives the vanilla cream.
- Add your 4 tablespoons of butter, one at a time while mixing everything together.
- Cover with plastic and let sit in the refrigerator for about 4 hours or until it’s completely cool.
Tip: At this time you could also put your crusts in the refrigerator and let them cool off as well.
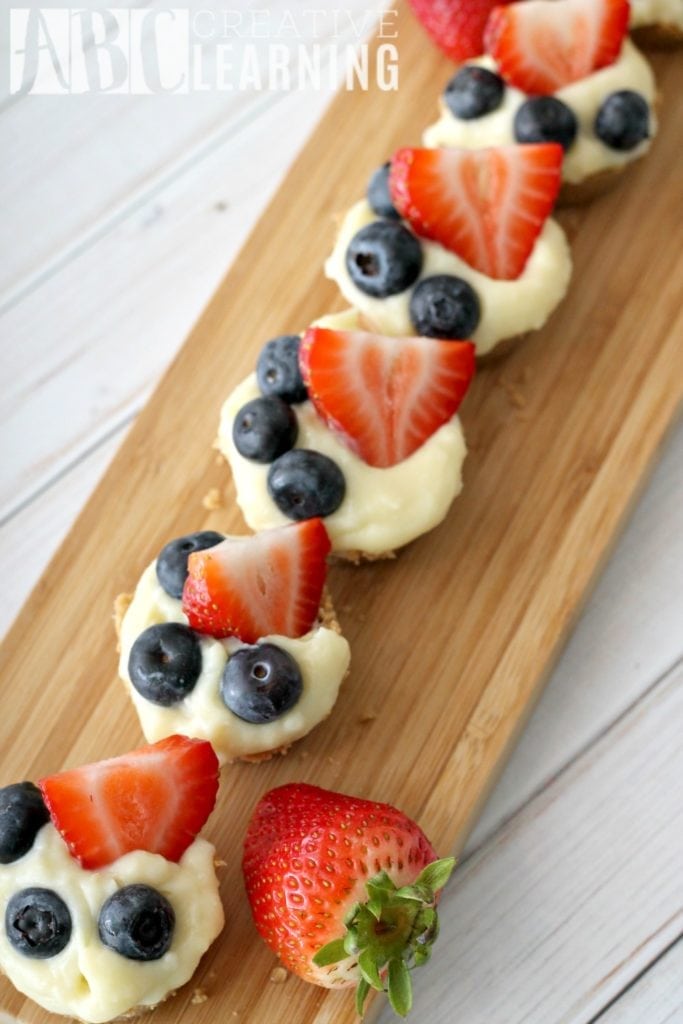
- Once you are ready to create your tarts, go ahead wash your fruits and slice your strawberries.
- Simply scoop a spoonful of cream into each crust and layer some yummy fresh fruit on top.
Tip: You can either spoon your cream on your mini pie crusts or you can use a zipblock bag. Add your cream to the bag and cut the tip so that you can squeeze your cream into your pie crusts.

- Crust –
- 2 cups of Cheerios™
- 1/2 cup of melted butter
- Vanilla Cream –
- 2 cups of milk
- 2 teaspoons of vanilla extract
- 2 eggs
- a pinch of salt
- 3 tablespoons of cornstarch
- 1/2 cup of sugar
- 4 tablespoons of room temperature butter
- Toppings –
- sliced strawberries
- blueberries
- Start off by creating your crust. Preheat oven to 350 degrees.
- In a food processor pulse your Cheerios™ until only crumbs remain. If you don’t have a food processor like I did for so long, you can easily crush them by using a zipblock bag and a rolling pin.
- In a medium size bowl add your Cheerios™ crumbs and your melted butter. Mix together until all ingredients are combined. I like to use a fork to make sure all the pieces are nicely sealed together.
- Spray your mini cupcake pan. Using a spoon add your crumbs to each cupcake space, making sure that you are pressing firmly and creating a pie shape. Make sure to press down in the middle to create a deep space for your filling and on the edges. Because we are using a cereal based crust, it will crumble if it’s too thin.
- Bake for about 10 minutes on 350 degrees or until edges are golden brown. Allow your mini pie crusts to cool off completely before adding filling. The easiest way to pop out your crust is to lay a cutting table on top and then flipping pan over. Tap a few times and your crusts will pop right out.
- While your crust bakes and then cools off, work on your vanilla filling. I’ve made this vanilla filling a different ways now, but I think this is my favorite and my girls really do agree!
- In a medium heat sauce pan add your milk, vanilla, and salt. Bring mixture to a boil, stirring every few once in a while, and then set aside.
- In a medium bowl mix together until combined your eggs, cornstarch, and sugar. Add this mixture into your sauce pan with your milk. Turn the heat up to a medium high and whisk until your liquid mixture thickens and turns into your cream. If you see that your mixture is not thickening after a 4 or 5 minutes, turn the heat up just a bit more, but make sure to keep whisking everything together.
- Pour your cream over a sieve in a bowl to thin it a bit more. This is not necessary, but I like the smoothy constantly that the sieve really gives the vanilla cream.
- Add your 4 tablespoons of butter, one at a time while mixing everything together.
- Cover with plastic and let sit in the refrigerator for about 4 hours or until it’s completely cool. At this time I would also put my crusts in the refrigerator and let them cool off as well.
- Once you are ready to create your tarts, go ahead wash your fruits and slice your strawberries.
- Simply scoop a spoonful of cream into each crust and layer some yummy fresh fruit on top.
This is one of my favorite breakfast recipes to make for my girls! You can easily add any type of fruit you like such as bananas, peaches, and even raspberries.
This mini fruit tart recipe is perfect to make ahead of time and keep refrigerated for the kids. It’s not only a delicious way to get kids to eat their fruits, but it’s refreshing recipe perfect for hot summer days.
You Are Also Going To Love:
If you loved this Delicious and Easy Fruit Tart Recipe with Cheerios™ Crust you will also love the following delicious recipes I have put together for you:
Would your kids love this recipe?


Leave a Reply