This past weekend I had the chance to attend my first blogging conference and learned so much from fellow bloggers. Conference means business cards, so I decided to create them myself to save money. So I created a tutorial on how to easily create your own business cards with PicMonkey to share with all of you. This post contains affiliate links.
Easily Create Your Own Business Cards With PickMonkey
I’m so glad that I decided to create my own business card design, because it truly turned out exactly how I wanted them too. I wanted my business cards to portray my blog, logo, and who I am. Sometimes it’s hard to explain to someone the vision in my head, so who better to create my vision, than myself! If you have PicMonkey then it’s going to be a piece of cake to create your own cards!
Let’s get started!
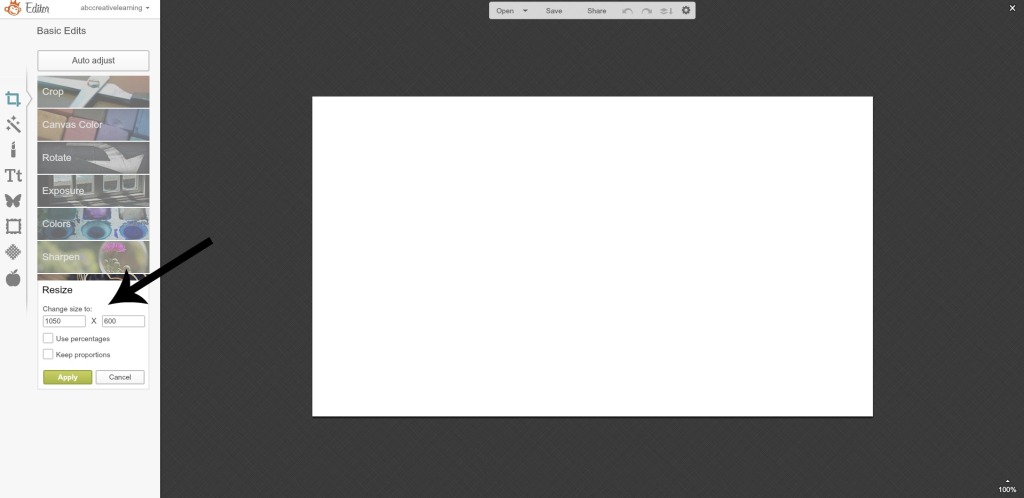
First you need to start off with a white high resolution blank picture, so make sure to download the one I share. Upload your white high-resolution blank picture to PicMonkey, rotate to landscape, and change the size 1050 x 600.
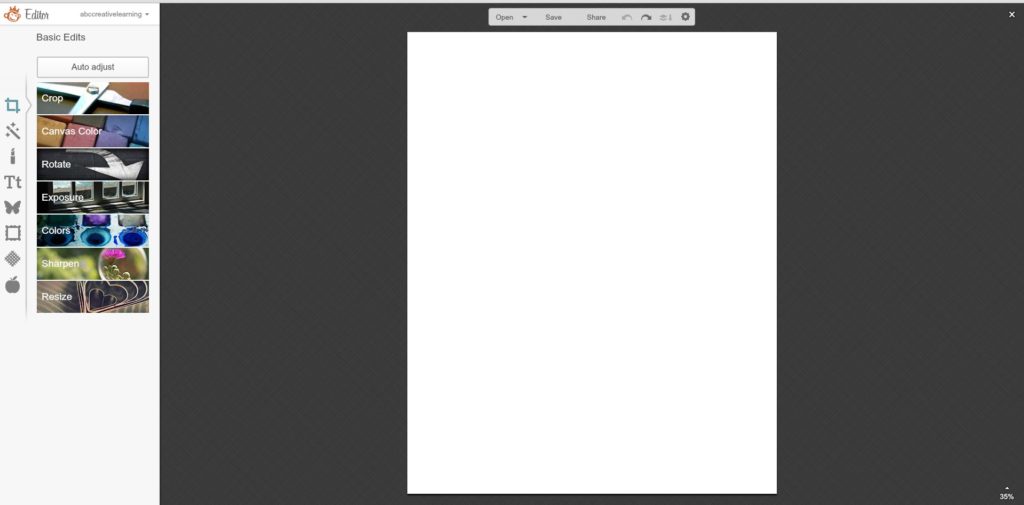
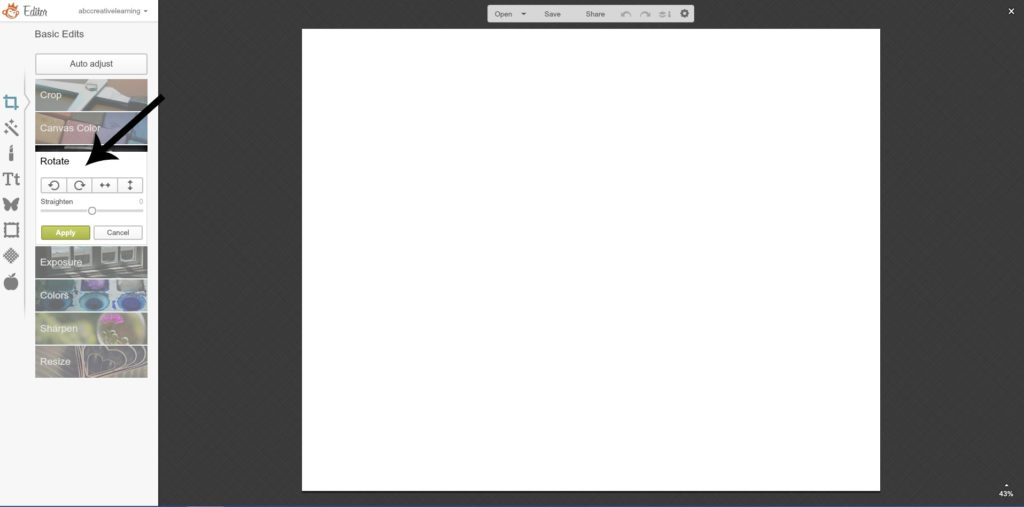
Rotate your picture to landscape
Re-size your blank picture to 1050 x 600
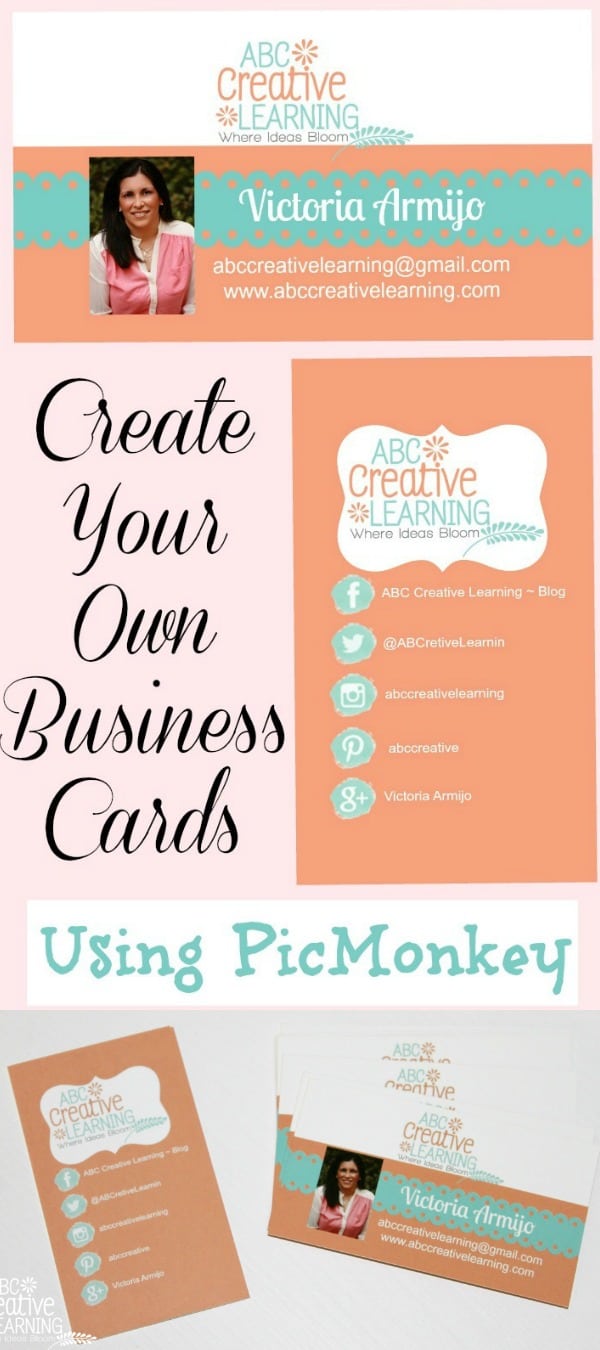
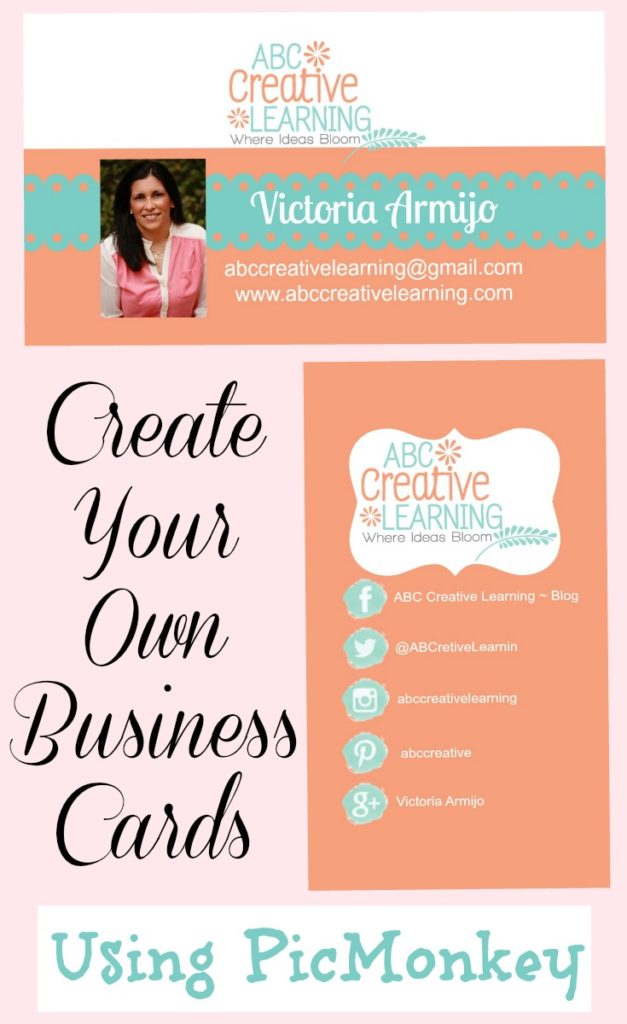
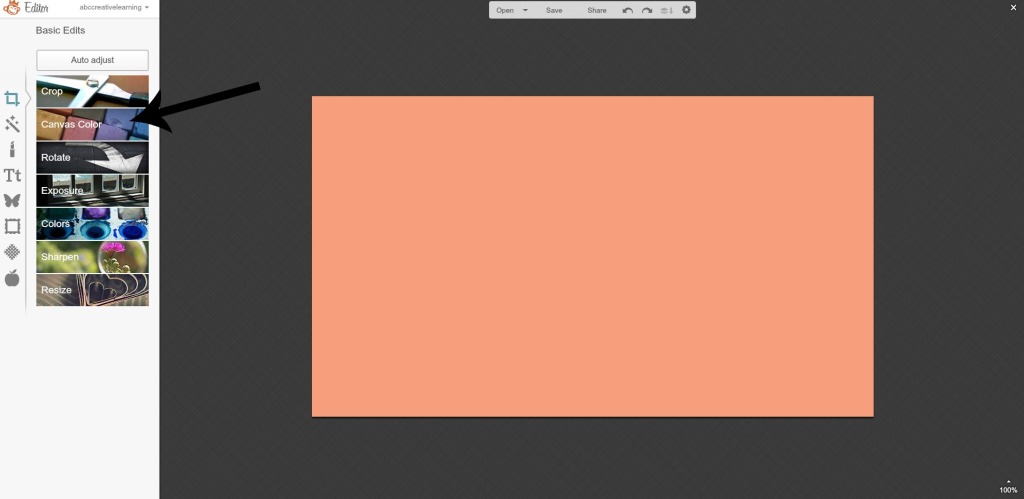
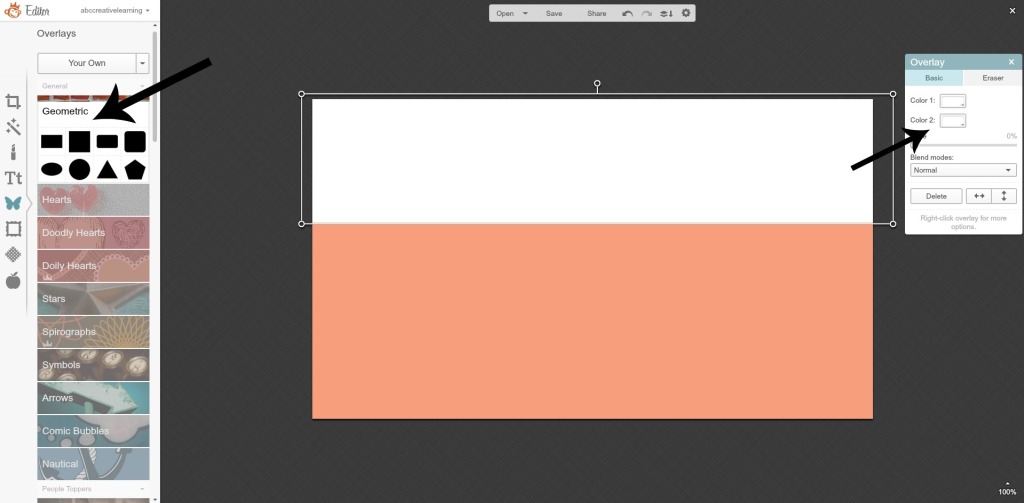
Now you are ready to start creating your business card. The first thing I did was add change my canvas color to match my logo to my coral color. Then I added an overlay rectangle shape on the top of the card, changed the color to white, and stretched it out as wide and long as I wanted it to be.
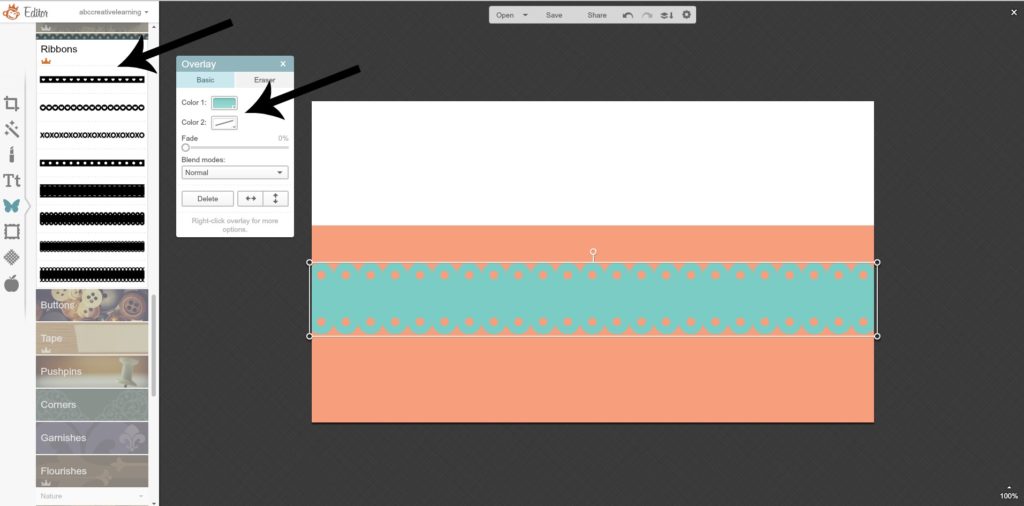
I then wanted to add a ribbon overlay underneath my information and picture to make the information pop, plus I thought it would look pretty. I then added my logo, picture and my email and blog web address. Try to use fonts that are either in your logo and are easy to read. You don’t want to hand out hundreds of business cards and then no one can read your contact information.
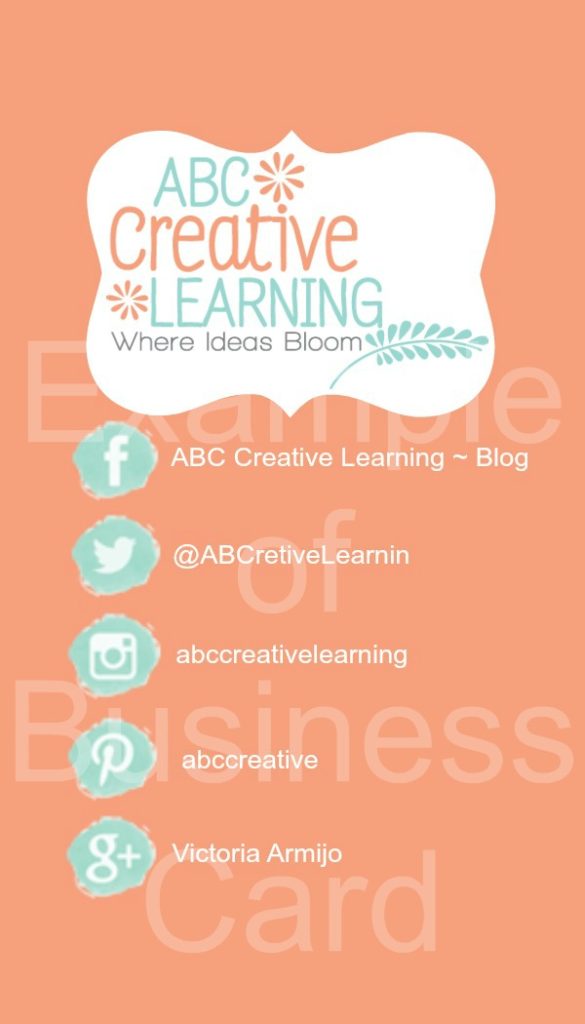
I also wanted to create a backside on the card that would have all my social media information where I could be contacted. This time I rotated the picture vertically, just because I wanted to fit as many social media buttons as I could without making it look too crowded.
Again, I started with my high-resolution pictures and then changed the background color on my card to match the front. I added a white label overlay and then added my logo on top. I also wanted to use social media labels on my business card, so I headed to Etsy and did a quick search for social media button clip arts in the colors I needed. I then purchased an entire set I could use later on for $6 (it also brought different sizes and about 10 colors).
The last step was to add all the social media buttons I wanted on my card and line them up underneath each other and then added the link name on how to find me on each one of them.
I decided to purchase my business cards through Vista Print because I know that they do really good work and I would have them in time for my conference. I have ordered many times through them in the past and have always been more than happy with the end results.
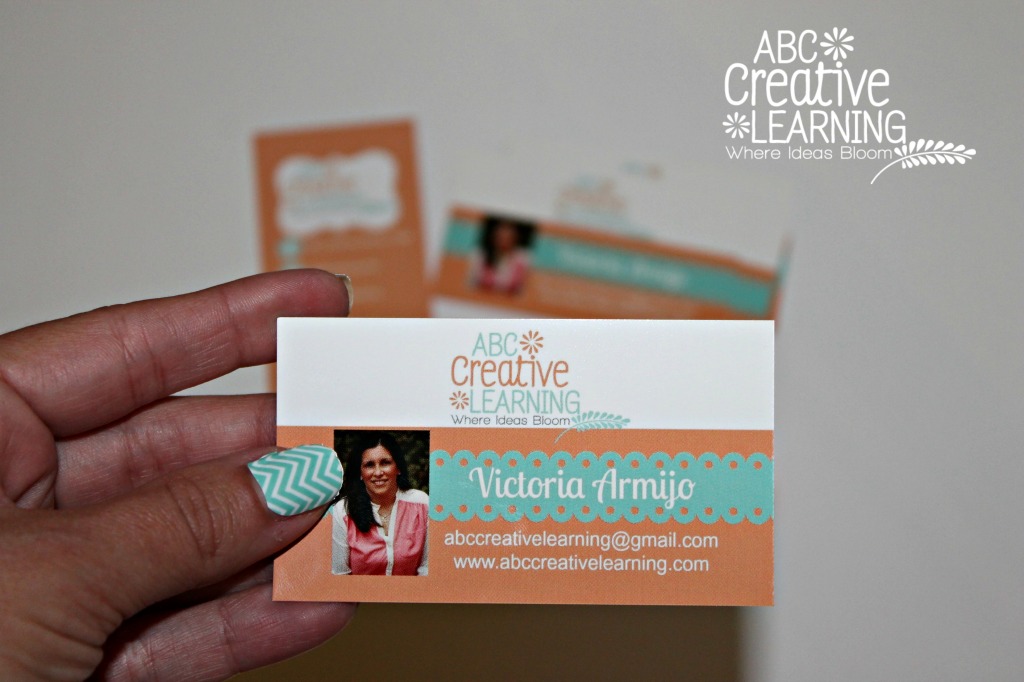
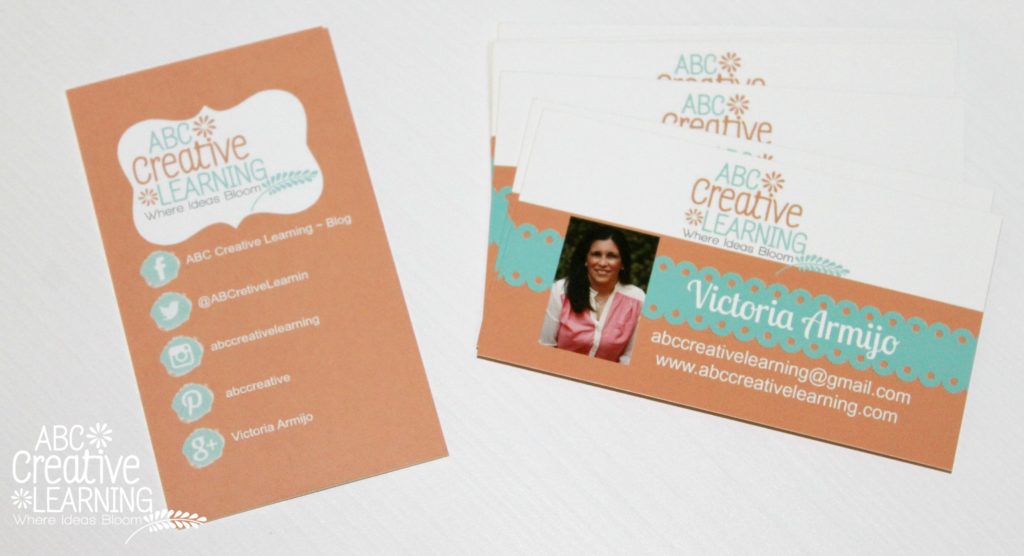
As you can see, you can really create anything that you want with PicMonkey and it’s super easy! Check out the final product for my business cards below.
I even designed my own nail wraps to match my logo for the conference (sorry for the picture, I’ve had them on for a week now). I really wanted to make sure that my brand came across with everyone I met.
I really loved being able to create my cards exactly the way I wanted them with all the information that I needed on them. Plus, the colors all matched perfectly with my blog. Hope this tutorial comes in handy for you!
You Are Also Going To Love:
If you loved how to Easily Create Your Own Business Cards Using PicMonkey, then you will also love the following DIY articles I have put together for you:
Have you created your own business cards before?




Your business cards look fantastic! I absolutely love PicMonkey and love finding new ways to use it. Thanks for sharing this great tutorial!
Thank you Bonnie! I heart PicMonkey 🙂
They came out lovely Victoria! I just wish I’d read this before I spent too much money on business cards!
Thanks Emma! I just had to figure out a way to create exactly what I wanted without having to pay a bundle for a design 🙂
Great job, I love Picmonkey but never used it to make business cards, great tutorial.
Thank you Antionette!
Good information to know and cute cards!
Thank you Ashley 🙂
Excellent post! I’ve been trying to figure out how to easily create the business card I have in my head – I will definitely be trying out my ideas over on PicMonkey now. Thanks 🙂
Thanks for stopping by Hannah! Hope it helps 🙂
This is fantastic~ Thanks so much for this tutorial!
Thank you for stopping by the Thoughtful Spot Weekly Blog Hop this week. We hope to see you drop by our neck of the woods next week!
Victoria, These are great!! I love using picmonkey! featuring these on #SerenitySaturday
Thank you Natasha!! I know… I don’t know what I would do without PicMonkey, LOL!