This DIY Extra Long Curtain Rods is the perfect farmhouse inspiration your home needs.
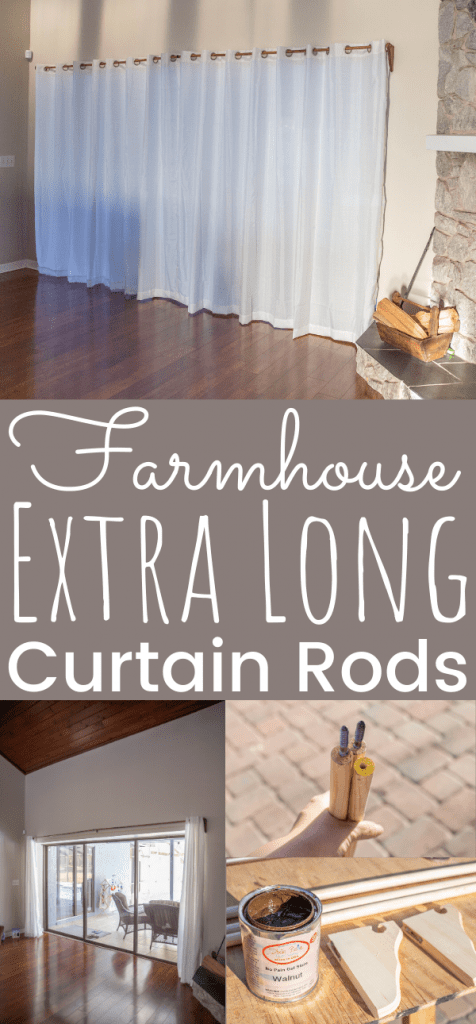
DIY Farmhouse Extra Long Curtain Rods
Since moving into our home now 10 months ago, I’ve been wanting to create some farmhouse inspired curtain rods for our living room.
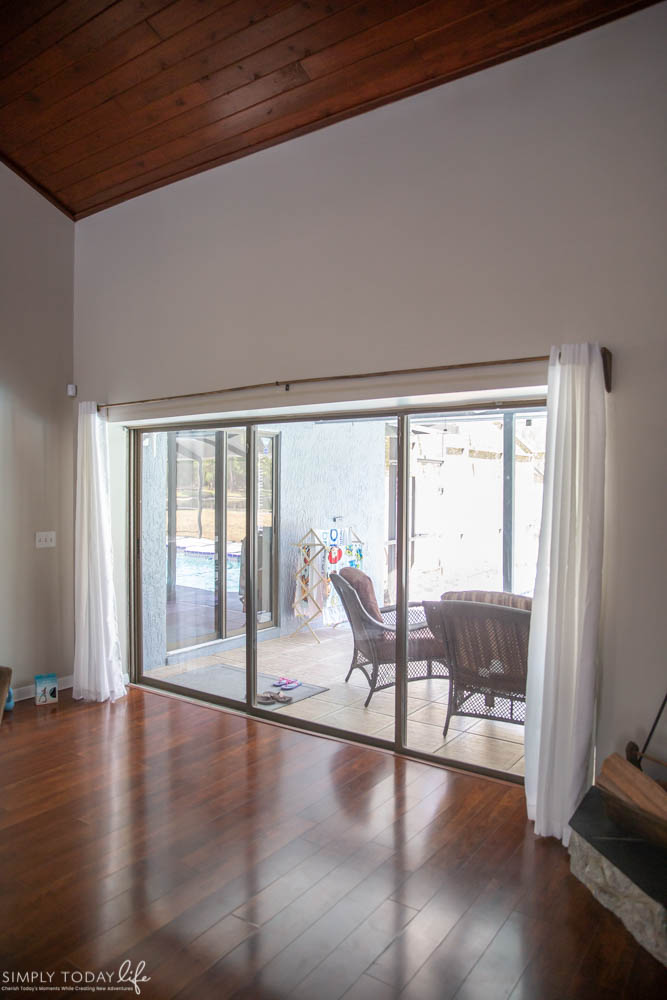
Especially since we have these beautiful extra long sliding glass doors.
I looked near and far for the perfect curtain rods for my sliding glass doors and after a lot of research I decided that I needed to make them myself.
The truth is, I’ve been missing my old kitchen remodel that I had done before we sold it.
I guess it was time I got back to some fun DIY and there is no better time than now that I’m quarantined at home.
This post contains some affiliate links for your convenience (it means if you click on a link and make a purchase I will earn a small commission. It will not cost you a penny more).
Why Make Your Own Curtain Rods
One of the reasons that I suggest making your own curtain rods is so that you can make it at your own specifications and length and match the colors to the rest of the room.
Plus, what better way to get precisely the design you want for your home at a low budget price.
The end results are always amazing and the experience is so much fun.
I love how I can match my wooden dowel colors to match the rest of the DIY work I have done for the house.
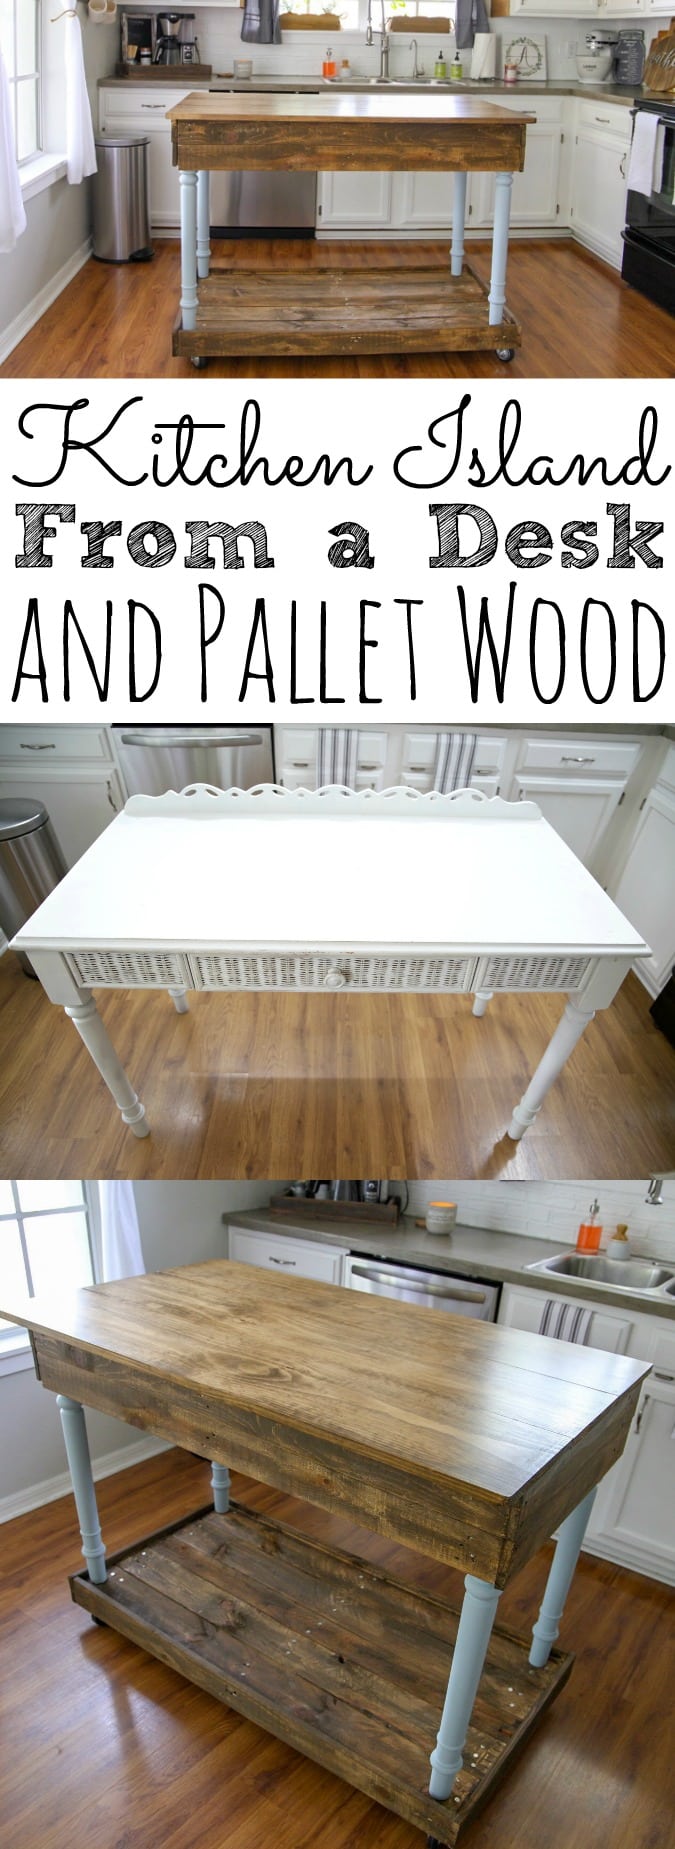
Like my DIY Kitchen Island Table, I had made for my old kitchen, which is now our outdoor pool bar table.
It’s the perfect way to tie in our colors from the inside of our home to the outdoors.
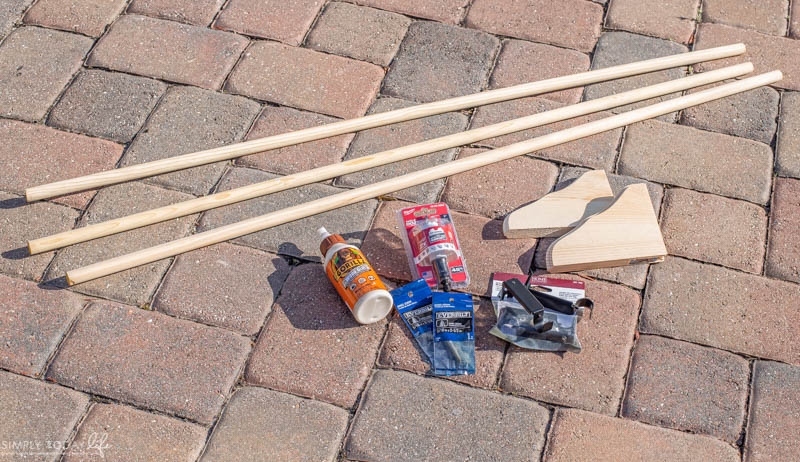
Materials Needed For Long Wooden Curtain Rod
I ordered all of my supplies and materials straight through the Home Depot and Dixie Belle website.
I sent the hubby to pick up my Home Depot supply at the pick up area and my Dixie Belle stain came straight to my door!
It doesn’t get any easier than that!
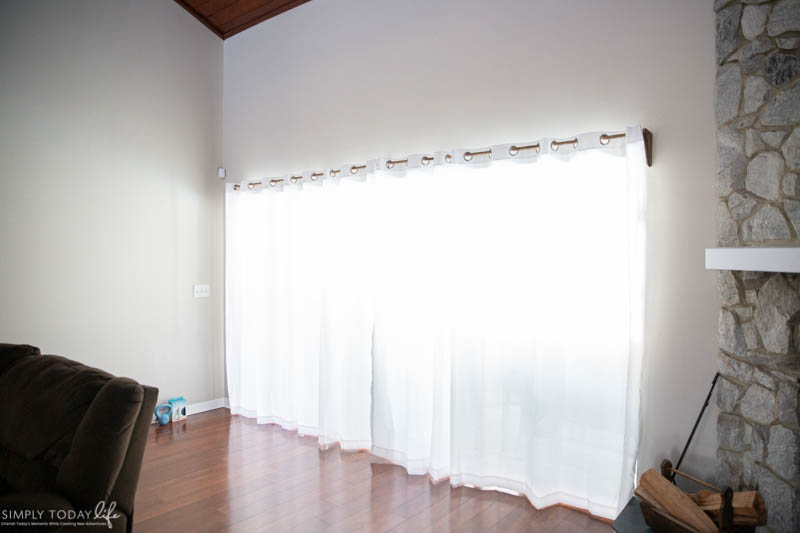
Just so you get an idea of how long our sliding glass doors are my measurements were 141″x79″.
So I wanted something that was going to fit perfectly in length and have no extra rod hanging out because I didn’t have much room on the ends of the sliding glass door.
- (3) 3/4 in. x 48 in. Hardwood Round Dowel
- (1) in. Hole Dozer Bi-Metal Hole Saw with 3/8 in. Arbor & Pilot Bit
- (2) 5/16 in.-18 TPI x 2-1/2 in. Double Ended Coarse Steel Dowel Screws
- (2) Wood Corbel (Common: 6 in. x 8 in.; Actual: 5.125 in. x 7.125 in.)
- (1) 3/4 in. Decorative Cafe Bracket in Oil Rubbed Bronze
- No Pain Gel Stain in Walnut
- (2) Loha Patio 108 in. W x 84 in. L Linen Blend Grommet Top Curtain Panel in Winter White – (These are the panels I purchased)
Tip: For the screws, I needed them to be a bit thinner because of the diameter on my dowel rods, but this is all they had, so I made it work.
How To Make Farmhouse Style Wooden Long Curtain Rods
I was super happy to finally have gotten my wooden curtain rods up and hanging to give us a little bit more privacy.
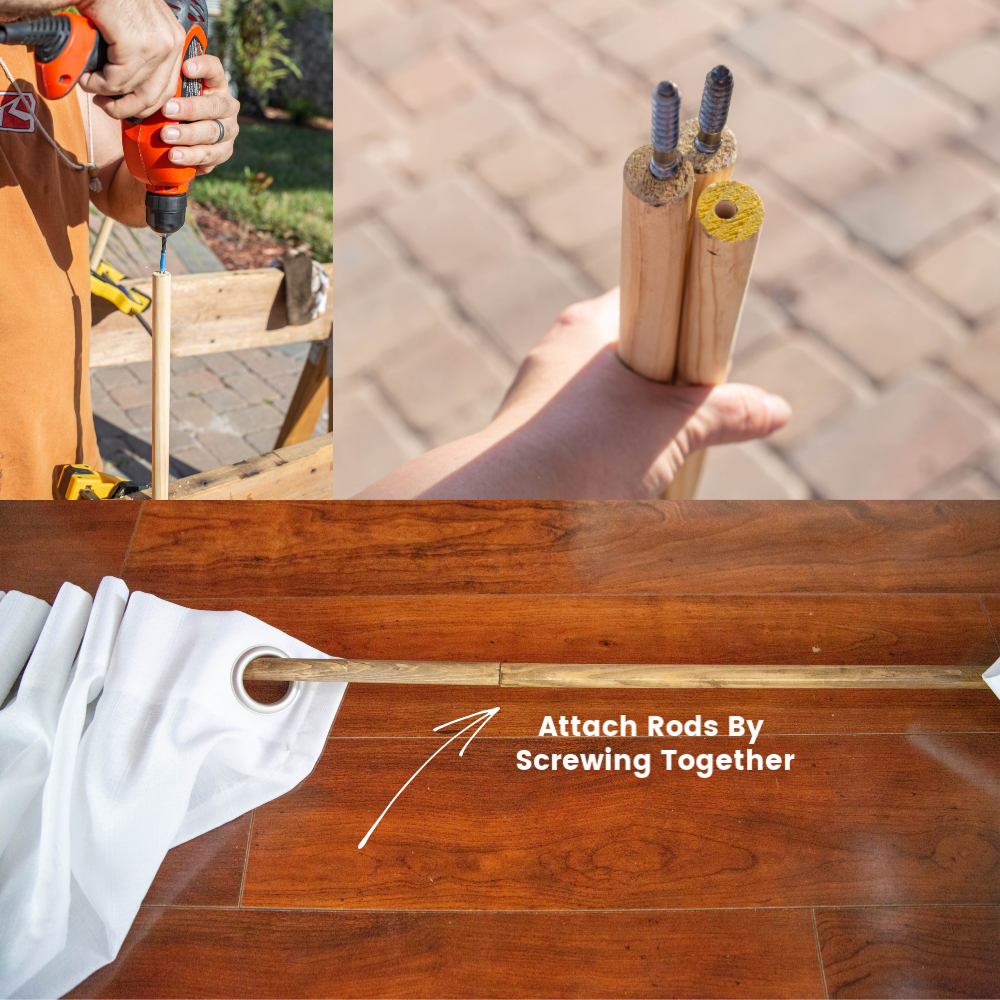
- Start by drilling holes into your wooden dowel rods.
- Once you have your holes drilled on all of your wooden dowel rods, it’s time to paint or stain the wood.
- I chose to stain my wood with Dixie Belle Paint No Pain Gel Stain, which is an oil-based stainer in color, Walnut.
- To stain my wood dowels, I used a towel to rub the color on the entire rod. The more gel I add to the rod, the darker the color becomes.
- Set aside your dowel rods and allow them to dry completely.
- Once the stain is completely dry, it’s time to screw together your dowel pieces to create an extra long curtain rod.
- Be very careful when turning your rods, you don’t want the wood to split.
- If your dowel rods do not end up touching each other, use some wood glue to finish sealing off space.
Tip: Drilling a hole for the screws before on the dowel rods will prevent the wood from splintering or tearing. Especially since my screws were a little bigger than I wanted them to be.
I also purchased Gorilla Wood Glue to add in between the are I was joining two rods together in case there was space, but they secured together correctly.
Don’t be afraid to get creative to make sure your rods are joined and sealed. Wood glue is perfect for that!
How To Use Corbels As Curtain Rod Holders
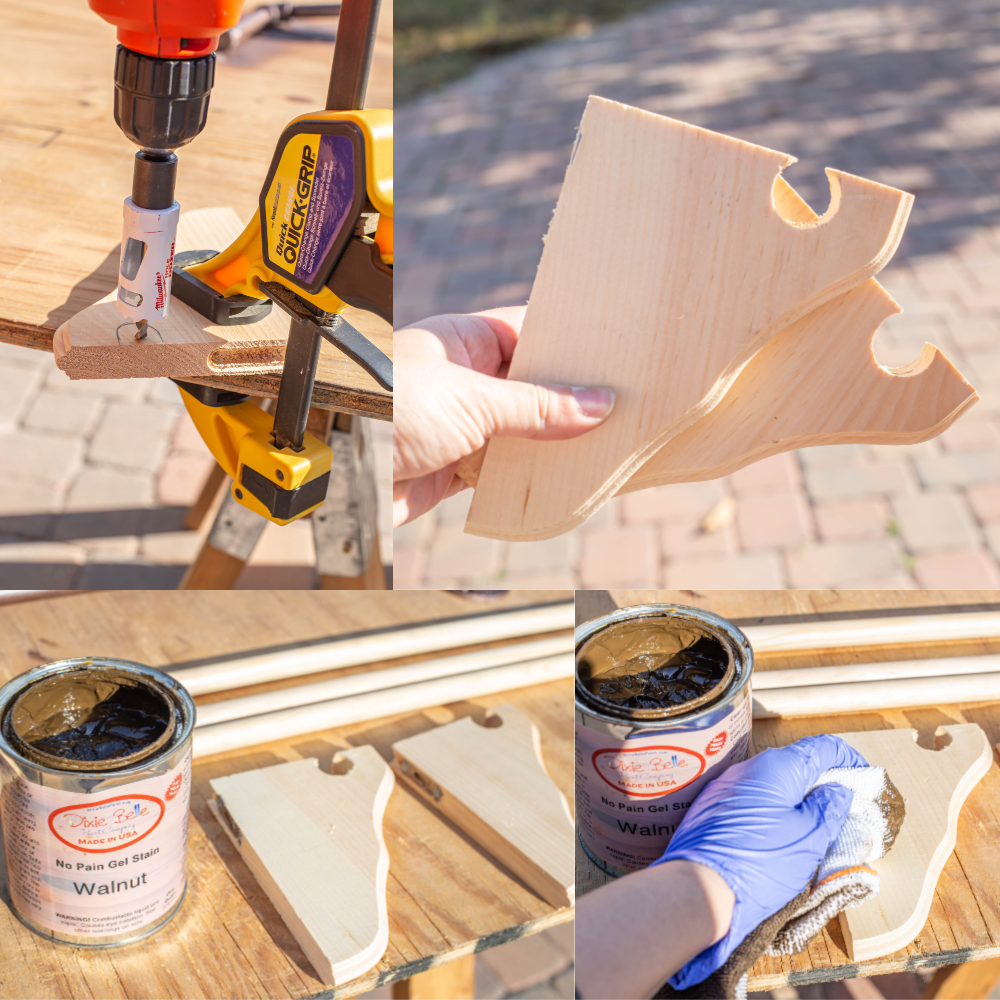
When I was trying to figure out how I wanted to hang my wooden curtain rods I started looking for ideas on how to use corbels.
I knew I didn’t want to spend a lot of money on the corbels and you can if you purchase some fancy ones, but finding the right size to hold my dowel rods was important.
When I saw how Rachel from Maison de Pax took a corbel and used a Hole Dozer Bi-Metal Hole Saw to create the size she needed for her rods I was sold!
I mean, come one! That’s just genius and budget-friendly! So make sure to check out her blog that I linked above for you all!
- My husband clasped the corbels with his Quick-Grip Clamp so that it wouldn’t move.
- I wanted to make sure that my rods would fit perfectly in the corbels and not leave any wiggle room.
- Then I drilled through to create a half-circle where the rods would lay on using a hole dozer.
- Once I had cut both of my corbels according to size, it was time to stain.
- Because I’ve used this gel stain before in other DIY’s I knew I wanted to use the color as is without doing anything more on my wooden corbels.
- Stain the entire corbel, even the area where you just cut out.
- Allow drying completely.
Tip: Because my dowel rods and corbels were different types of woods I knew they would stain differently, but I was okay with this.
In fact, I loved the way the came out.
So, keep that in mind when purchasing your wood if you want the stain to be exactly the same go for the same type of wood and finish.
How To Hang DIY Extra Long Curtain Rods
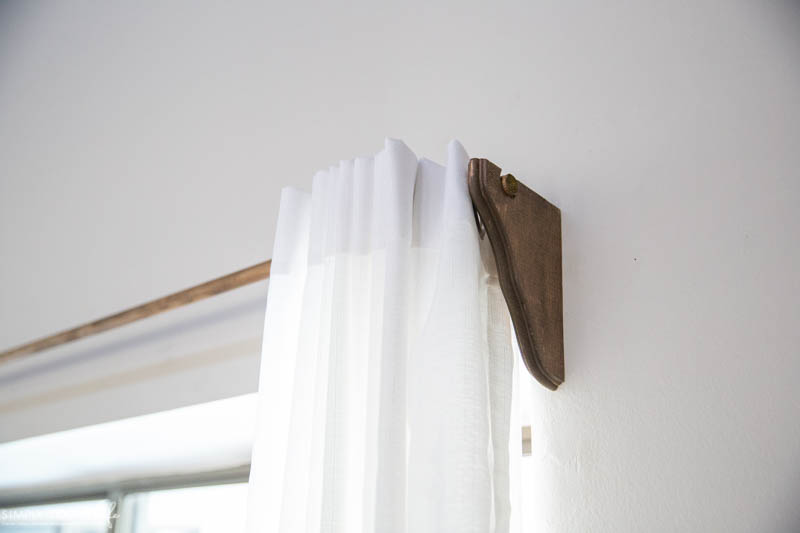
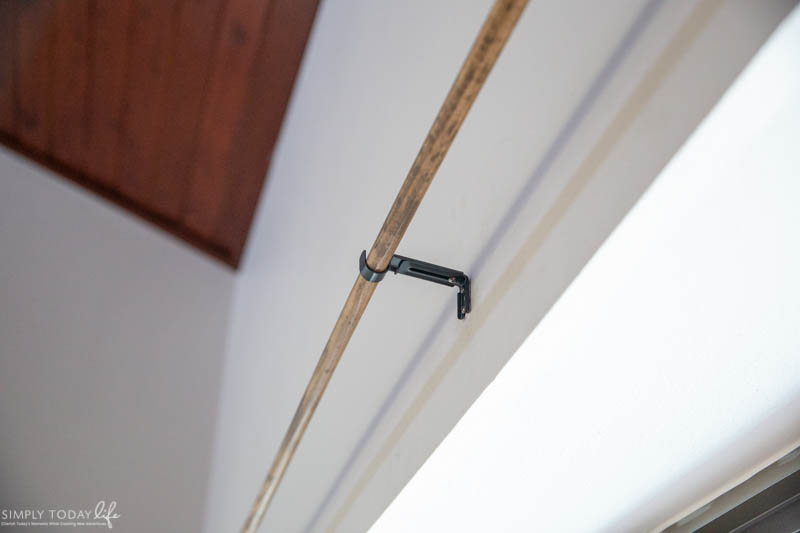
My vision was to have the two corbels at the end of the curtain rod and a black metal bracket in the middle.
I have a sign that will be hangin over this sliding glass door with some faux plants around it, so you will not be able to see the metal bracket once that is there.
Plus, I love mixing in wood and metal pieces together to bring in a more farmhouse feel to the room.
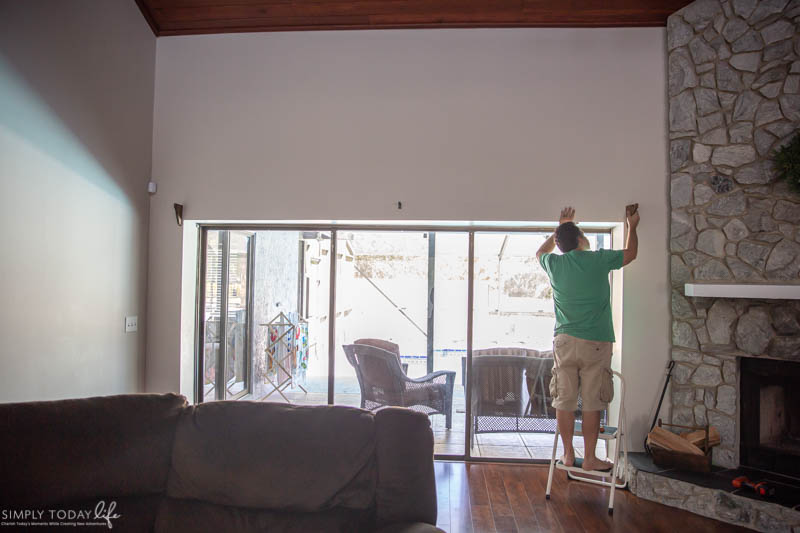
Remember, your DIY extra long curtain rods will be very long. Make sure to get some help when hanging them over the corbels and bracket.
- Attach a corbel at the end of each are where your curtain rod will hang.
- Then in the middle attach your metal bracket.
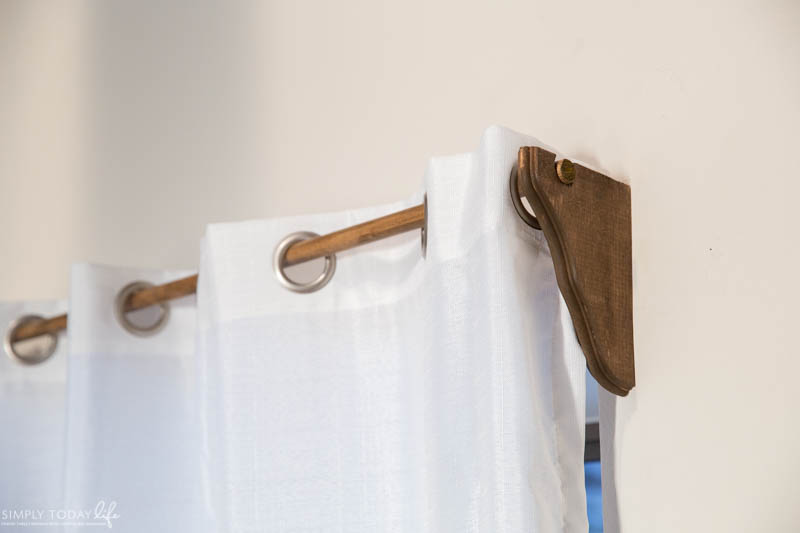
- Attach your wood rods on top and make sure they are in the hole that you made for the corbel. You don’t want them sliding off.
- The metal bracket comes with screws that I used to tighten the wooden dowel securely on the wall. This avoids the dowel sliding or turning.
Tip: My favorite part about using the corbels is the fact that they already come with the brackets attached on the back.
How To Choose The Perfect Curtains
When you choosing your curtains think about how long you want them and how much light you would like to come thru.
Because I was using these curtains for our living room area I wanted them to block our neighbors from looking inside at night, but I wanted enough light to come through in the mornings.
So I went with a cotton fabric that wasn’t light blocking, but it gave us enough privacy.
I also wanted the length of the curtains to cover the entire sliding glass doors area, but only about an inch off the floor.
I looked for months before I found these Loha Patio 108 in. W x 84 in. L Linen Blend Grommet Top Curtain Panel in Winter White at Home Depot!
I actually bought 5 of these curtain panels because I have some other areas in the home that I still need to build some more curtain rods for.
So think about:
- How much light you want to come in the room
- Fabric material
- Color to match your area
- The length to the floor before installing your rods
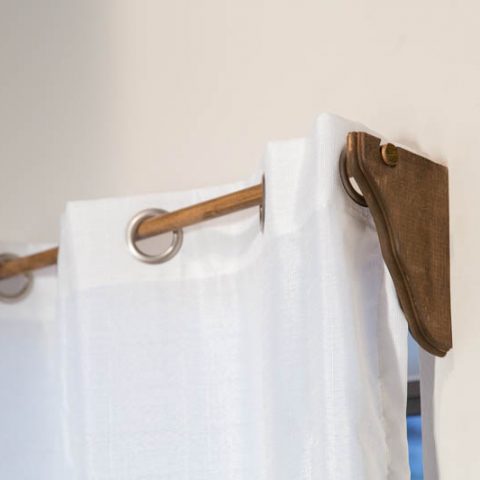
How To Make Farmhouse Curtain Rods
Looking to create your own curtain rods? This Farmhouse Style DIY Curtain Rods will be perfect for long sliding glass doors.
Materials
- (3) 3/4 in. x 48 in. Hardwood Round Dowel
- (2) 5/16 in.-18 TPI x 2-1/2 in. Double Ended Coarse Steel Dowel Screws
- (2) Wood Corbel (Common: 6 in. x 8 in.; Actual: 5.125 in. x 7.125 in.)
- (1) 3/4 in. Decorative Cafe Bracket in Oil Rubbed Bronze
- No Pain Gel Stain in Walnut from Dixie Belle Paint
- Loha Patio 108 in. W x 84 in. L Linen Blend Grommet Top Curtain Panel
Tools
- (1) in. Hole Dozer Bi-Metal Hole Saw with 3/8 in. Arbor & Pilot Bit
- Clamps
- Wood glue
Instructions
Making Curtain Rods
- Start by drilling holes into your wooden dowel rods.
- Once you have your holes drilled on all of your wooden dowel rods, it’s time to paint or stain the wood.
- I chose to stain my wood with Dixie Belle Paint No Pain Gel Stain, which is an oil-based stainer in color, Walnut.
- To stain my wood dowels, I used a towel to rub the color on the entire rod. The more gel I add to the rod, the darker the color becomes.
- Set aside your dowel rods and allow them to dry completely.
- Once the stain is completely dry, it’s time to screw together your dowel pieces to create an extra long curtain rod.
- Be very careful when turning your rods, you don’t want the wood to split.
- If your dowel rods do not end up touching each other, use some wood glue to finish sealing off space.
Using Corbels to Hang Curtain Rods
- My husband clasped the corbels with his Quick-Grip Clamp so that it wouldn’t move.
- I wanted to make sure that my rods would fit perfectly in the corbels and not leave any wiggle room.
- Then I drilled through to create a half-circle where the rods would lay on using a hole dozer.
- Once I had cut both of my corbels according to size, it was time to stain.
- Because I’ve used this gel stain before in other DIY’s I knew I wanted to use the color as is without doing anything more on my wooden corbels.
- Stain the entire corbel, even the area where you just cut out.
- Allow drying completely.
- Attach a corbel at the end of each are where your curtain rod will hang.
- Then in the middle attach your metal bracket.
- Attach your wood rods on top and make sure they are in the hole that you made for the corbel. You don’t want them sliding off.
- The metal bracket comes with screws that I used to tighten the wooden dowel securely on the wall. This avoids the dowel sliding or turning.
Attaching Curtain Rods
Notes
Tip: Drilling a hole for the screws before on the dowel rods will prevent the wood from splintering or tearing. Especially since my screws were a little bigger than I wanted them to be.
Must-Have DIY Tools
What I Would Have Done Differently
Now that I have my beautiful curtain rods hanging in my living room I’m in love, but there are a few things that I would have done differently that I wanted to share.
First, I would have gone with a thicker wooden dowel for my curtains.
I know these will last for a while, but I believe that thicker ones would have worked a bit better with the curtains that I ordered.
The second thing I would do differently is to purchase a fancier wooden corbel and probably will soon.
The living room is the central area of our home and it’s the first thing you see when you walk in.
So I think I will want something bigger later on that will draw your attention to that area.
Other than that, I’m so happy with the way our farmhouse inspired curtain rods look!
Plus, it couldn’t have been an easier DIY to make and on a budget!
I hope this gives you some inspiration to create your own DIY Extra Long Curtain Rods for your home!
More Home DIY Ideas From The Blog
Do you enjoy doing DIY ideas for your home?

Leave a Reply