This post may contain affiliate links.
A few months ago I purchased some dryer balls on Etsy so that it would help with cutting down drying time on our clothes, but after a few times of using them they completely fuzzed up and weren’t really working the way I would have liked them to. I then did a quick few searches and found out that it was super easy to make my own dryer balls for less then half the price that I paid for. Plus, if I used coupons to purchase my wool at the craft store the price would be even less.
I purchased my wool at Jo Ann’s Craft Store using my 40% off coupons for each of my items, bringing down the price just a bit over $4 each! So, for about $16 I made 4 dryer balls, saving me almost 50% off what I paid the first time for my 4 dryer balls. Plus, I am able to add my essential oils to my dryer balls! Even better!!
Why Use Dryer Balls?
- Helps with decreasing drying time, saving you money and time. This was the biggest reason for me to begin using dryer balls. I felt like some items such as jeans and thicker sweaters in the winter were taking a lot longer to dry.
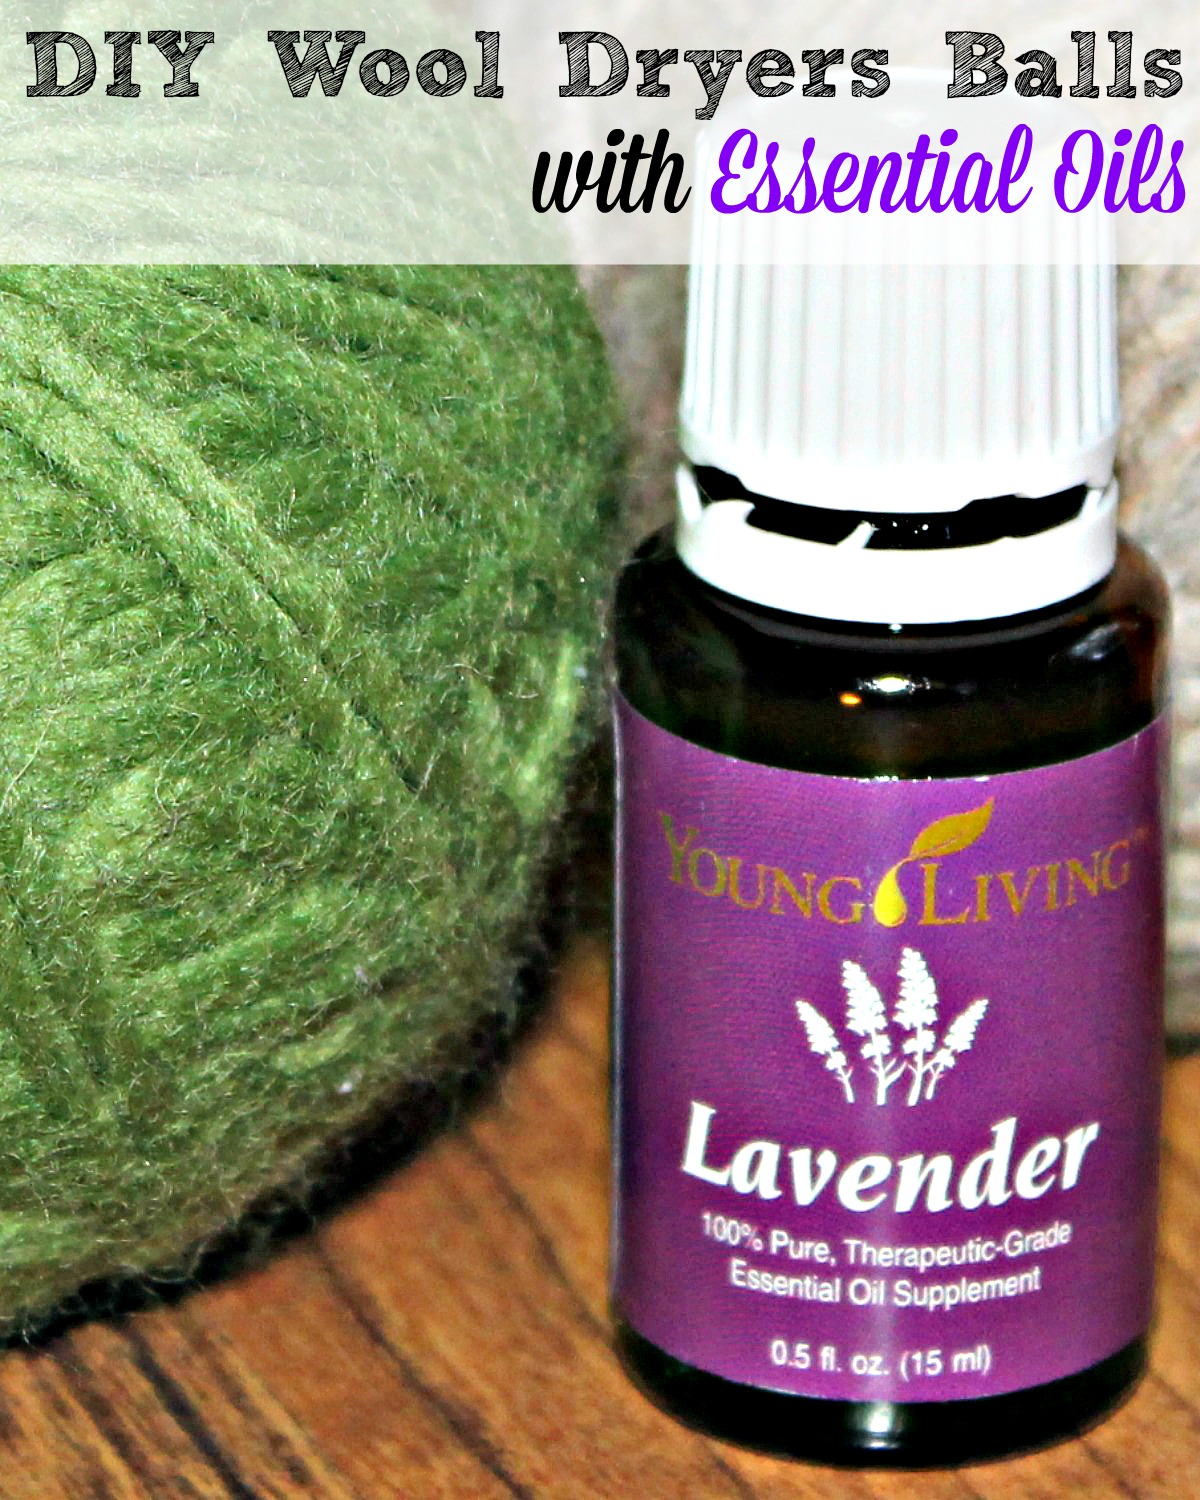
- No chemicals! With our daughters having very sensitive skin I cannot use dryer sheets or anything with fragrance in them, so I add essential oils to my dryer balls. I love adding Lavender to my dryer balls, especially when I dry our pajamas and bedding items. It really does help all of us have a better goodnight sleep.
- Reduce static in clothes. If you use 100% wool when making your dryer balls it will reduce static and helps with softening clothes.
- Save you money! Dryer balls will last you for years, saving you tons of money in dryer sheets.
Materials Needed
- 100% wool yarn – make sure it’s not labeled “washable” or “superwash”
- scissors
- pantyhose
- crochet hook
- string
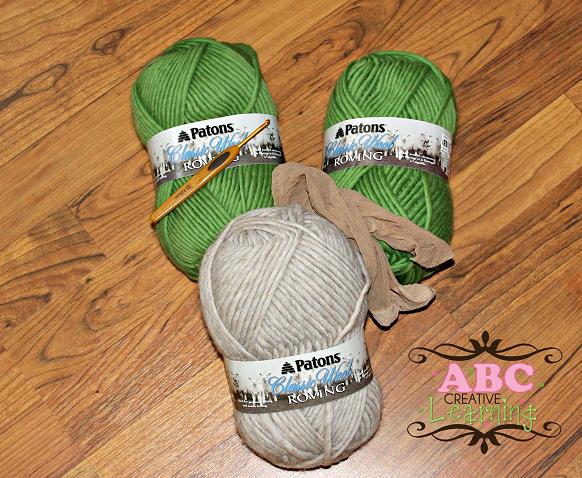
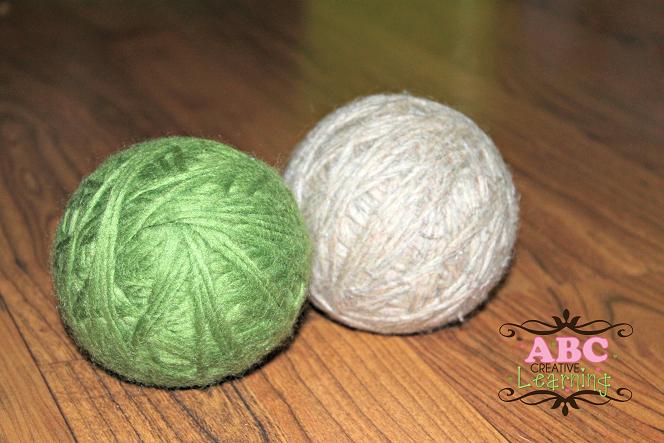
Now making your own wool dryer balls is super easy and can really be done while you lay in bed watching television, which is what I do 🙂 I use an entire Patons Classic Wool Roving Yarn to make one dryer ball the size of a softball. I find that when they are larger they help dry faster and they don’t get lost in my laundry. Don’t worry about color, they do not stain or bleed out. I personally like the light beige colors or bright colors like the green above.
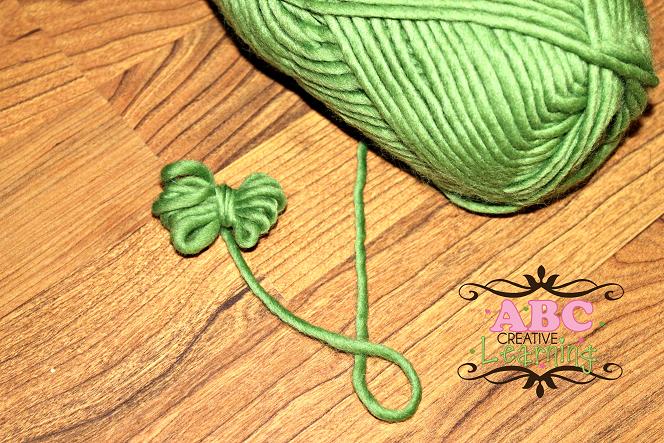
- I first start off with unwinding a long piece of wool string, I then wrap the string around two fingers (index and middle fingers) about 12-15 times. Then carefully pull out the bunch and wrap around the middle several times nice and tight.
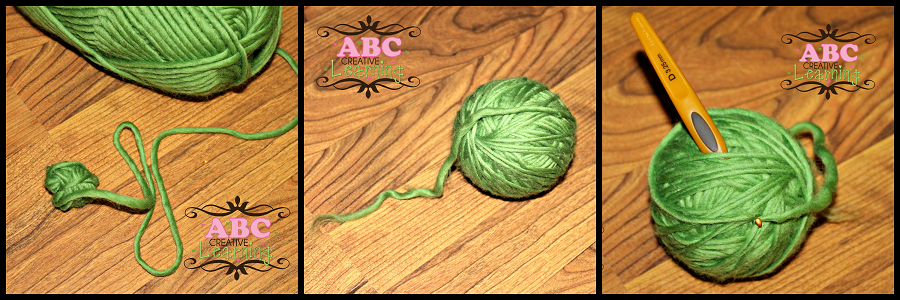
- Keep wrapping your yarn around over and over until you see that your ball begins to form.
- Wrap your yarn around your ball until you have the size you would like for your dryer balls to be. Like I mentioned above, I use the entire thing for 1 ball.
- Using a crotchet hook pull the string that is left over through several layers of yarn. I usually wrap the yarn a few times around the tip and then insert into the ball and pull through the opposite side several times.
- When you finish wrapping as many dryer balls as you need or like, using a pantyhose insert your balls inside. Make sure that you are sealing them tight from both sides with a piece of string, not with the same yarn you are using (it will felt and fray).
- Time to wash your dryer balls. Throw all of your new dryer balls with a thick load of laundry such as towels, jeans, or socks. Preferably a load that will be washed in HOT water.
- Dry your balls in the highest setting possible in your dryer. You want to make sure that everything gets nice and tight.
- Take your balls out of the pantyhose and make sure that there is no felting when you rub your finger or nail against the ball. If your ball felts, just repeat the washer and dryer steps again until you see no felting on your ball.
Now your ready to put these puppies to work! Throw them in with all of your loads of laundry in your dryer and if you wish add a few drops of your favorite essential oils. Remember to use high grade 100% essential oils for no staining. I use Young Living’s Lavender essential oils for a great calming and amazing scent, click here to purchase or learn more.
I also like to use 4-6 dryer balls at a time and for easy storage just leave them right in your dryer ready for the next load. An easy and affordable way to dry your clothes in less time! Remember your craft store coupons to help with cost 🙂
Do you use dryer balls?

Disclaimer: I only recommend using high quality therapeutic-grade Young Living Essential Oils for ingestion. These are not everyday oils that you can find at the store. This is also what has worked for me and my family, this is in no way to take away from what is suggested from your doctor. I am not a doctor and I am not promising any healing or medicinal advice. I just love therapeutic oils and love sharing how we use them at home. These statements have not been evaluated by the food and drug administration. Contains Affiliate links.

Now this is an awesome idea! Thank you for sharing and linking up with us at the #WWDParty. Have a great week.
Thanks Antionette! Have a wonderful week 🙂
Wow, I love this so much! I don’t use my dryer much purely for the reason that it uses so much energy but when I need to use it, it can be frustrating how long clothes take to dry. I am most certainly going to try this, especially when winter comes (Summer here in Australia now).
Hi Eva and thanks for stopping by! Yes, I completely agree! Even here in Florida my dryer sometimes takes 2-3 times before my towels or jeans get completely dry and I’ve noticed that with the dryer balls it definitely helps! Just the other day I dried our jeans with one cycle 🙂 Let me know what you think! Have a wonderful week!
wonderful blog tutorial! i am sharing this page with all of my contacts : )
Thank you Jenna! Hope you have a wonderful week 🙂
What an awesome idea and tutorial; I should get on these soon. Plus, what a fun “extra” to gift! Thanks for linking up at Growing Home!
HI Becca, thanks so much for stopping by! I didn’t even think about gifting them and my girlfriends birthday is tomorrow! She would love these 🙂 Have a wonderful week!
These would be awesome to use especially for sheets and towels!
Hi Heather! Yes, I love adding Lavender to my dryer balls when I do our sheets because it smells so good and relaxing! Thanks for stopping by 🙂 Have a wonderful week!
This is a great idea! I love how you added essential oil. Thanks for sharing at Family Fun Friday. I’m featuring you this week.
Thanks so much Sarah! I love the essential oils, especially lavender when I dry my sheets 🙂 Thanks for stopping by and featuring my post!
Congratulations…this post was featured on Create It Thursday #42! Thanks for sharing such a great idea with us last week!
Thanks so much for feature Leslie and for stopping by! Have a great week 🙂
I’ve been wanting to make some drier balls but just haven’t got around to it yet. I didn’t know that they cut down the drying time. Knowning now I need to get busy and make some. They help with static electricity too? Everything I touch I get shocked. I love the idea of the essential oil. Bet everything smells so good coming out of the drier. I think I have a JoAnns coupon on my phone, plus one through the mail. Will take hubby with me so he can use one coupon.
What do you mean by ” if your ball felts”.
Thanks for sharing your felt balls and have a great weekend!
Hi Linda, yes it helps with drying time and cuts down static as well. I don’t use dryer sheets because my daughter as very sensitive skin so I usually add Lavender essential oils to the dryer balls and throw her clothes in 🙂 Smells wonderful and no static! Yes, definitely use your coupons to save you some money and it will definitely be worth it. It’s a little time consuming, but like I said you can literally just sit in front of the television and roll your ball. What I mean about your ball felting is when you run your nail up and down your ball and the fuzzies come out. You basically don’t want that to happen, you want the yarn to be nice and tight that when you rub your nail on it nothing comes out 🙂 Hope that helps and if you try them let me know what you think! Have a great weekend!
I made four dryer balls. I had to wash them twice. Then I threw them in the dryer with my sheets, and once dry I didn’t hear pop pop static static as I pulled them out 😀 Now all I need is to get some lavender essential oil. I think I will make a couple more.
Thanks again for sharing how to make these.
Oh, yay!! I have 6 in my dryer right now 🙂 I’m thinking of making a few more! Definitely some lavender! Everything smells so heavenly afterwards! Thanks for stopping by and letting me know how your project went!
Neat idea!
Great to have you at Seasonal Sundays.
– The Tablescaper
Thank you for stopping by 🙂 Have a great weekend!
I love this. Your are a smartie.
Thanks Katie!! Have a great weekend 🙂
Thank you so much for this! I have some wool dryer balls that I actually really like, but there are getting close to their 1,000 load limit. I’ll have to see if I can make these to replace them!
Hi Rabia, thanks for stopping by! They are super easy to make too! Next thing you know you will have a dryer full of them just like me 😉
I had no idea anything like this even existed. I think I need some now 🙂
Yes, you do Trish! They are the best and super easy to make! Let me know how you like them when you do 🙂 Have a great weekend!
Oh I am so glad to see this!! I have been eyeing some dryer balls on Amazon for a while now because we have such a problem with static on our clothes (and I hate to use dryer sheets) but they are just so expensive!! I will definitely be trying this out, thanks so much for sharing!!