“This shop is part of a social shopper marketing insight campaign with Pollinate Media Group and Scott Brand, but all my opinions are my own. “pmedia #Scottvalue http://my-disclosur.es/OBsstV”
 This week we will be celebrating Earth Day and learning about Space! What better way to start the week than with a fun 3-D Light Up Moon Craft using Scott Bath Tissue?
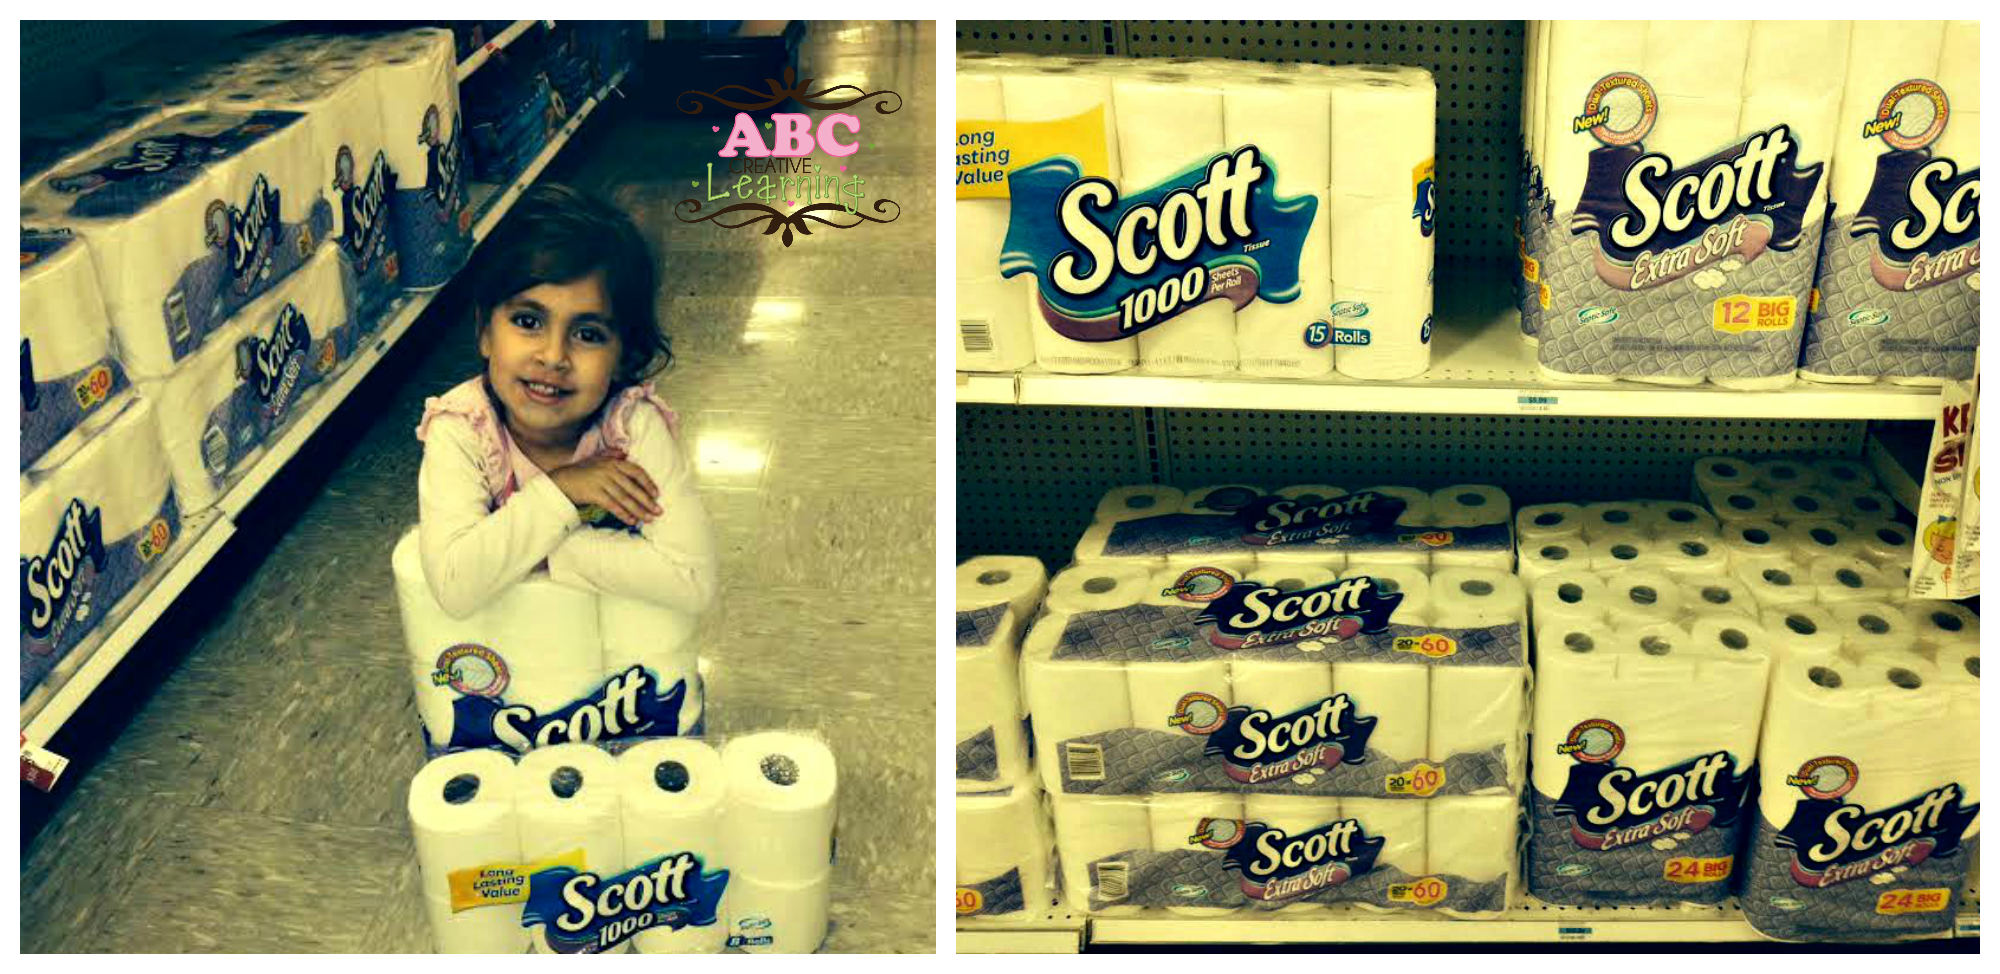
Last week I headed to Kmart with one of my crafting buddies to purchase some Scott Bath Tissue to use for our moon craft. Scott offers so many different choices, from the Scott Extra Soft or Scott 1000 tissue that we couldn’t decide on just one, so we decided to try making our moon craft with both. This would give my girls the opportunity to compare and contrast the lighting of two different moons!
Check out Kmart’s Shop You Way Rewards for great coupon offers on Scott Tissue products this week!

Materials Needed to make a 3-D Light Up Moon Craft:
- Scott Extra Soft or Scott 1000 bath tissue
- Craft glue
- Small battery operated votive candles
- Cup with water
- Small bowls to set your balloon on
- Balloon
- Paint brushes
- Table cloth or newspaper (to cover craft area)
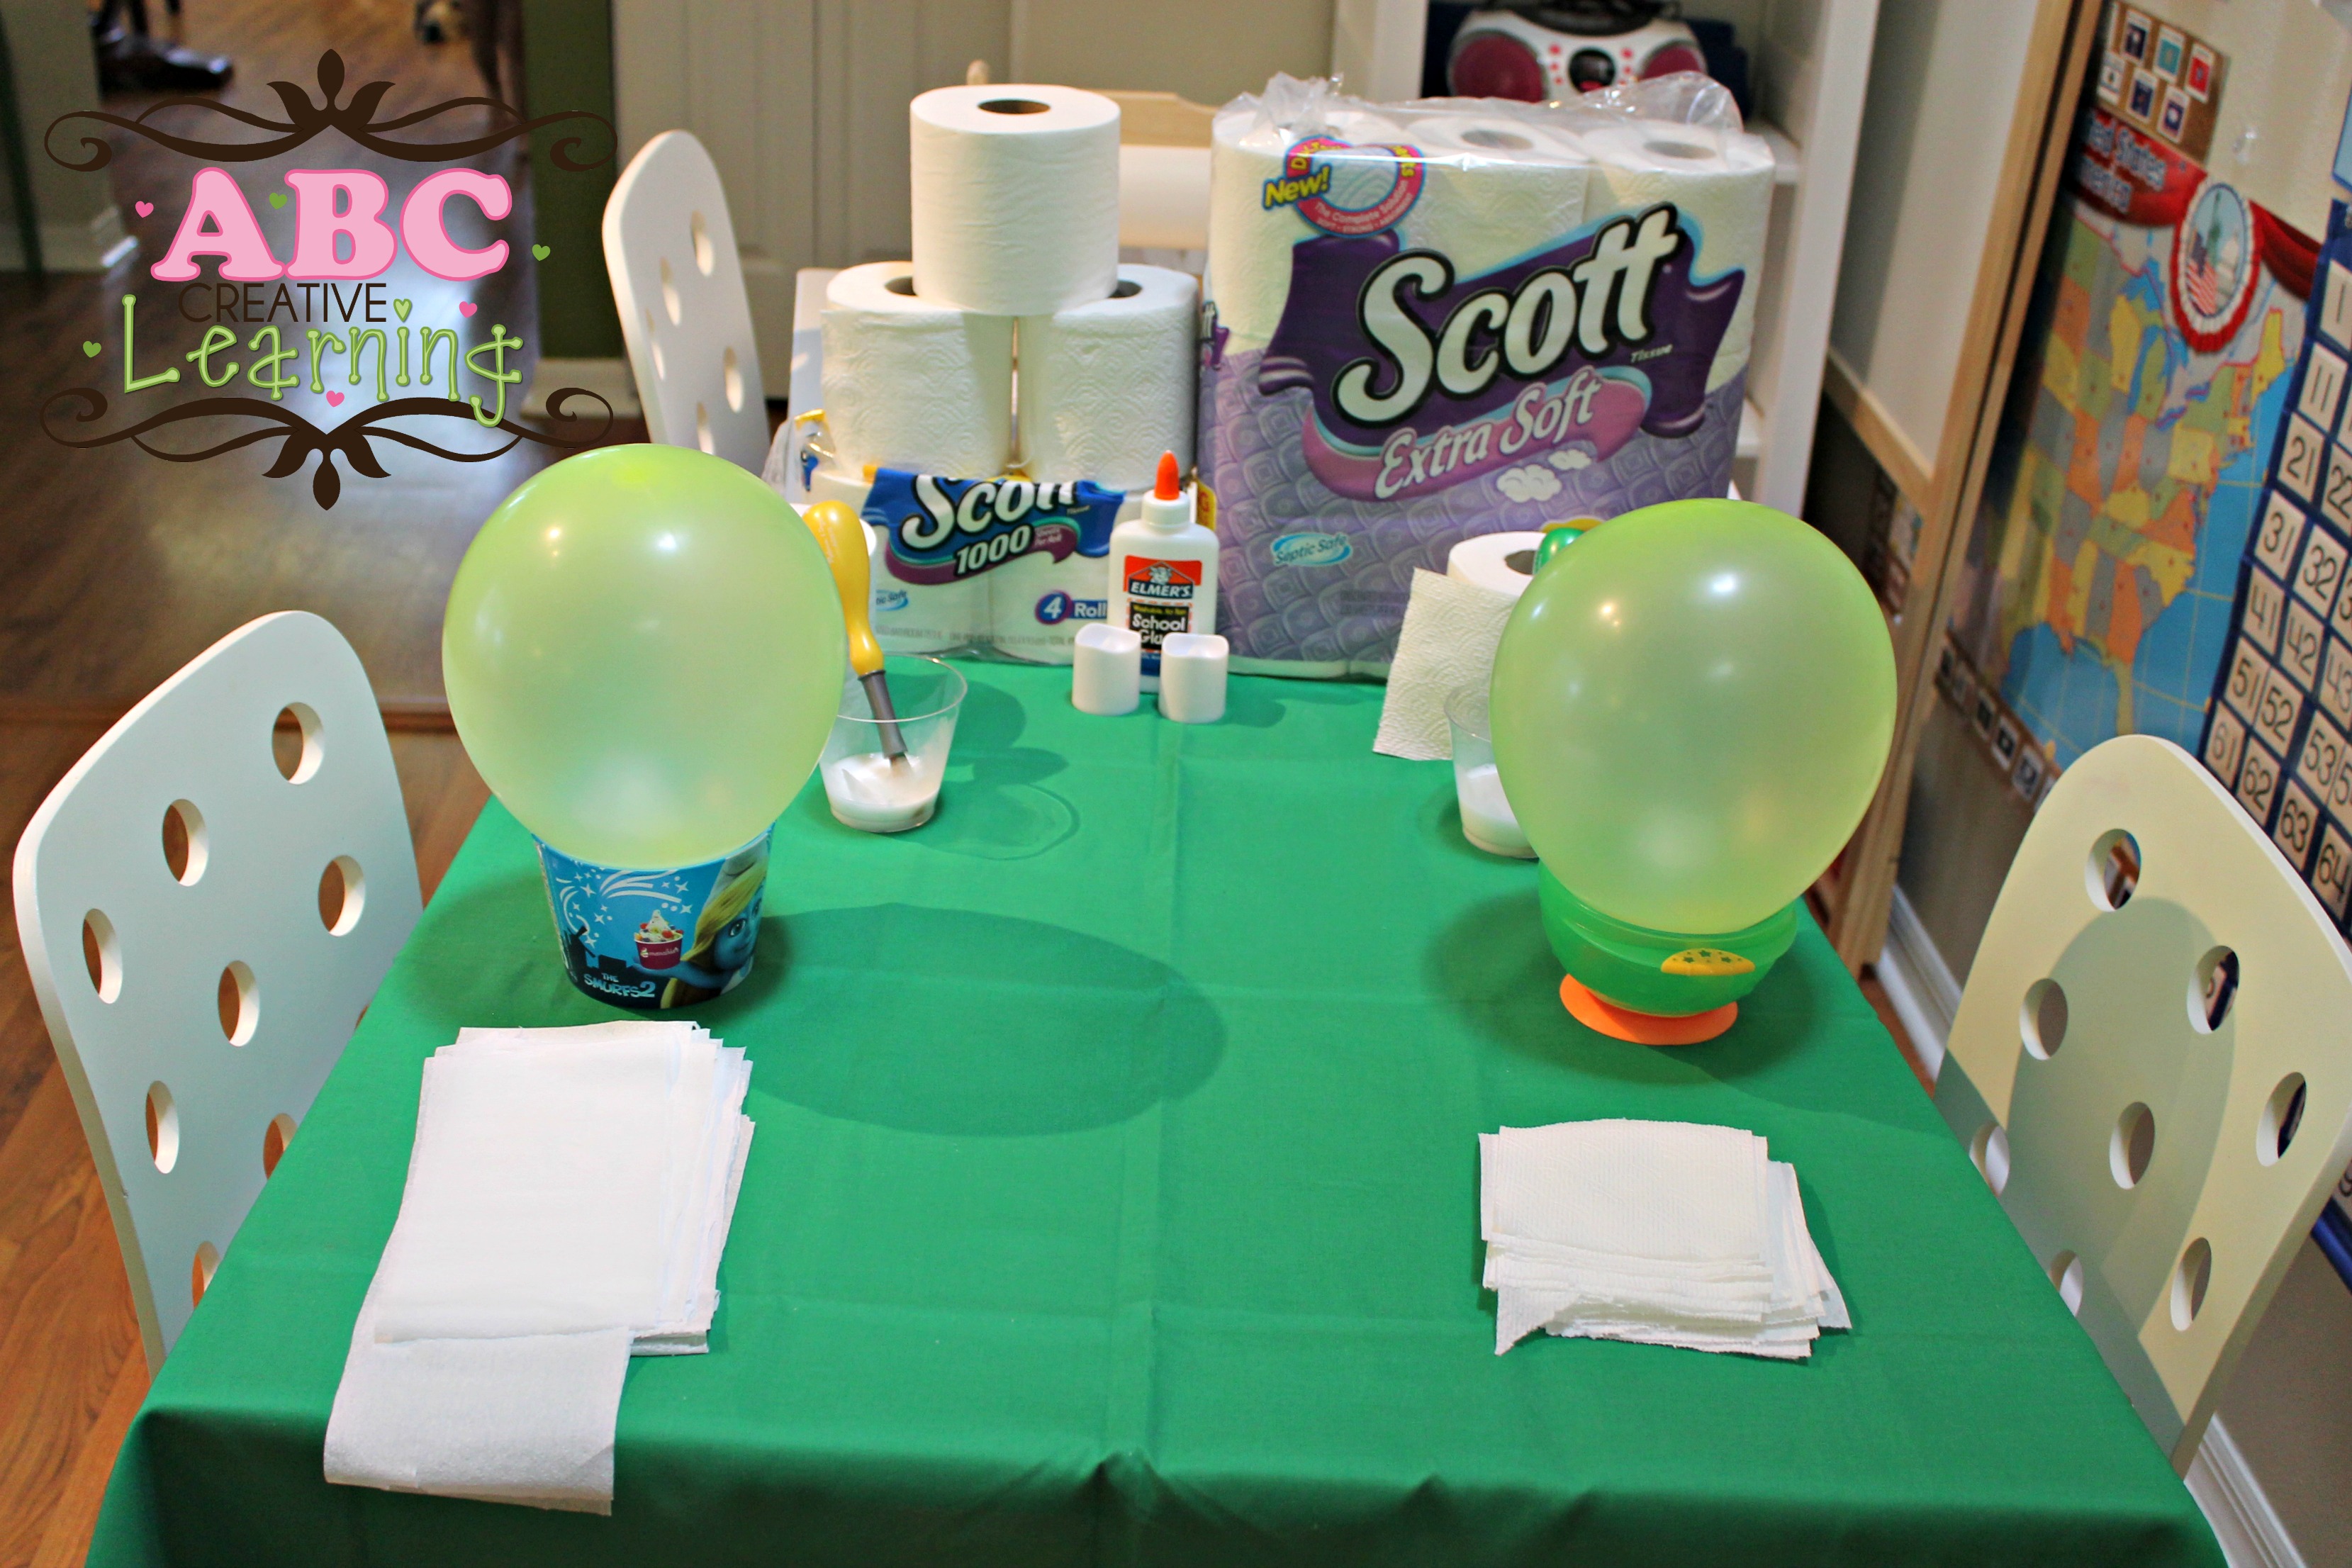 The first thing to do is to set up your craft area for the kiddos. This craft can be a bit messy, well… okay it can be a lot messy, but the best part is that you can also use the Scott Bath Tissue for clean ups or check out their Natural Wipes!
Steps for setting up craft area:
- Cover table area with either a table cloth or newspaper.
- Pull your Scott tissue paper apart into single or double pieces. Make sure to keep your rolls close by, you will need a bit of it.
- Mix equal parts of water and your craft glue together
- Blow up a balloon to your desired size.
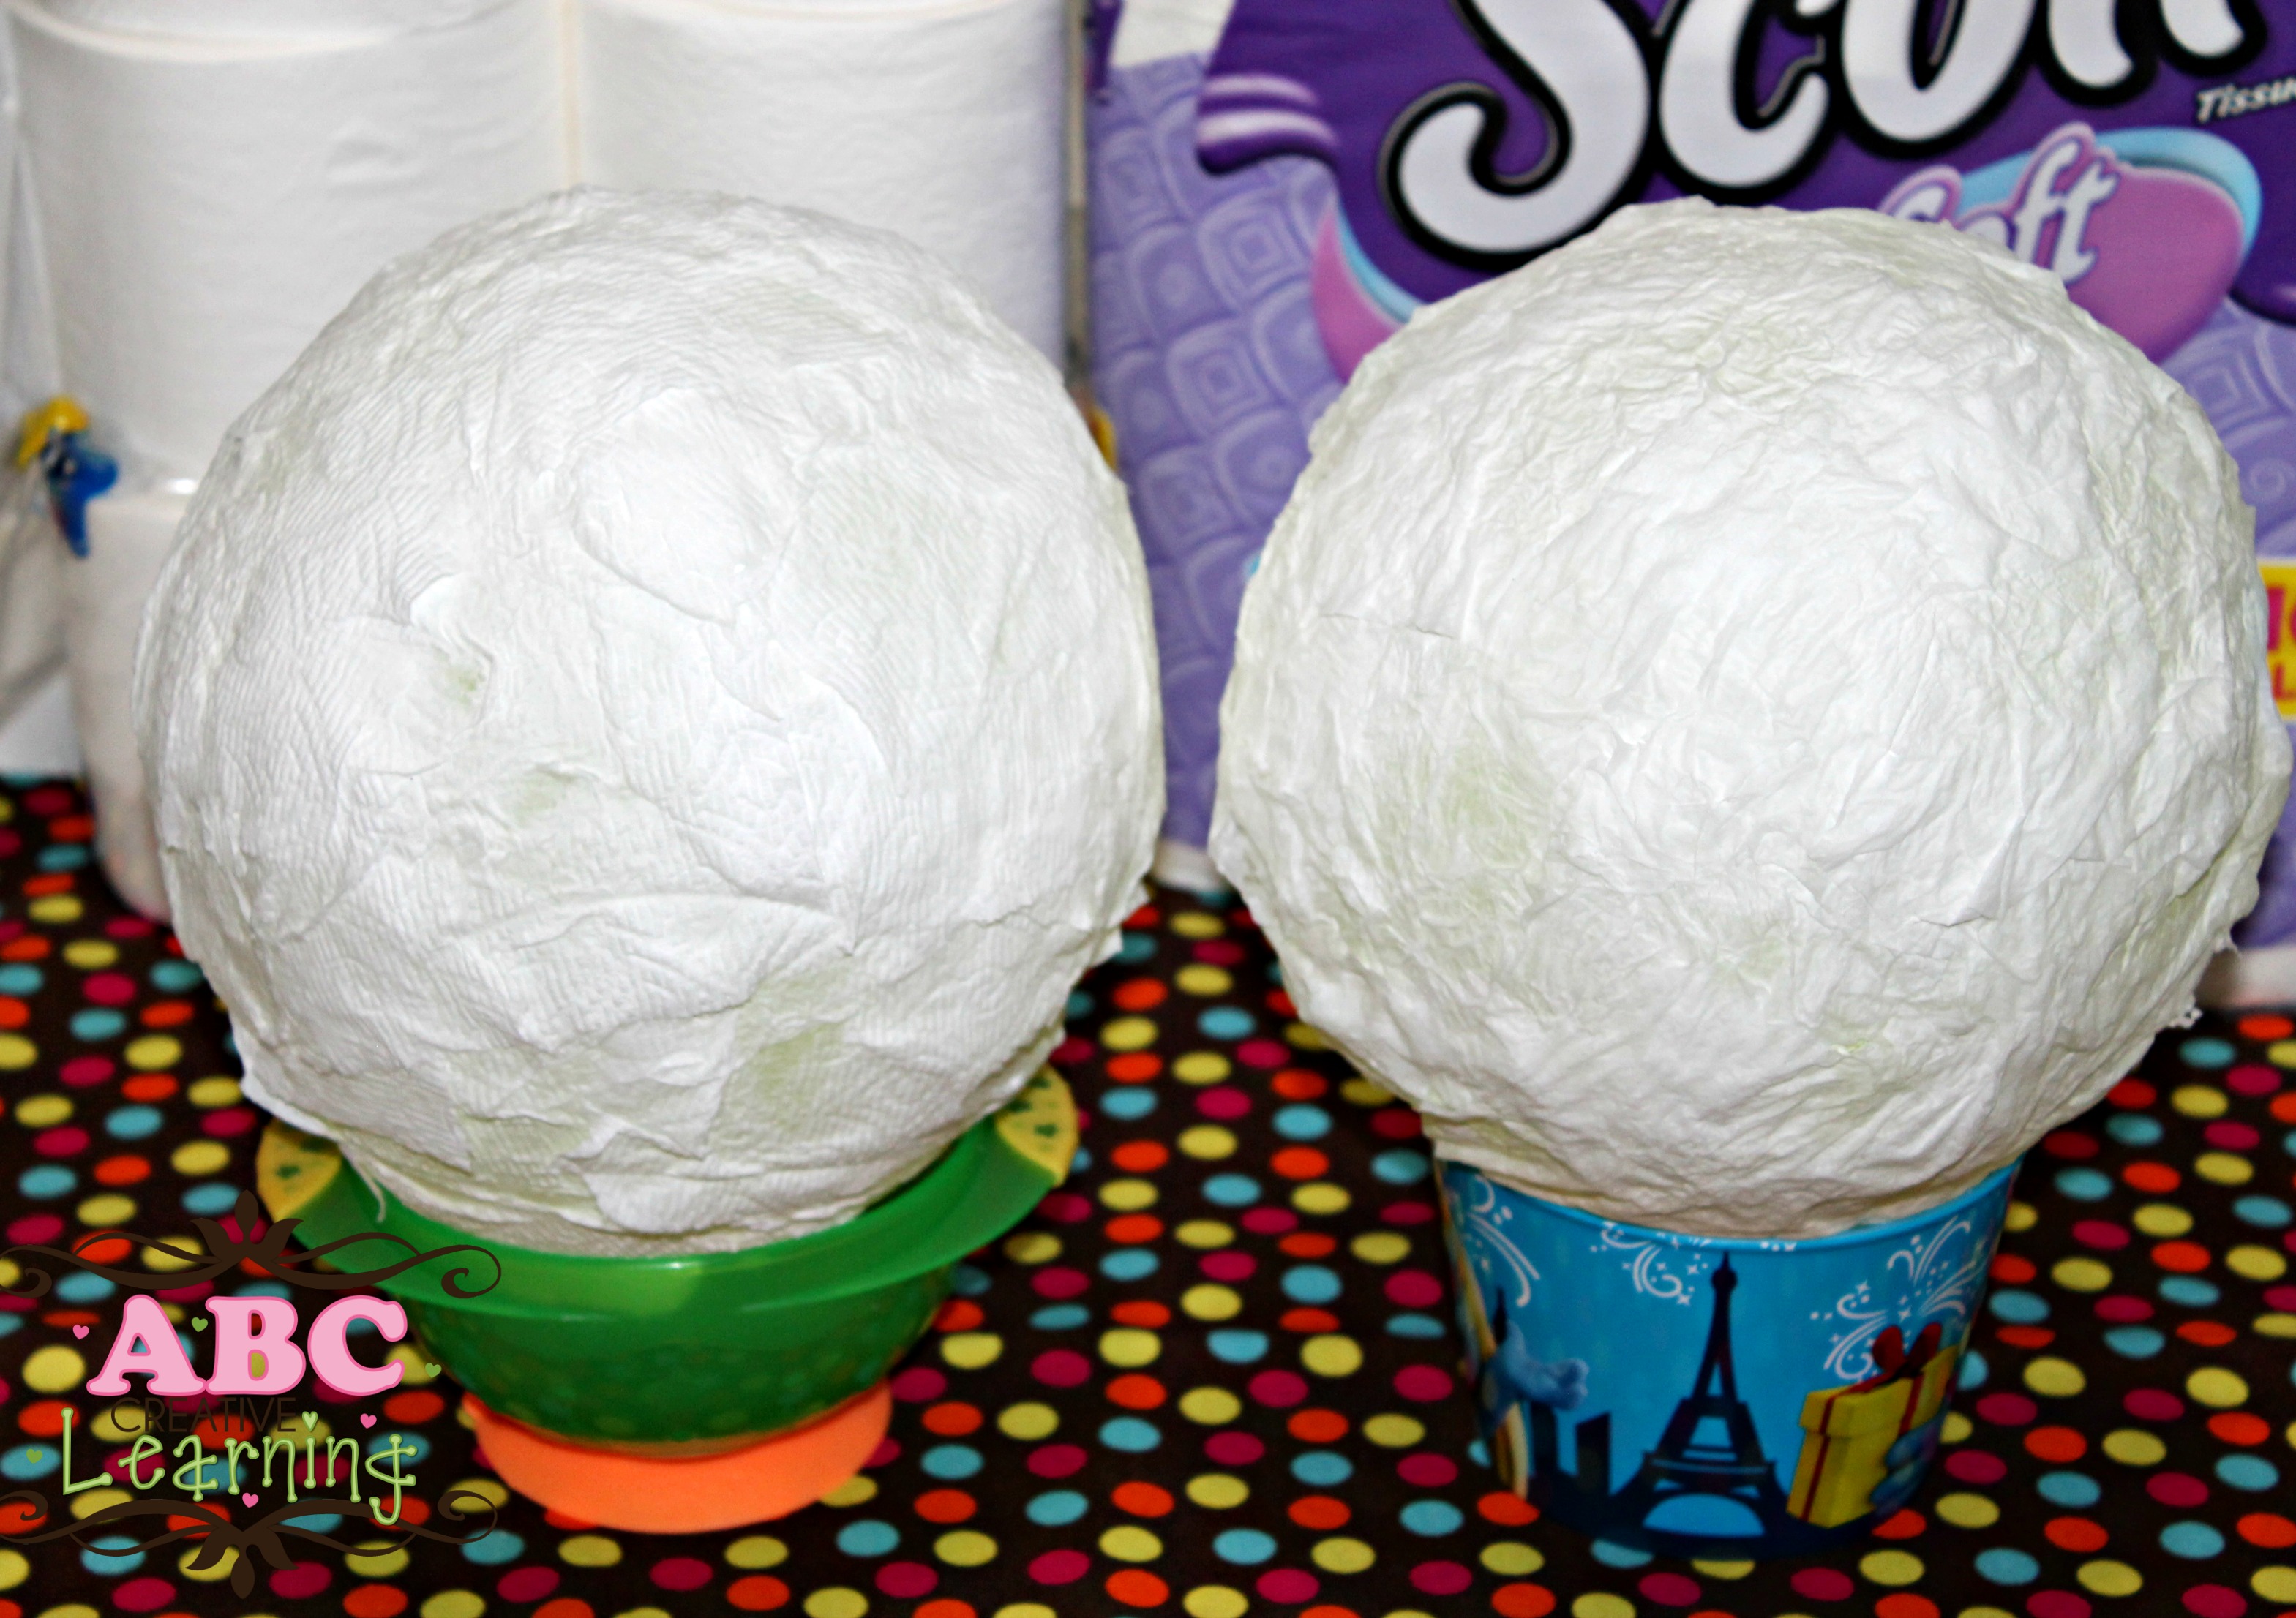
- Set balloon on a bowl, this will help keep it steady for easier application.
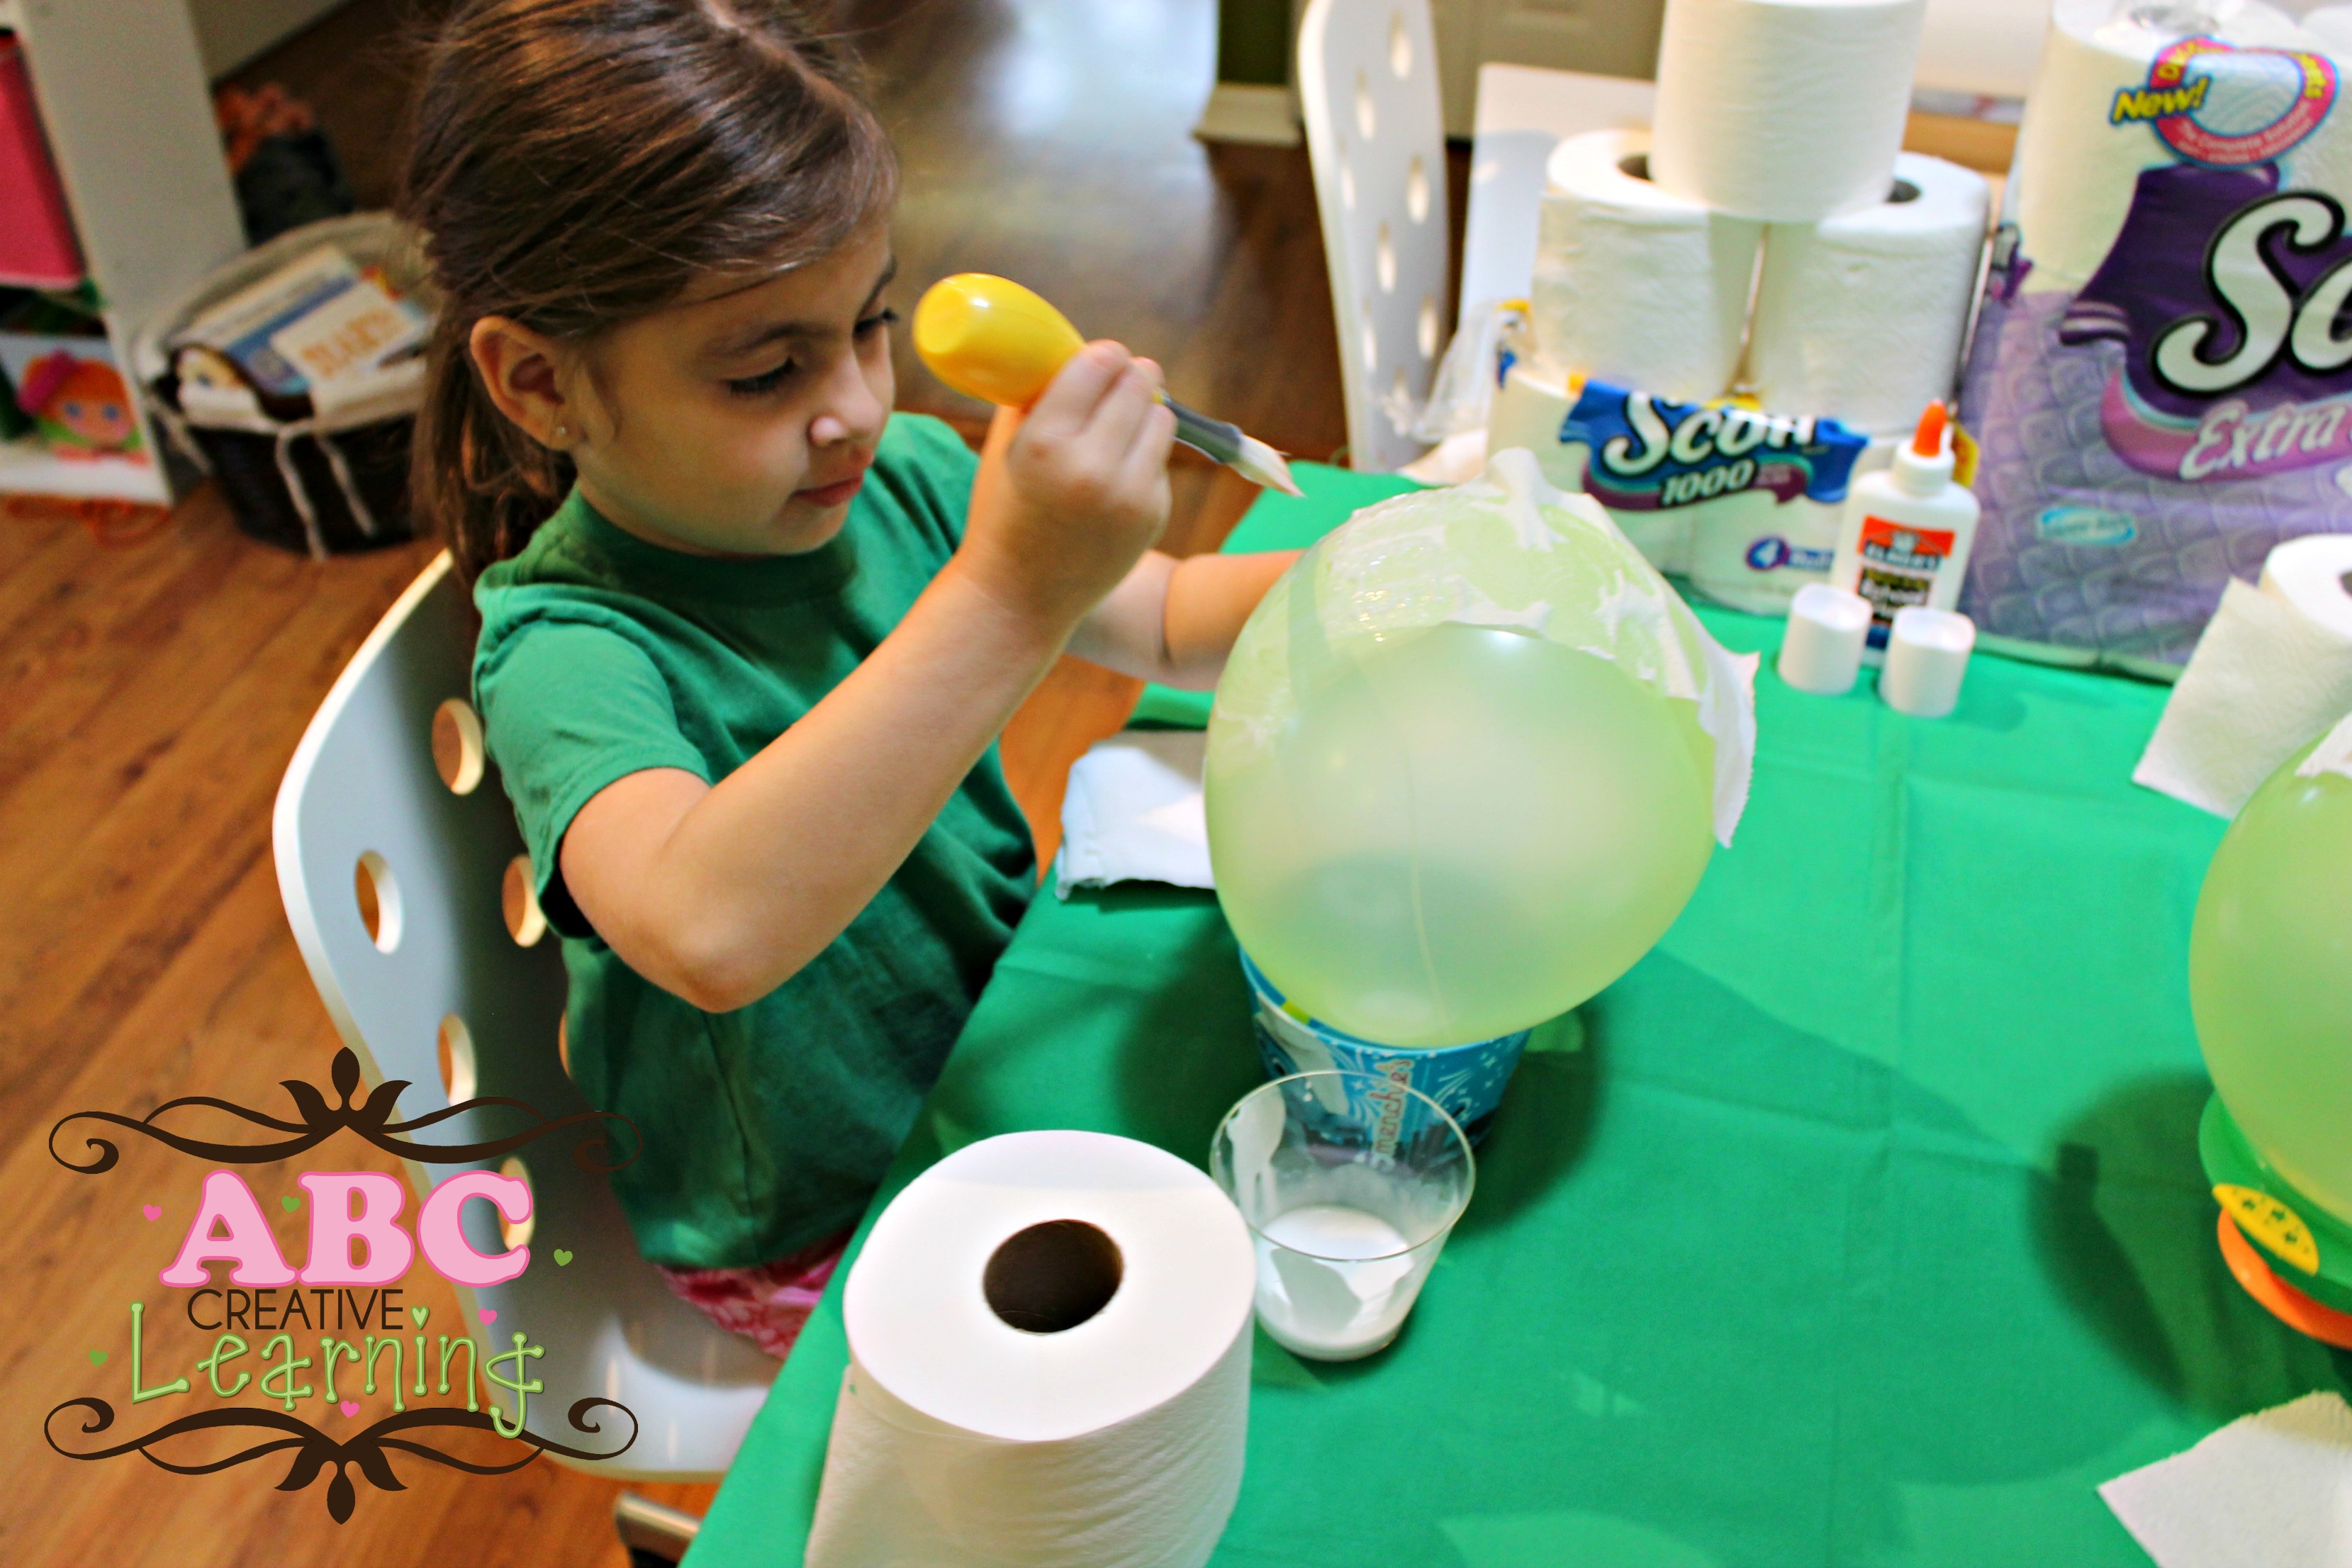
Step 1: Using a paint brush cover your balloon in small sections with your glue mixture.
Step 2: Cover your glue mixture with a piece of your Scott bath tissue.

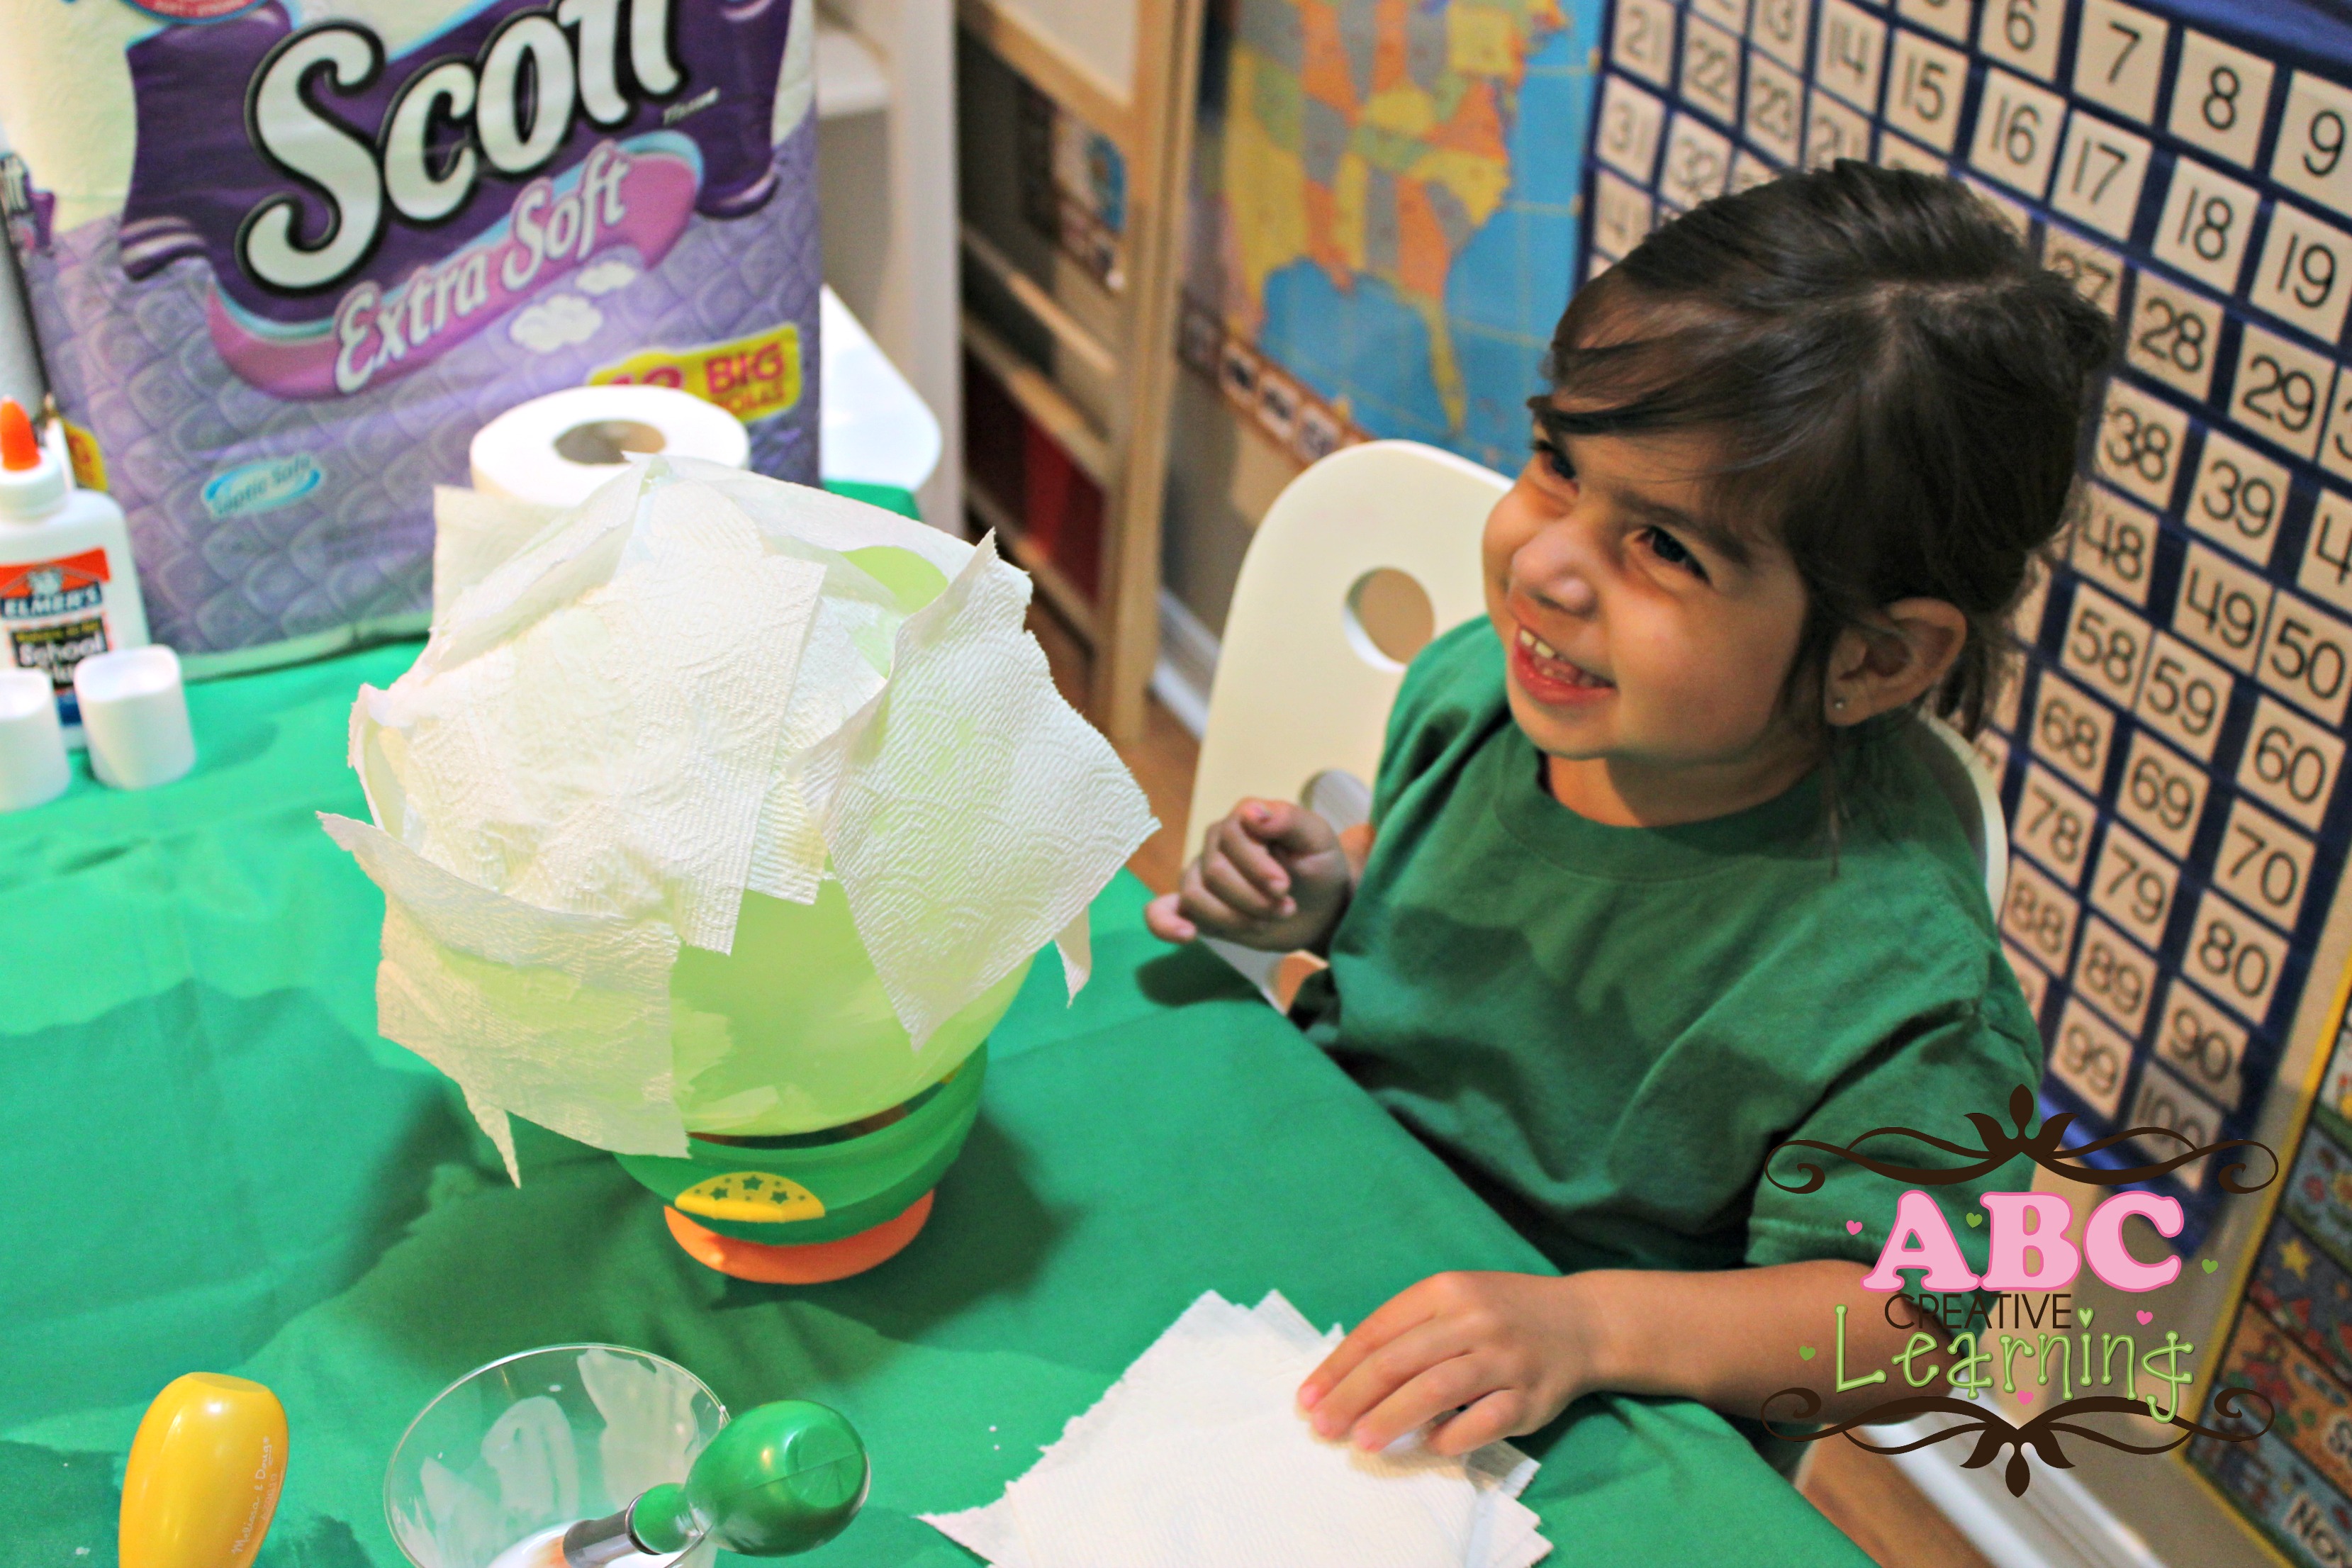
Step 3: Keep doing this until your entire balloon is covered with the Scott bath tissue, except the bottom area. Leave a small area on the bottom of the balloon uncovered.
Step 4: Allow your balloon to dry for about 4 to 5 hours.
Step 5: Once you allowed your tissue to dry for a bit, add a second layer of glue mixture and Scott bath tissue on your balloon.
Step 6: Allow to dry over night.
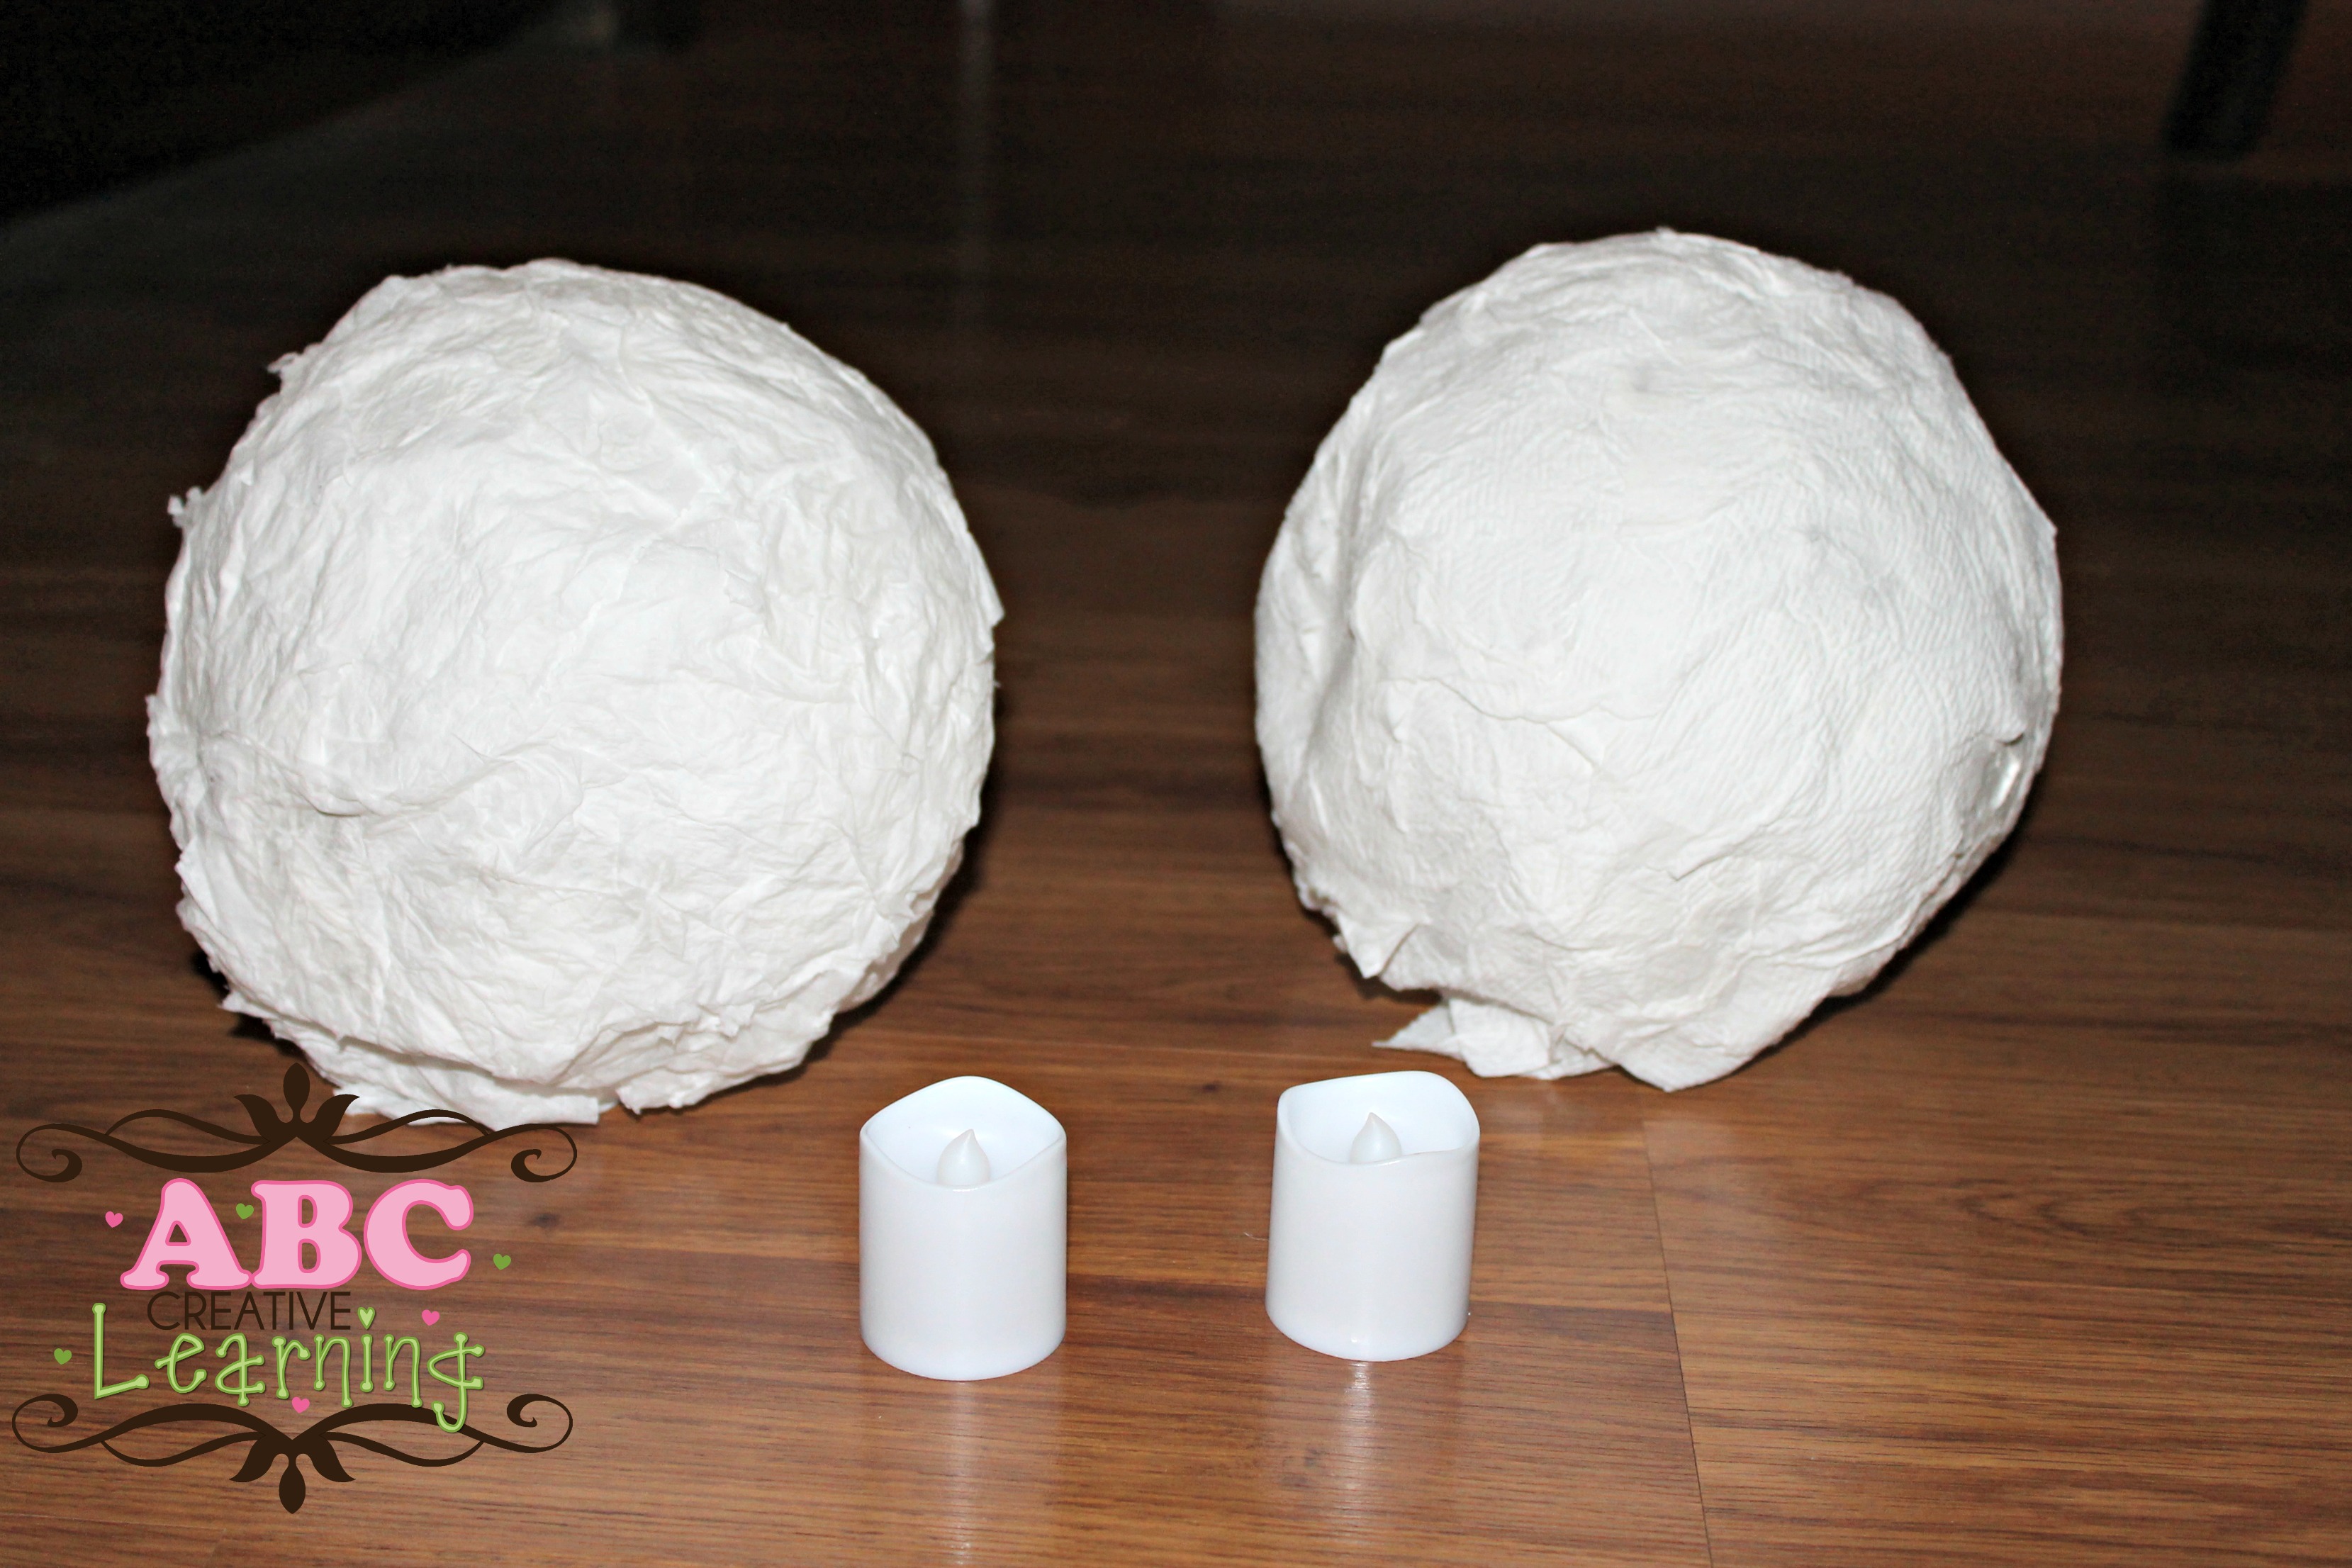
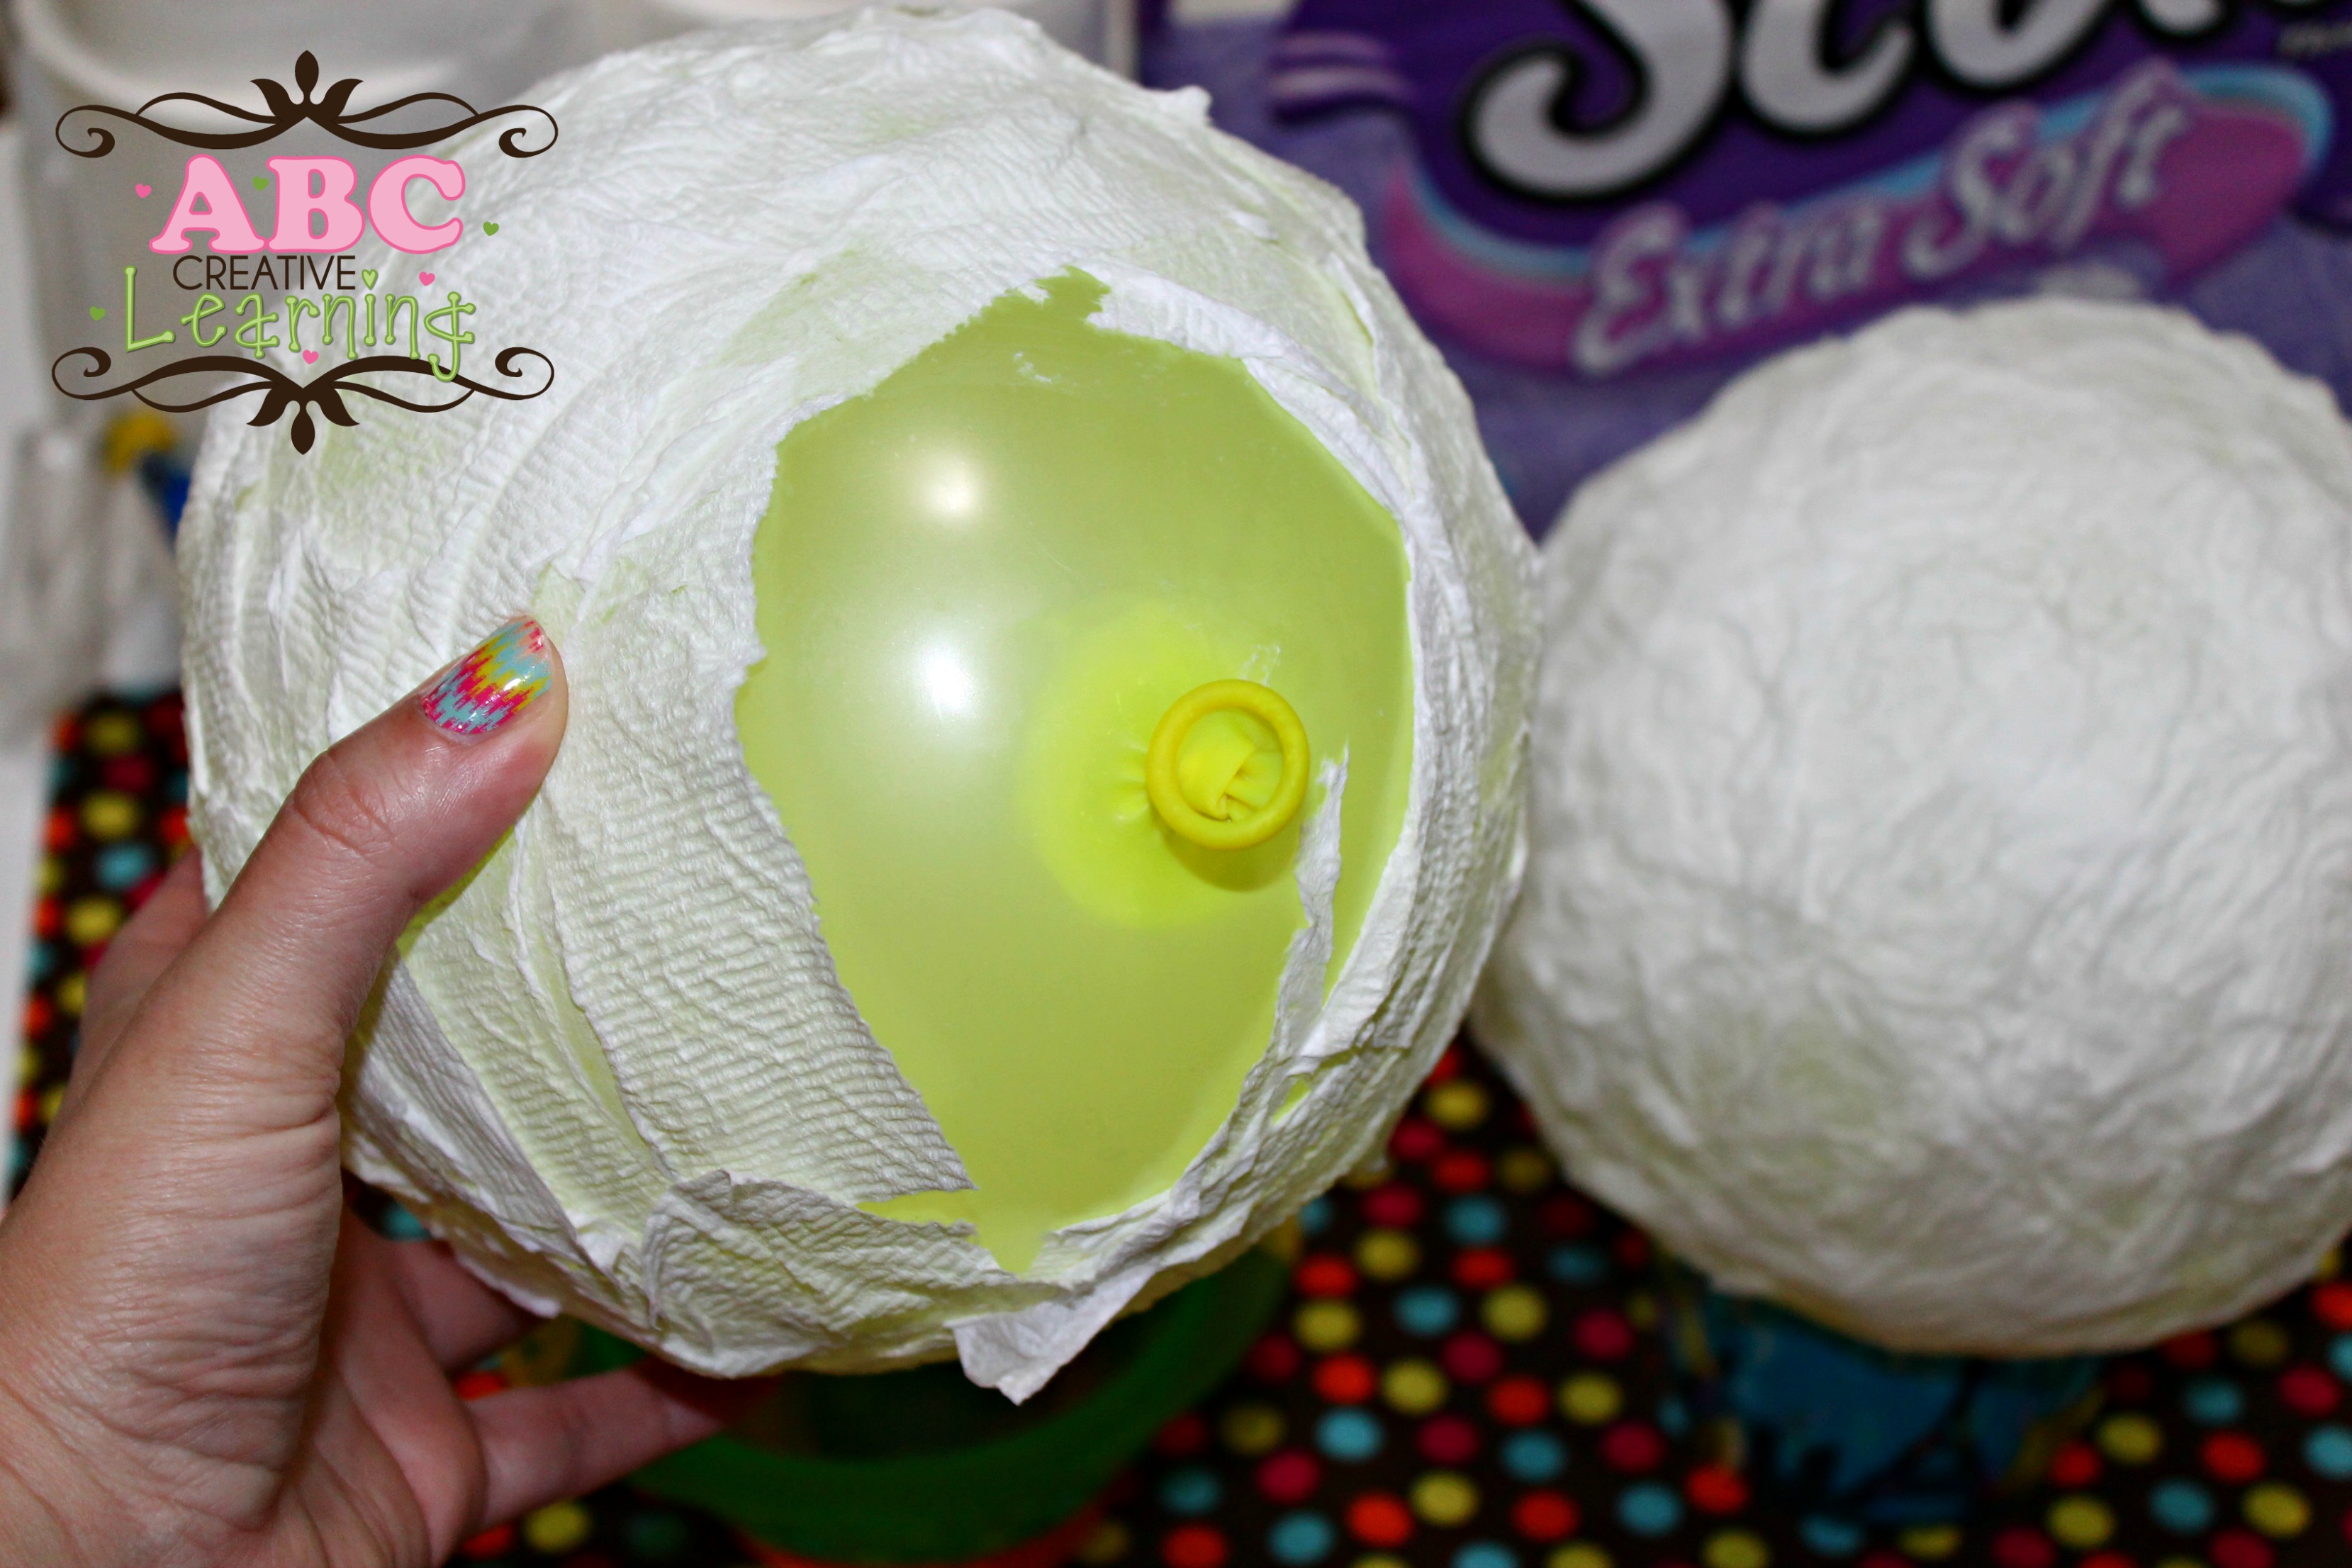 Once your tissue is completely dry, this is how the bottom will look like. You will have a small area where you are able to see the balloon. Everything else should be covered.
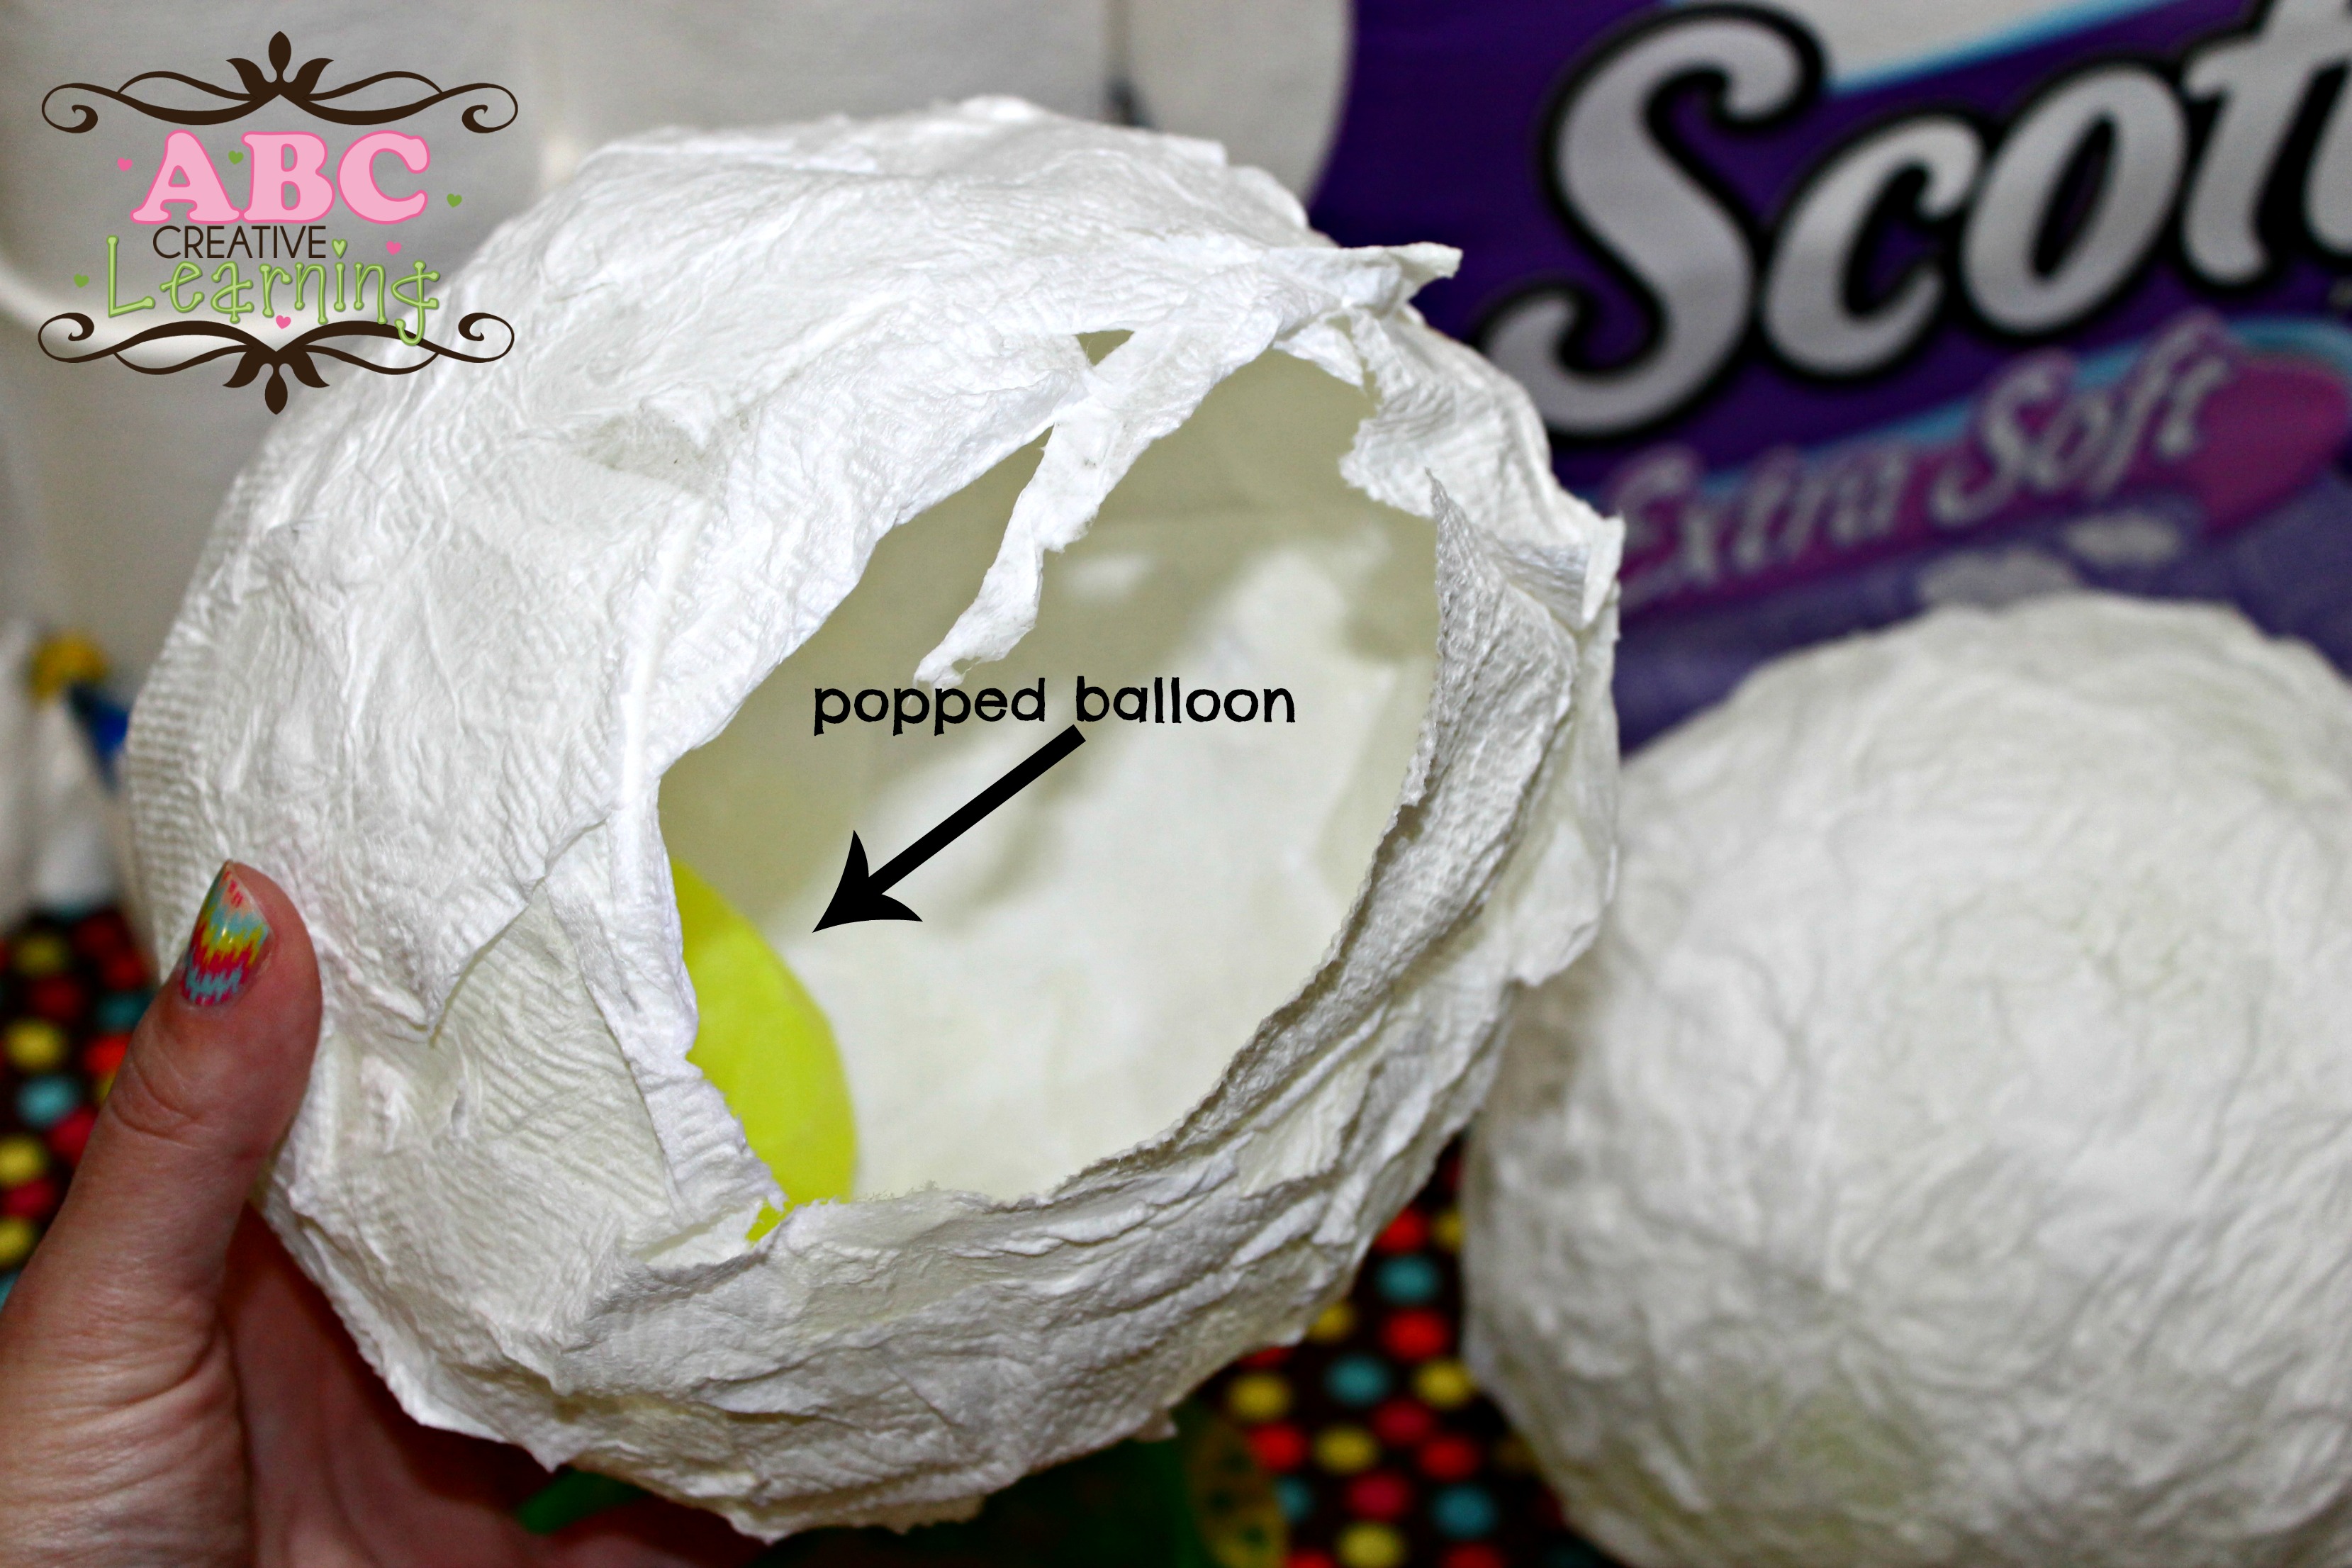
Step 7: Using a needle or end of scissors pop your balloon from the bottom. You will feel the balloon pull the tissue and your moon might even start to shrink a bit, but once the entire balloon detaches itself your moon will pop back out into place. Throw away your balloon piece.
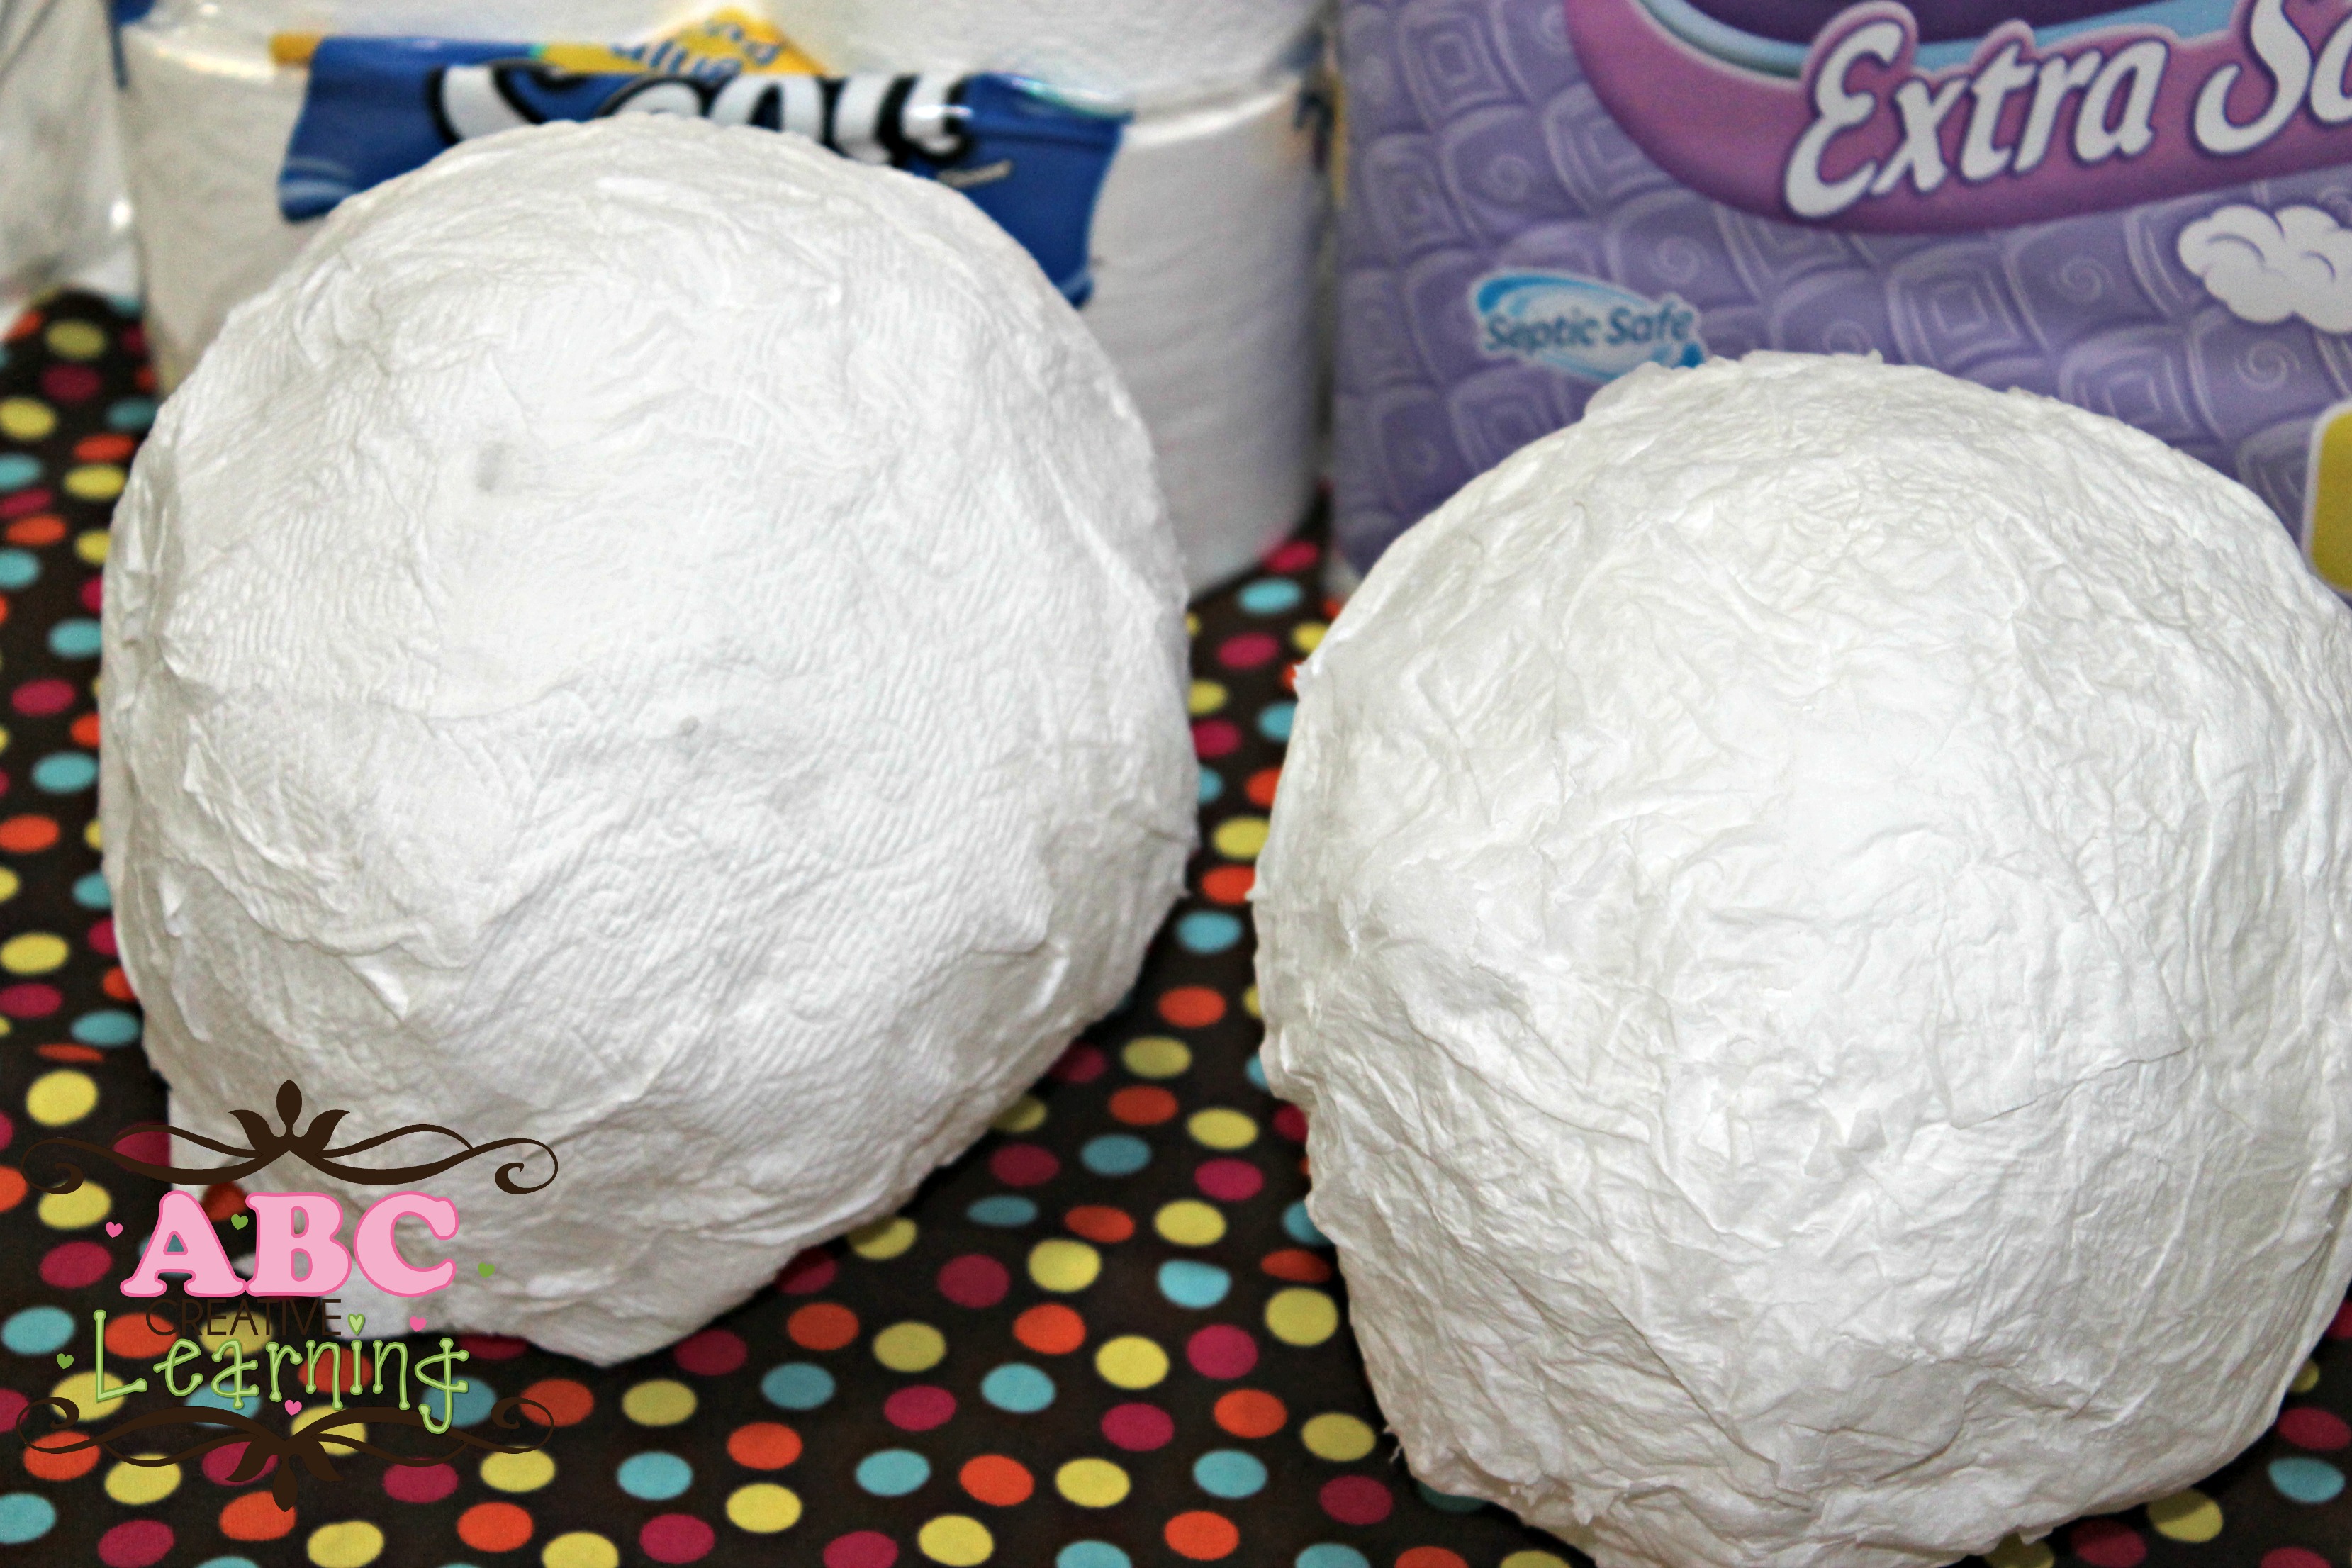 You have now made your very own Moon! The girls were very intrigued on how their moons look so much alike, but yet the textures of each moon was different because they used two different Scott bath tissues.
 Step 8: In a dark room, place your moon over your turned on battery operated votive candle.
Step 9: Sit back and enjoy your 3-D Light Up Moon Craft with Scott Tissue!
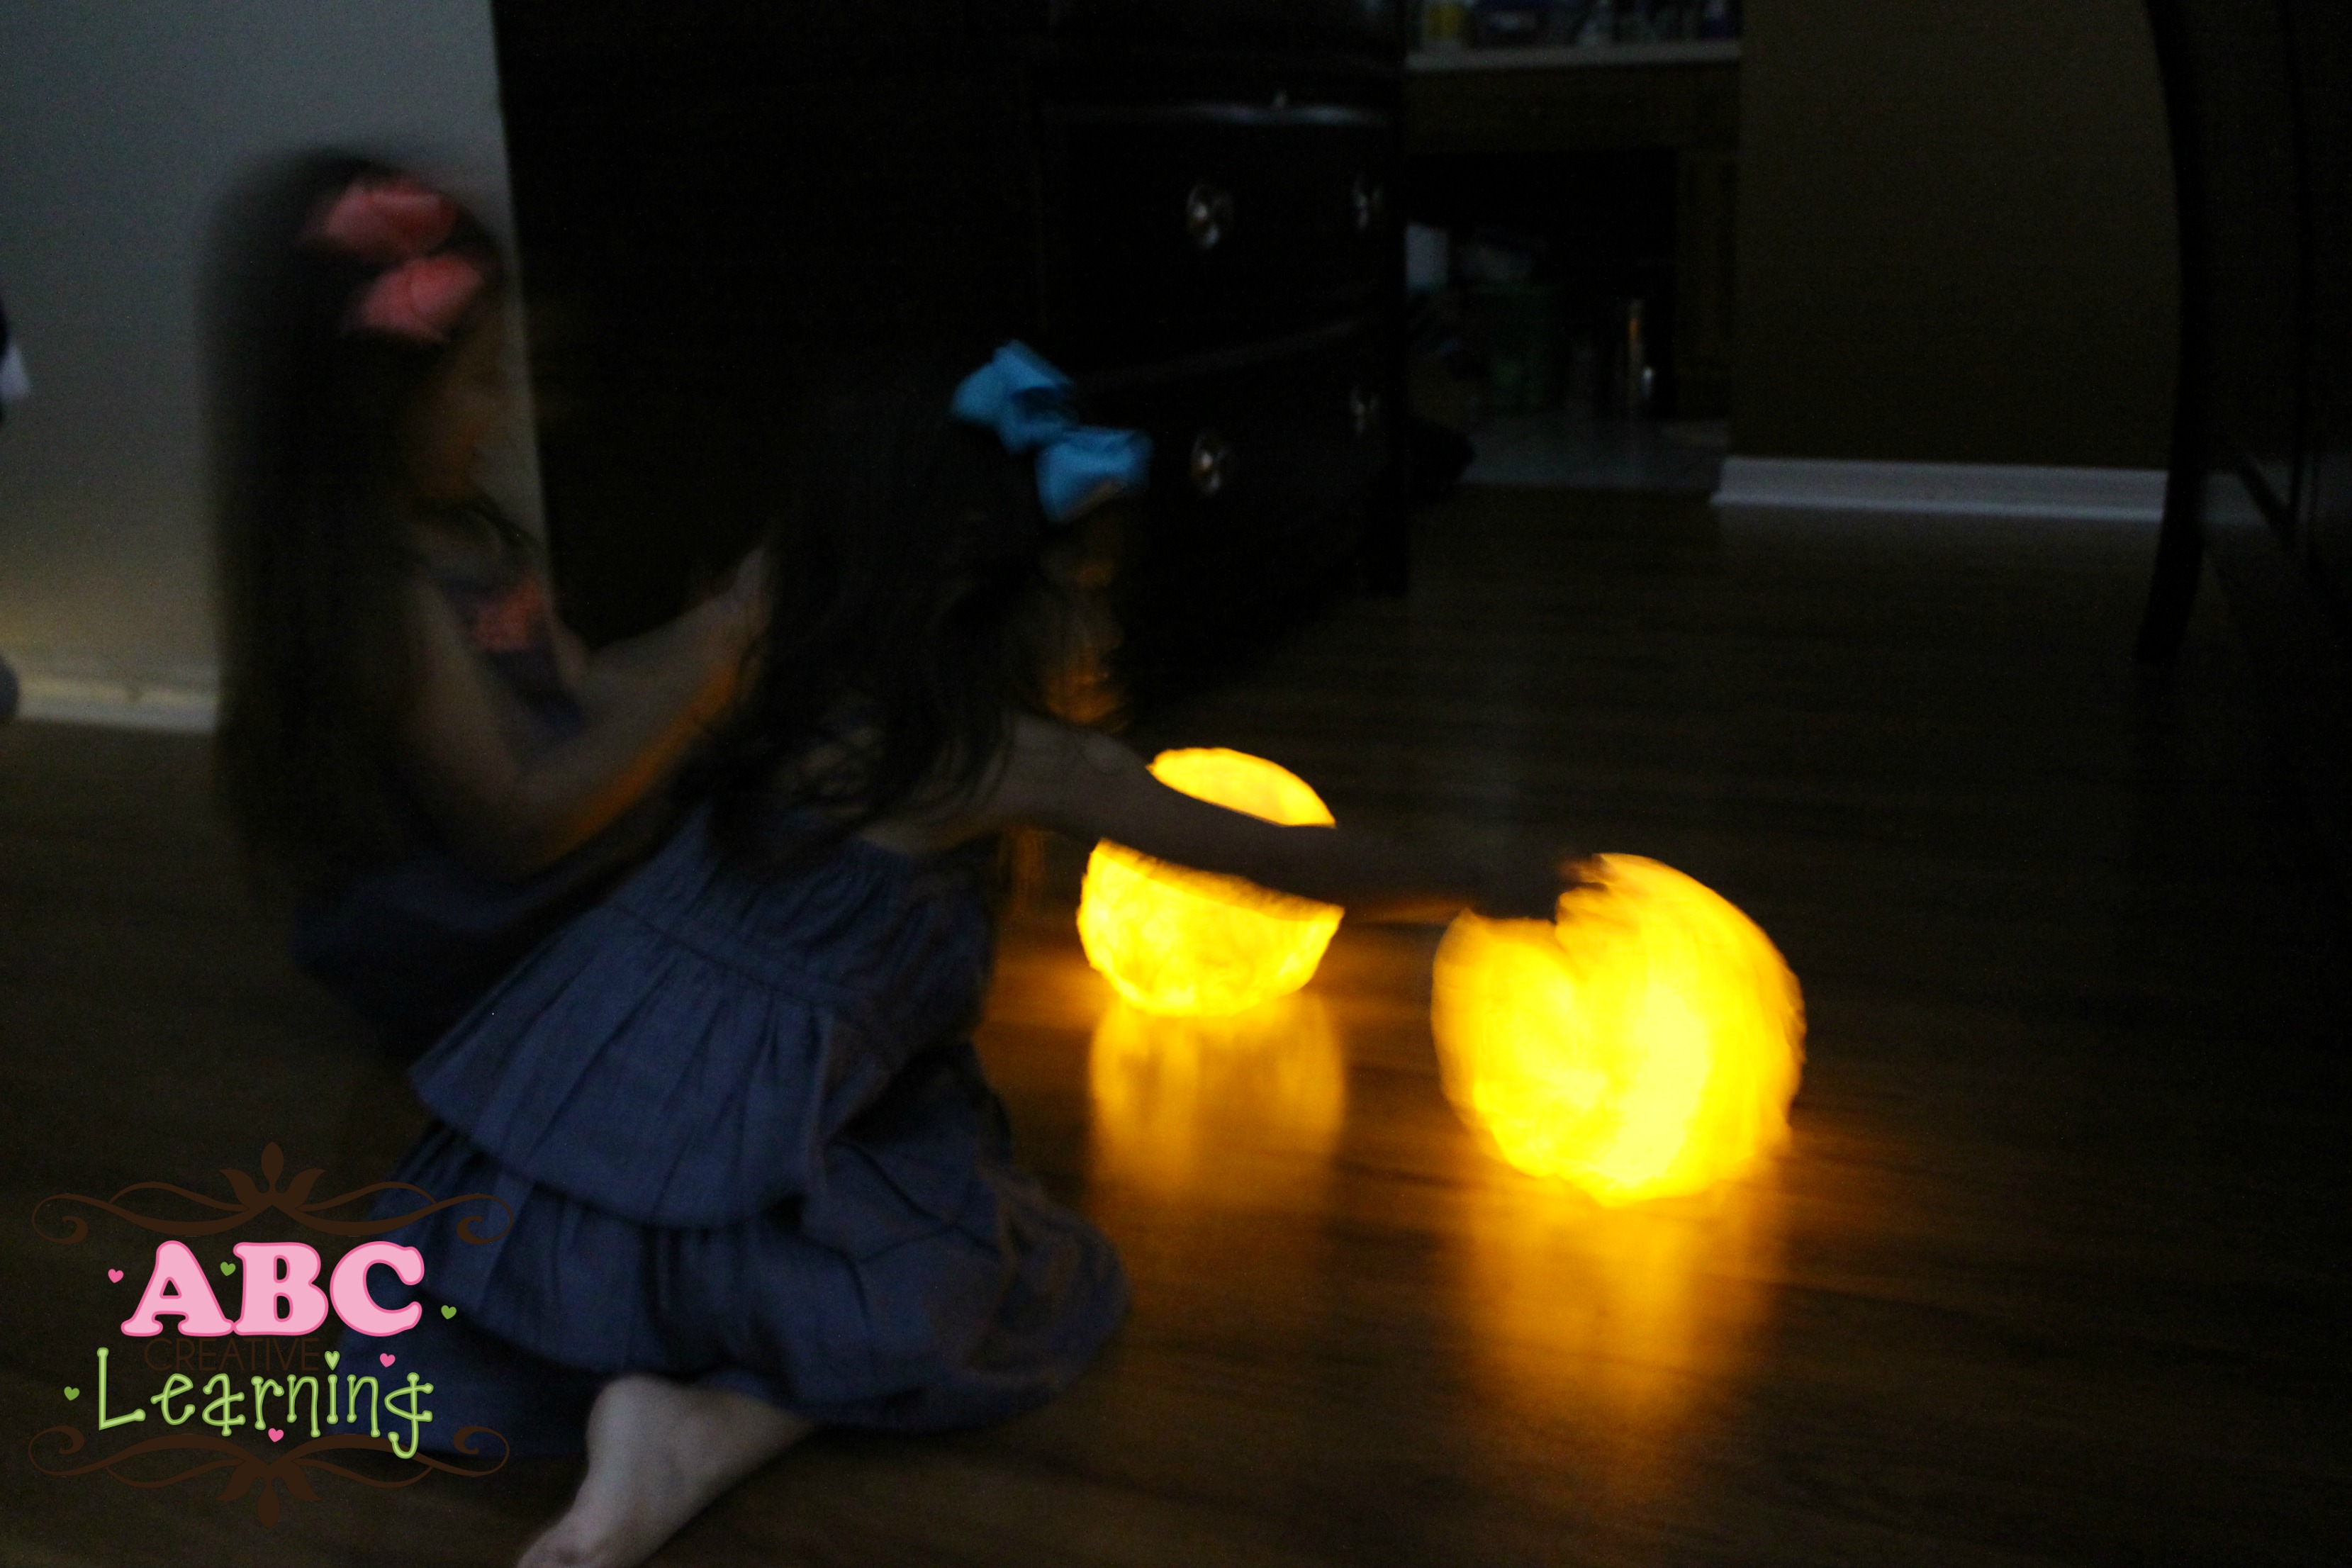
My girls really enjoyed making this craft, but enjoyed it even more afterwards!
Make sure to LIKE Scott on Facebook to learn about their products and don’t forget to use your Shop Your Way Reward when purchasing your Scott Extra Soft or Scott 1000 Bath Tissue to create this fun craft!
Which Scott tissue are you going to purchase to create your own 3-D Light Up Moon Craft?


Just in time for the recent Blood Moon we had! 🙂 Great idea.
Thank you so much Nicole!
These look great – perfect for a girls spa night in or even Halloween decorations!
Thanks for sharing at #Pintorials 🙂
Thanks so much for stopping by 🙂
Wow! These are FANTASTIC! What a brilliant idea! I could see a child wanting this as his own homemade night-light! Love it!
Thank you Jackie! I didn’t even think about that! Might have to add these to the girls room tonight 🙂
We made a glowing Earth in a similar way this week, but how cool that you were able to use such a common household item to make your moons! Definitely will need to remember that for the next time. (And we’re loving exploring space too ever since my four year old had an Outer Space Birthday party.)
Thanks Kate! I have made these before using specific paper mache for it, but I just had to give this a try and it worked! It’s one of those ideas that sounds better in your head and then you just hope that it actually works! 🙂
These are gorgeous! Thanks for sharing at After School. 🙂
Thank so much Anna!!
Thanks for linking up with us on the Hip Homeschool Hop! I love this idea, and I think my younger daughter will enjoy it too. 🙂
Wendy
Co-owner of Hip Homeschool Moms
Thanks for stopping by Wendy 🙂
What a neat project!! I love it! Thank you for sharing at Sharing Saturday!!
About how much tp do you think your girls used for each balloon? I’m planning to do with a group and want to be sure we have enough. Thanks!
Hi Susan! If I remember correctly we used about 1 roll per balloon. I hope this helps!