I love creating holiday crafts, especially during Christmas. I’ve been wanting to create a No Sew Burlap Ruffle Christmas Tree Skirt. I thought it would be the perfect addition to my new farmhouse decor. The holidays are busy, so I made sure to make this skirt as easy as possible. I most definitely didn’t want to spend hours creating it. I hope my step by step photos help out to follow along the process.
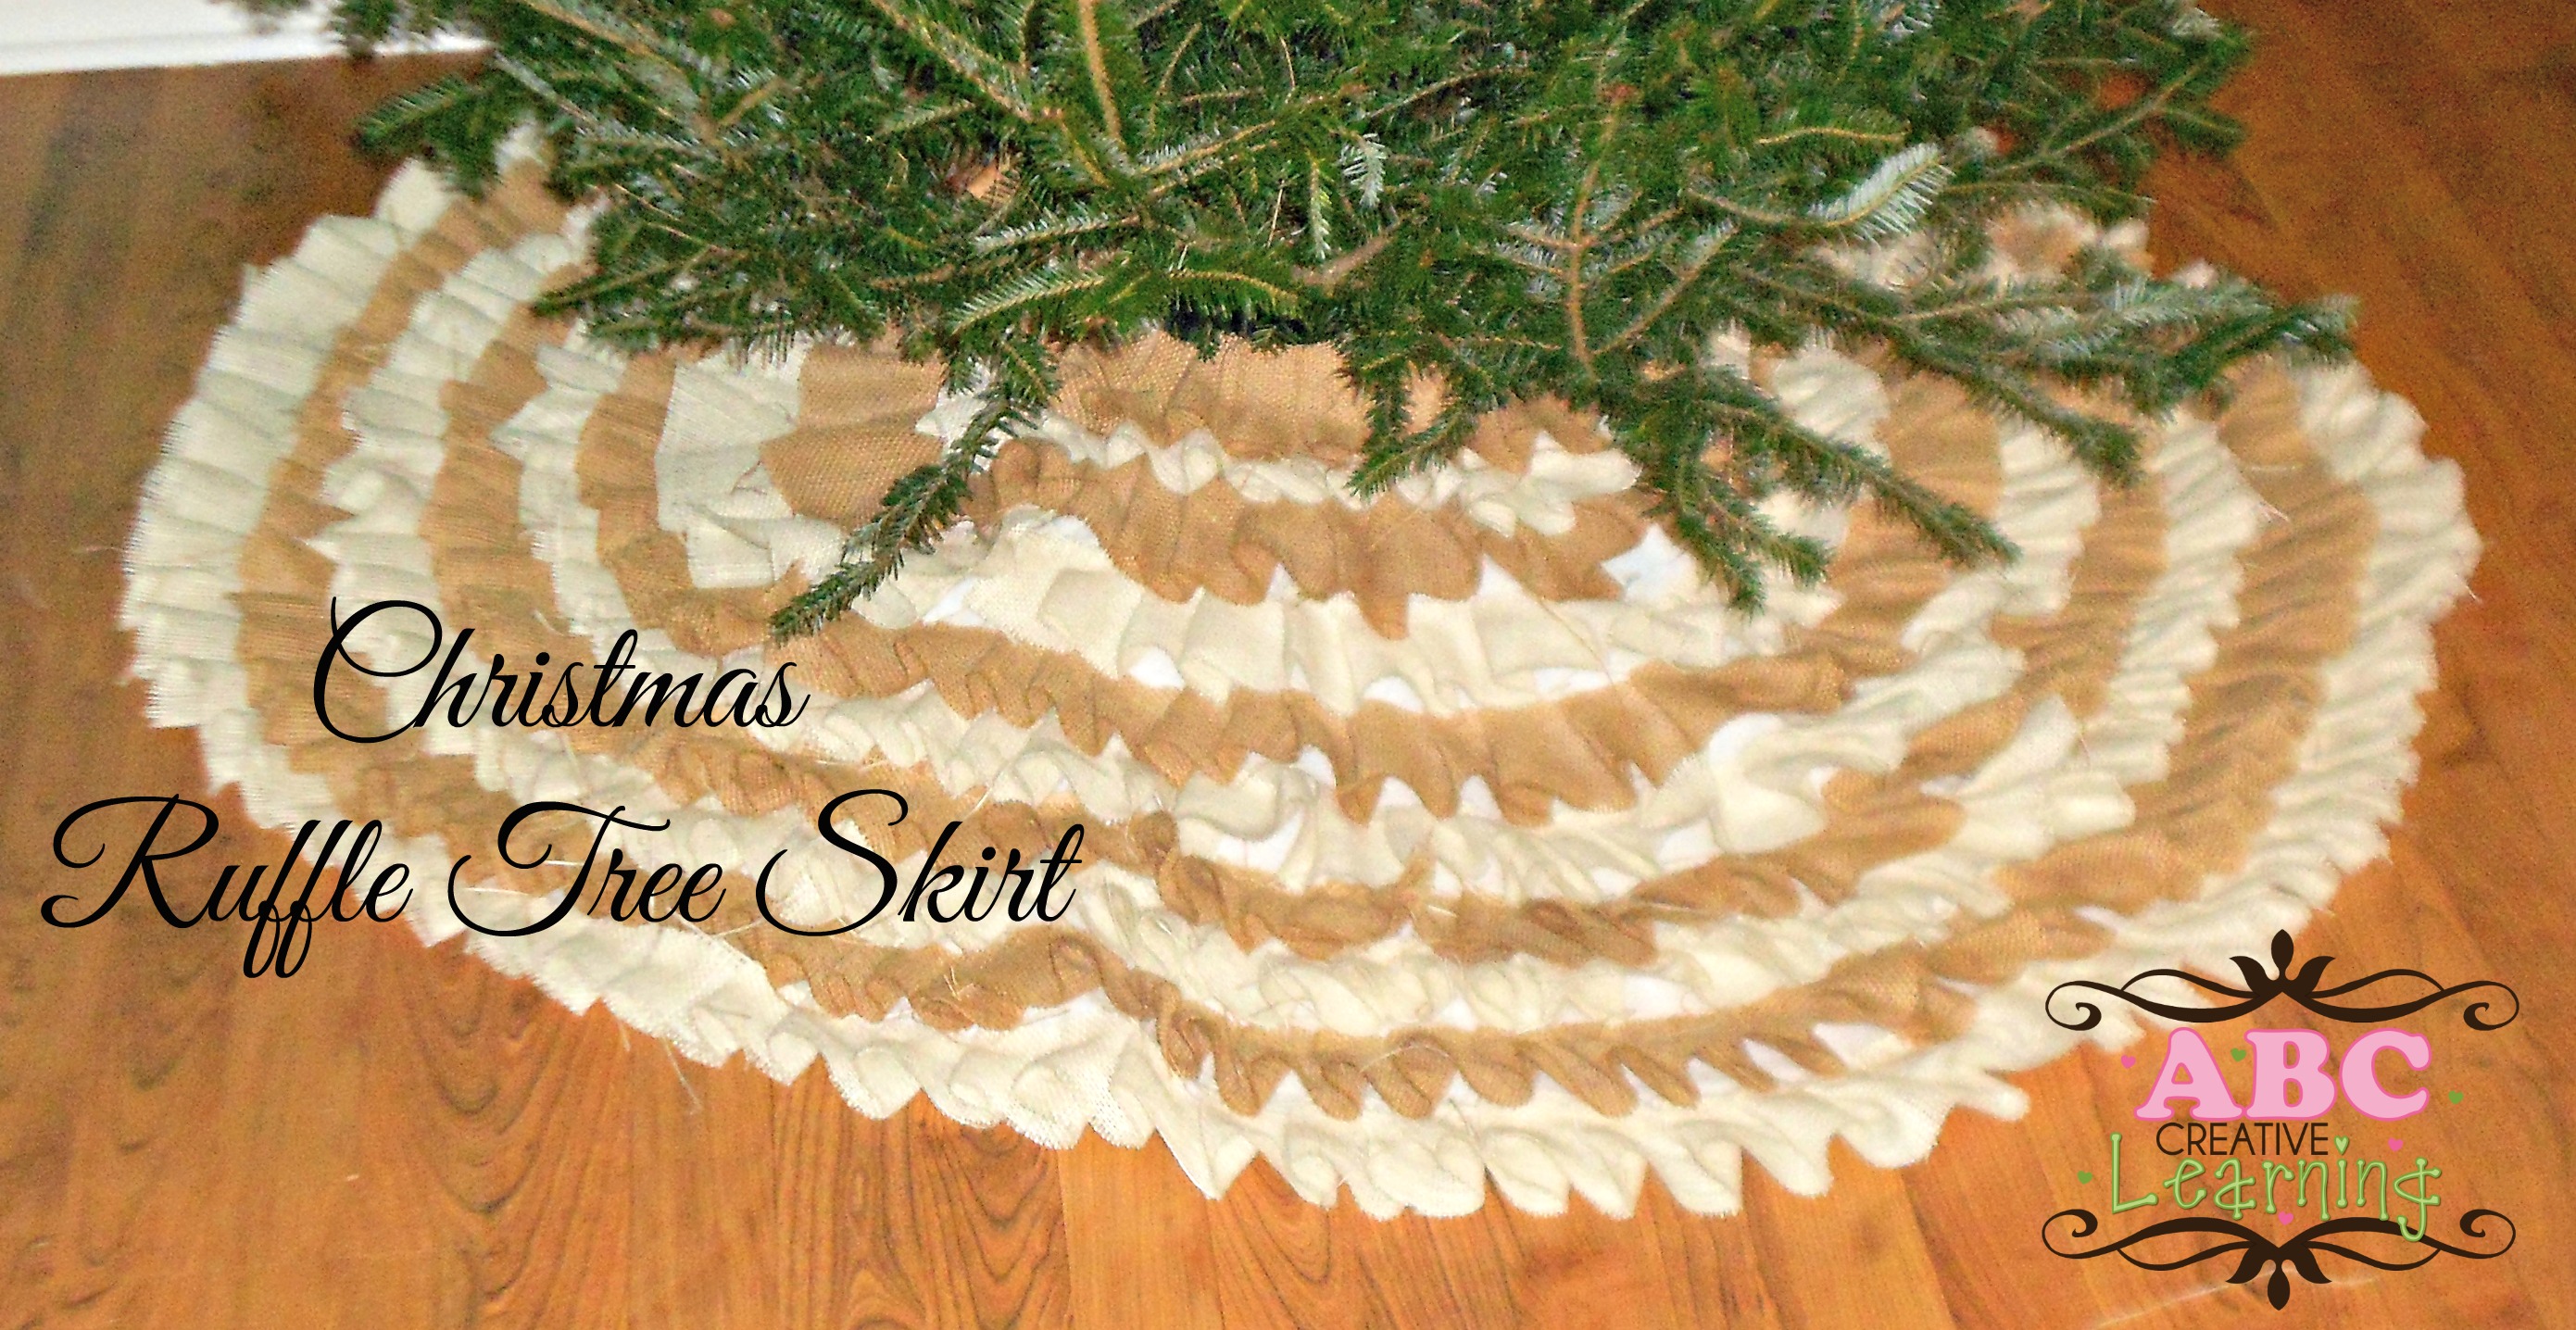
No Sew Burlap Ruffle Christmas Tree Skirt
First of all, I’m going to apologize for these blurry pictures! I took these with the old camera that I dropped, but that means I have a new one on the way! WOHOO! Thanks to my amazing hubby! Hopefully, these will be the last set of crazy photos 🙂 Okay, on to this easy Tutorial for making your own No Sew Burlap Ruffle Christmas Tree Skirt. This skirt matches my Advent Calendar and Burlap Ruffle Wreath Tutorials.
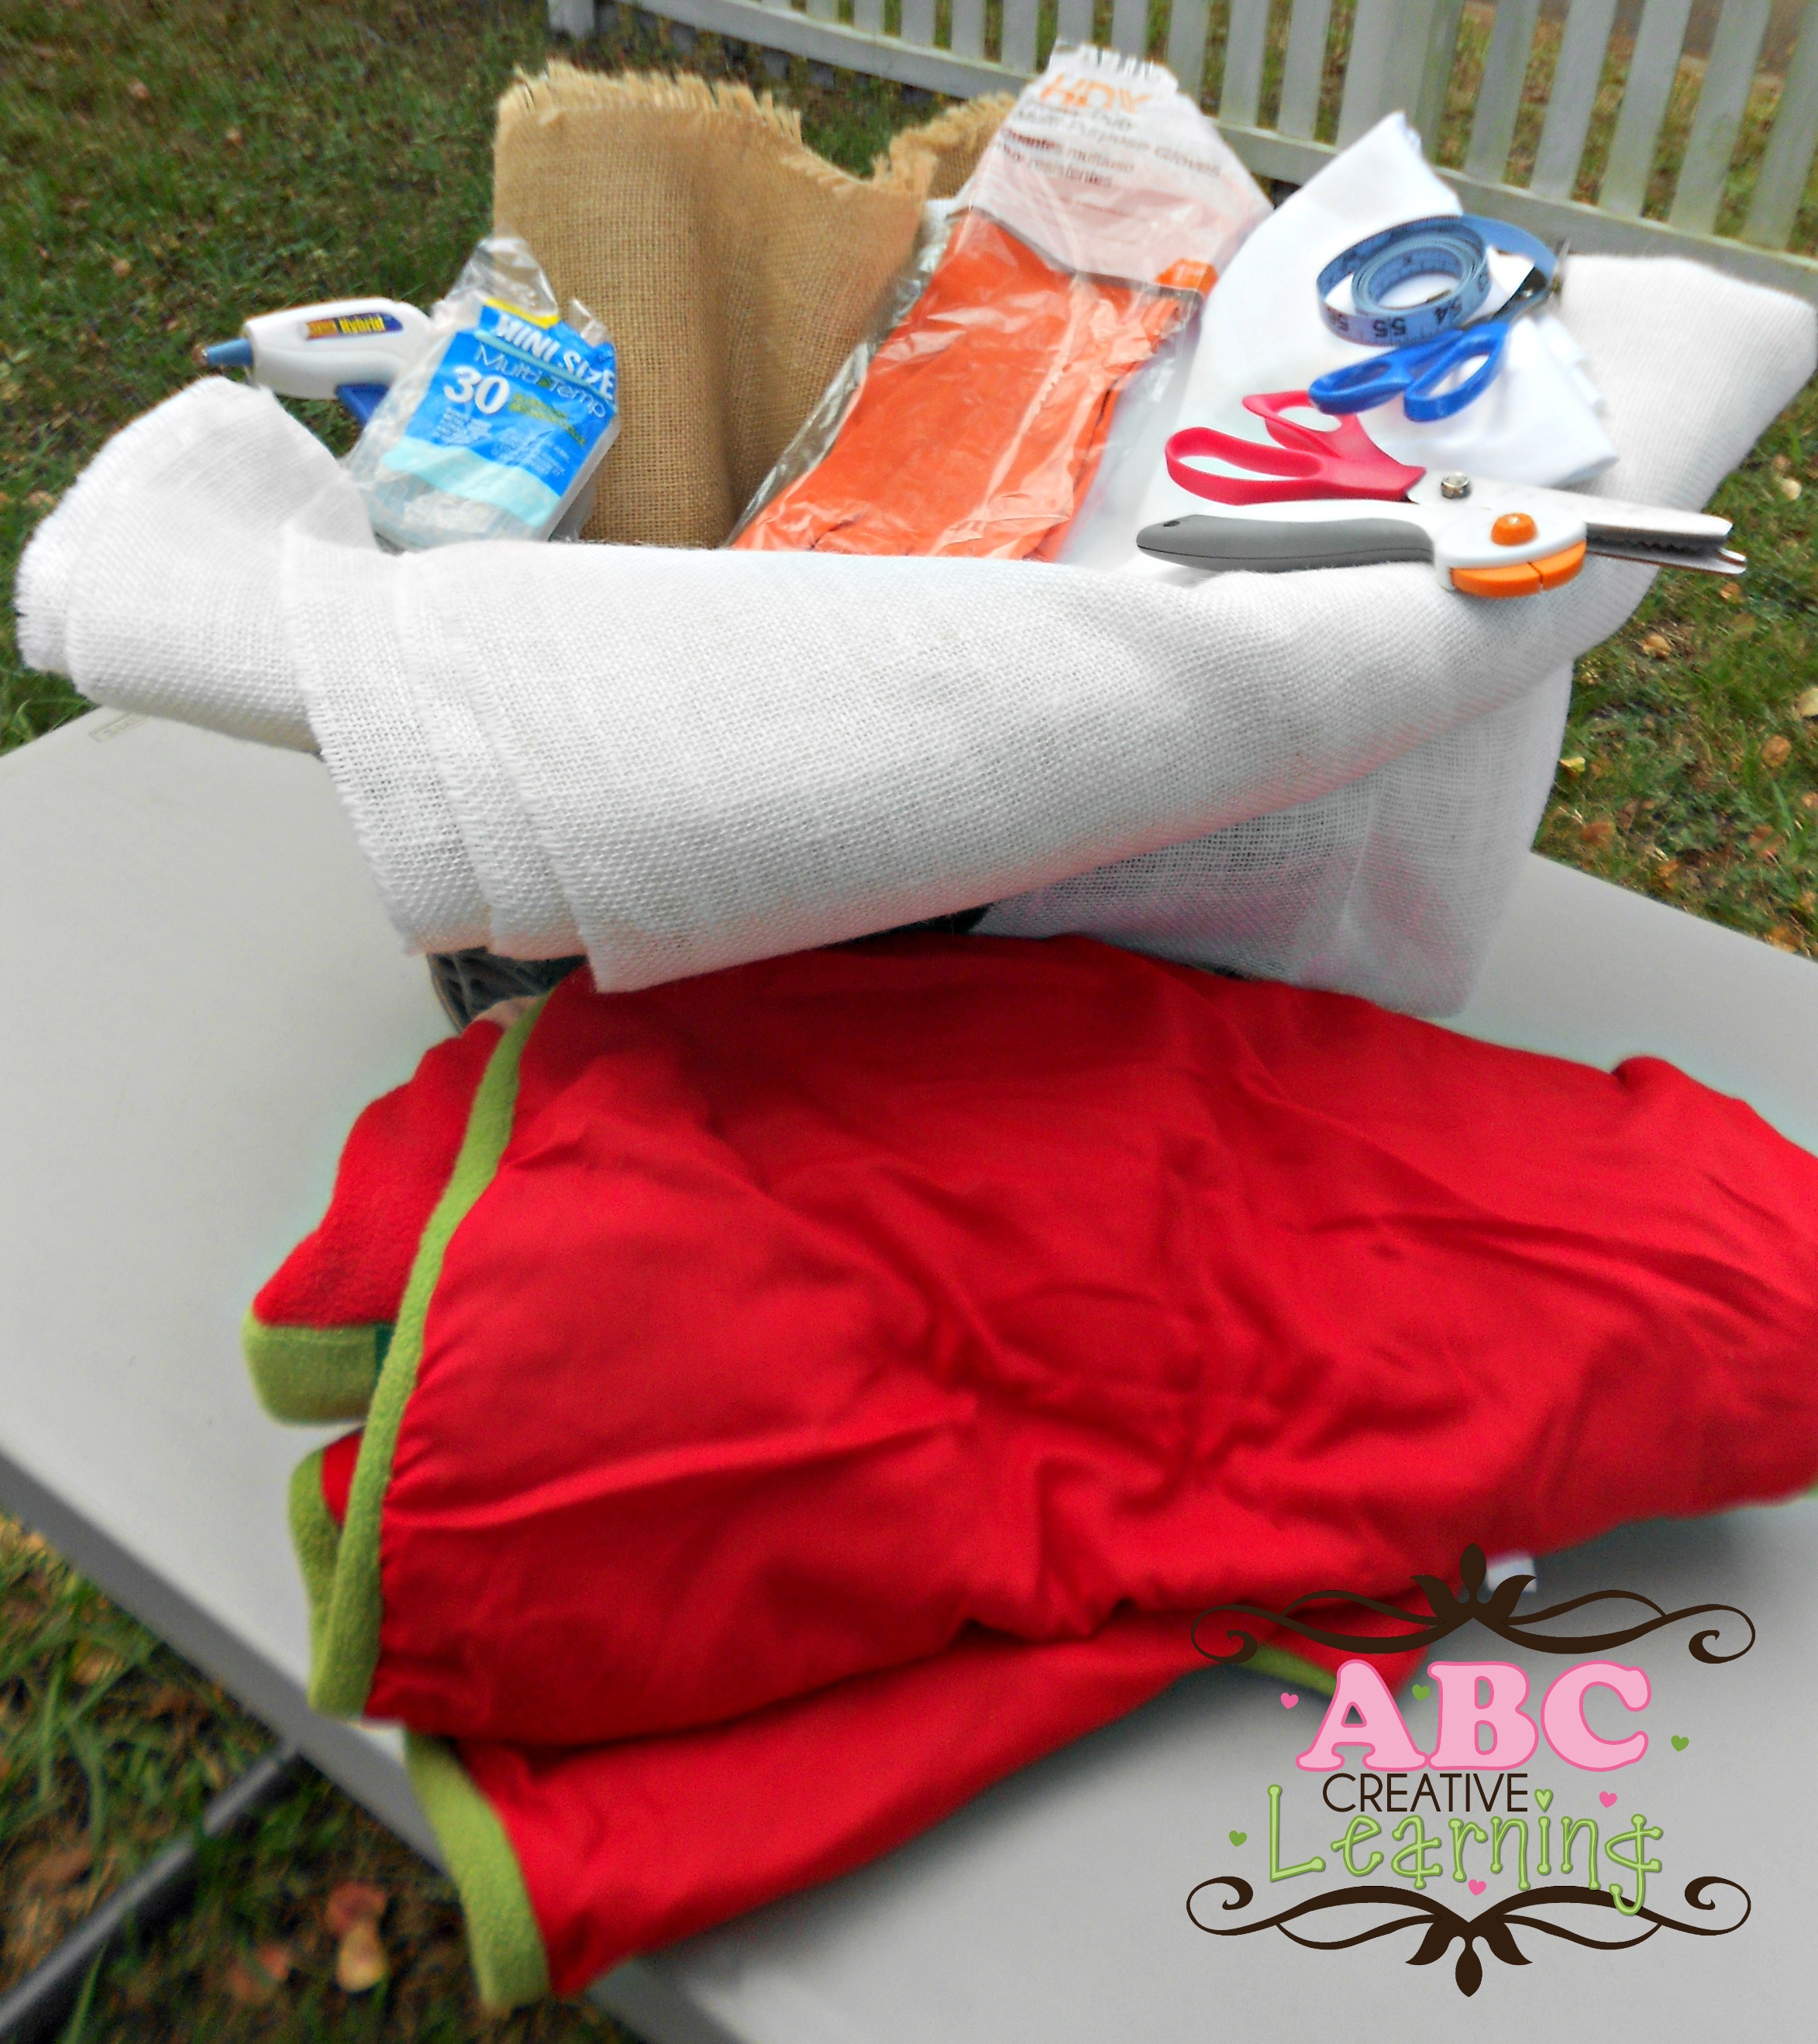
Materials Needed:
- 4 Yards of Burlap Fabric (definitely easier if bought already in strips)
- 2-3 Yards of Muslin/Cloth Fabric or an Old Tree Skirt (I used muslin)
- Scissors
- Glue Gun and Glue Sticks (About a bag of glue sticks)
- Thick Rubber Glove (believe me, that glue is HOT)
- Measuring Tape (only if measuring strips)
- Cardboard to set your fabric on
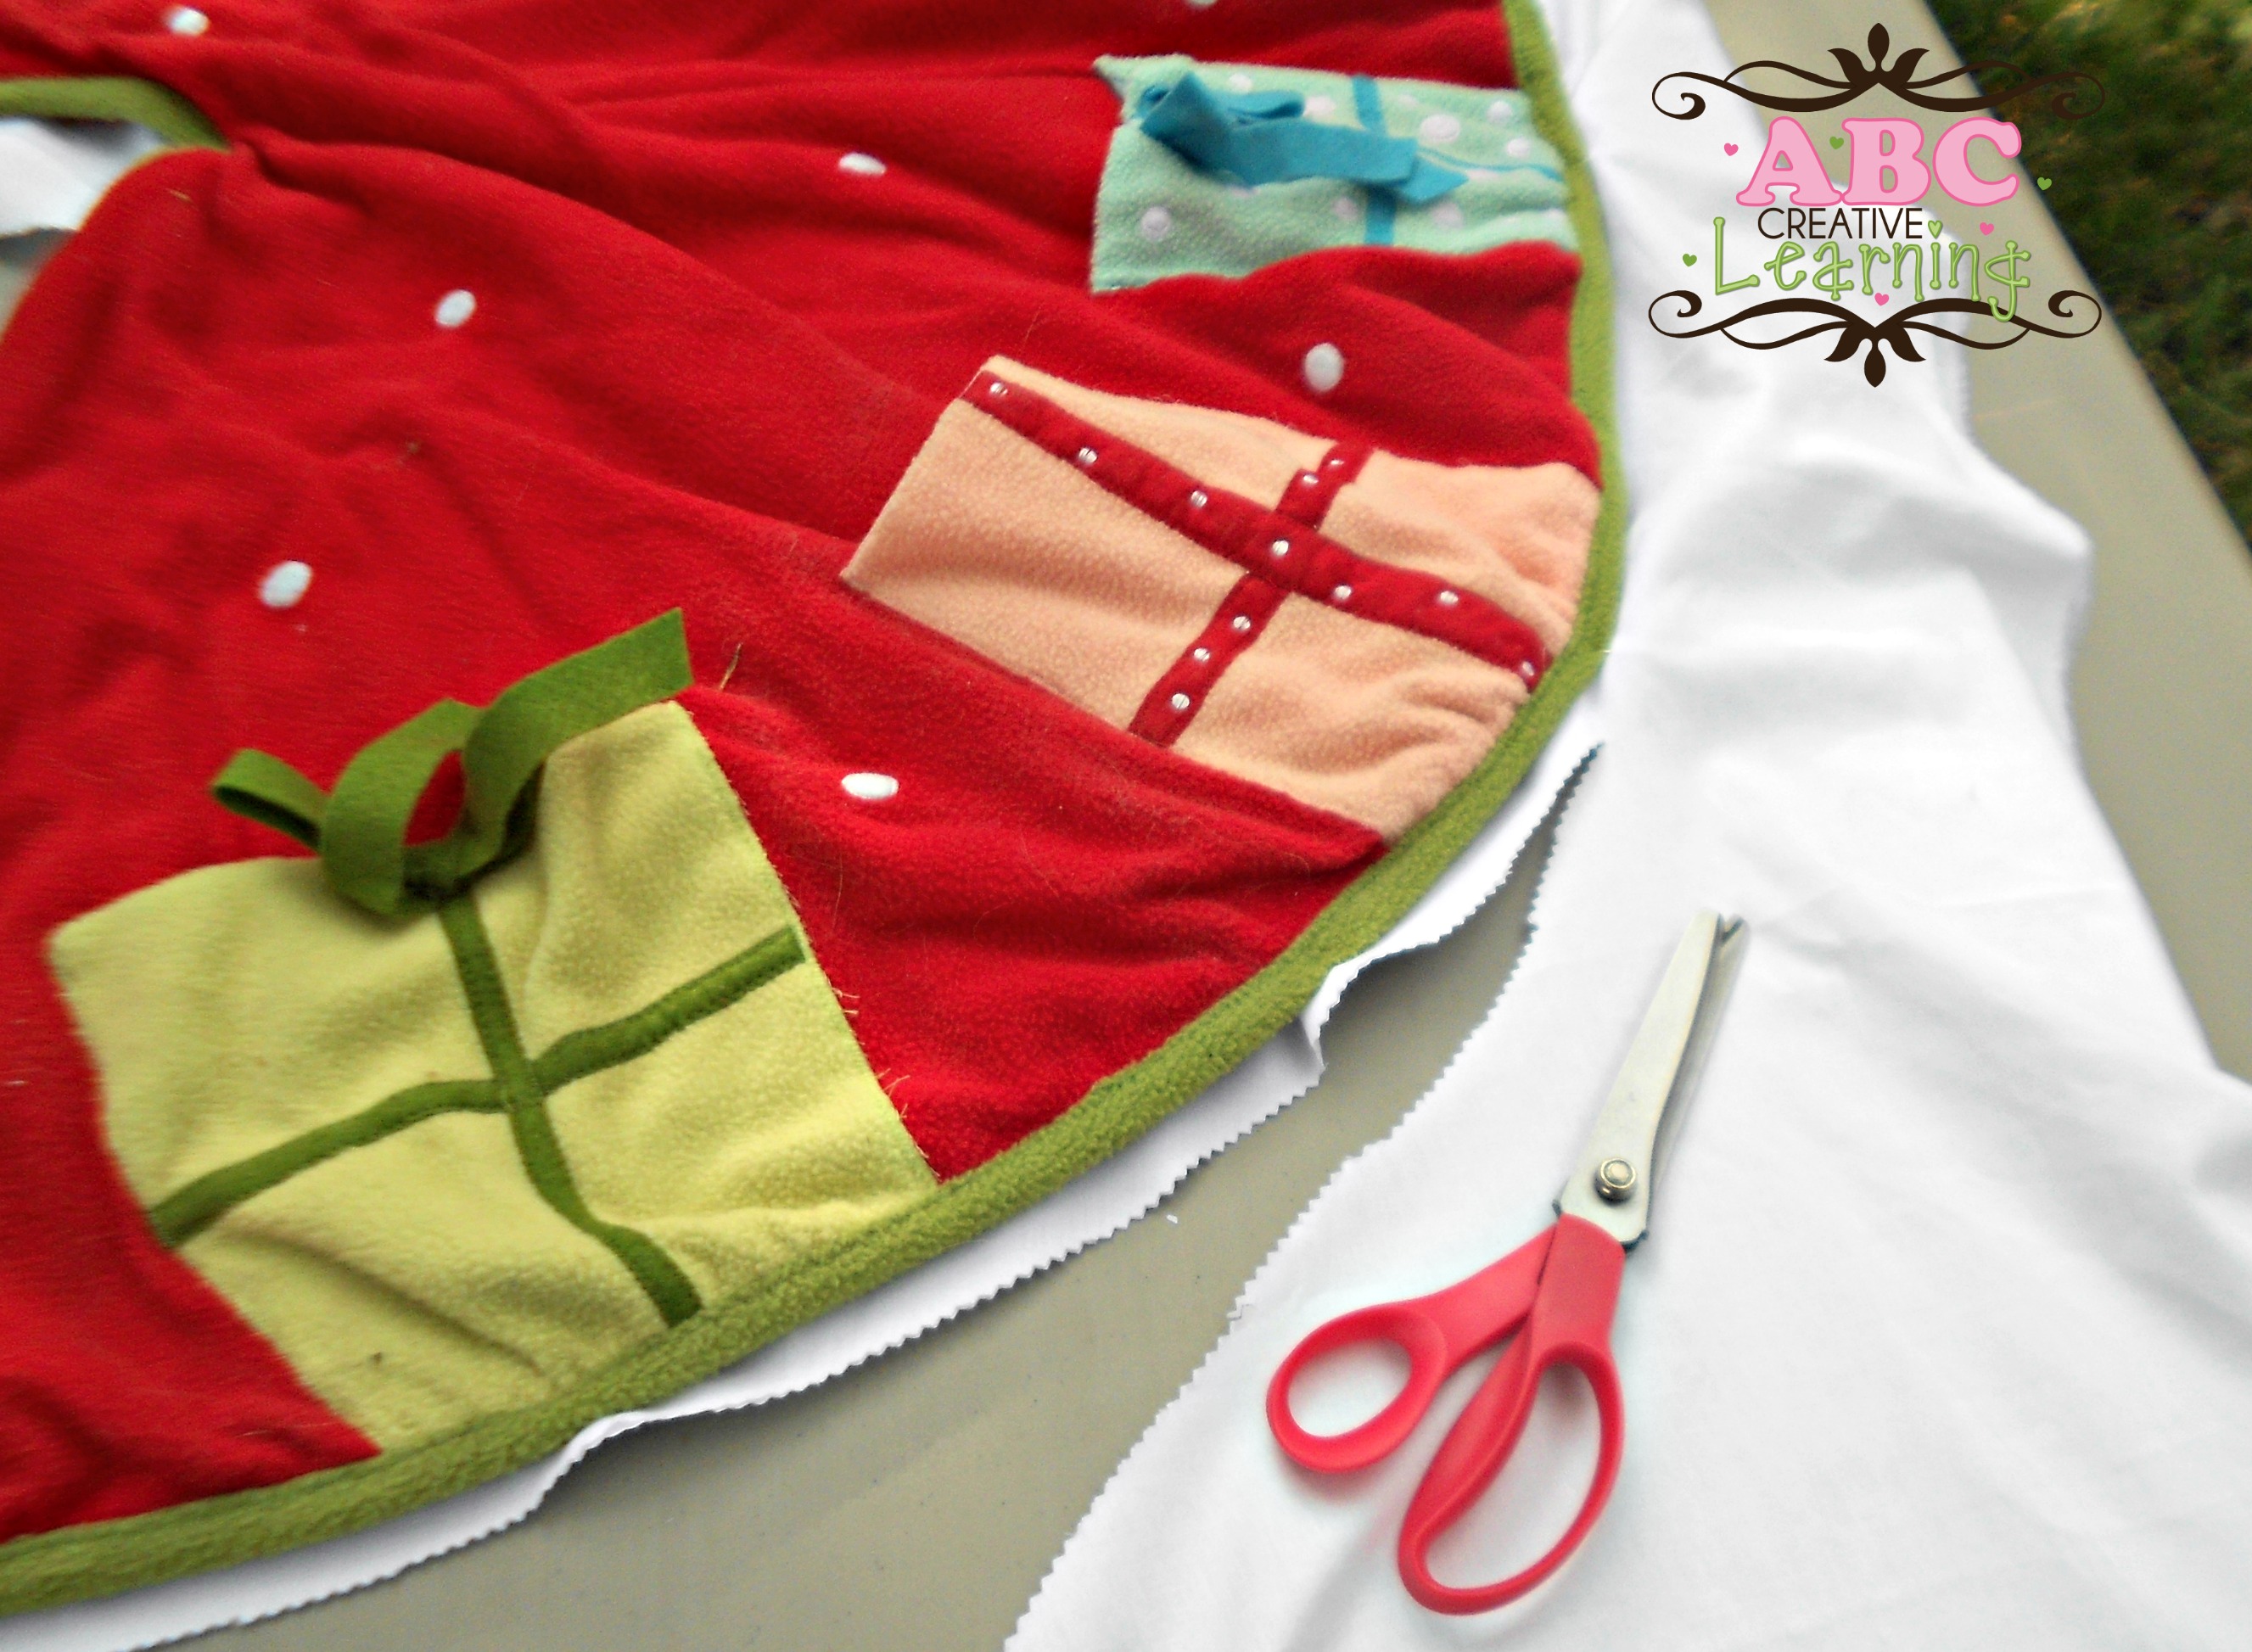
Step 1: Make your tree skirt base. The first thing to do is to either use an old tree skirt where you will lay your burlap on or cut out your muslin fabric for your tree skirt base. I almost used my old tree skirt but decided that it would bother me if I could see the red from underneath, so I opted with starting from scratch. I laid my muslin fabric flat on a surface and then laid my old tree skirt on top of it, using my old skirt as a pattern. I then simply cut around to make my base. You could also pin them together if they begin to move too much.
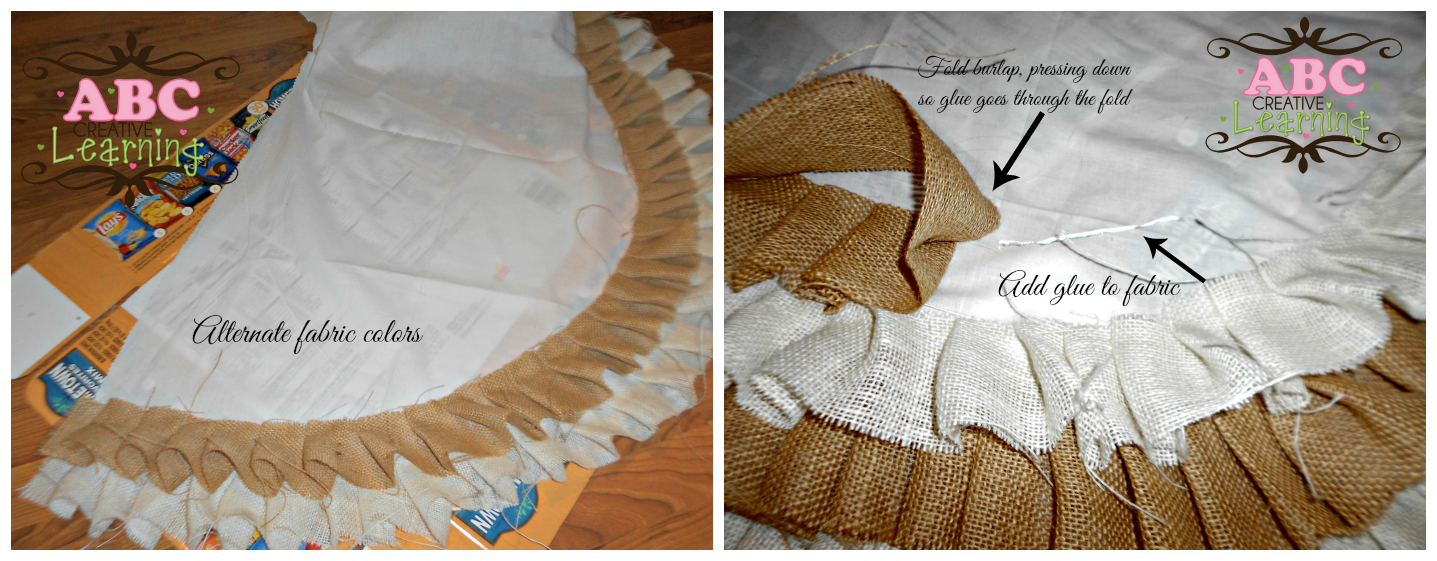
Step 2: Cutting your Burlap Strips. You can skip this step if you purchased the strips in a roll (definitely suggest purchasing burlap rolls). I simply laid out my burlap fabric and measured 5 inches in between, making cutting marks where I would cut the strips. As you can see I used a tan and light burlap fabric.
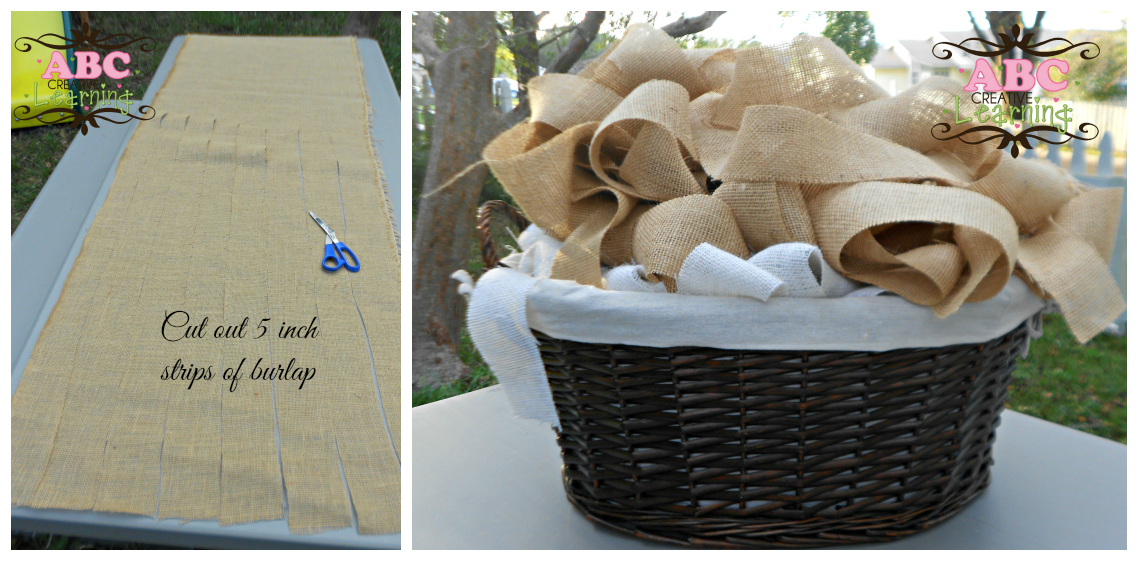
Step 3: Create your Ruffle Tree Skirt. The first thing I did was set a piece of cardboard on the floor, I then began gluing my burlap on one side of the muslin fabric skirt base. I also glued my first strip as low as I could on my base so that my skirt would look longer and fuller. Simply add a line of hot glue, fold your burlap, glue down, and press hard enough so that the glue penetrates through the layers. This is when your glove would come in handy. Do this all around your base, alternating if you are using more than one color fabric. The more layers of fabric you add, the fuller your skirt will look.
 Step 4: Add Ribbon to your Tree Skirt. I purchased a satin cream ribbon with a gold trim on it. Measure about 15 inches and cut out 6 strips of ribbon. Glue 3 pieces of ribbon on the left side of the tree skirt and 3 on the right side, where the opening meets. Wrap your Ruffle Tree Skirt around your tree and tie your ribbons into bows. I wished I would have taken a picture of the back of the skirt because it looks really girly and pretty 🙂

Step 5: Decorate your Christmas Tree and let everyone enjoy your amazing work!
Did you work on any special DIY Christmas Projects this year?


I am in love with everything burlap and I am in love with this tree skirt! Great tutorial! Thank you for sharing this at the In and Out of the Kitchen Link party. I am off to pin this!
I am too! Love everything burlap 🙂 Thank you for stopping by!