Post contains affiliate links.
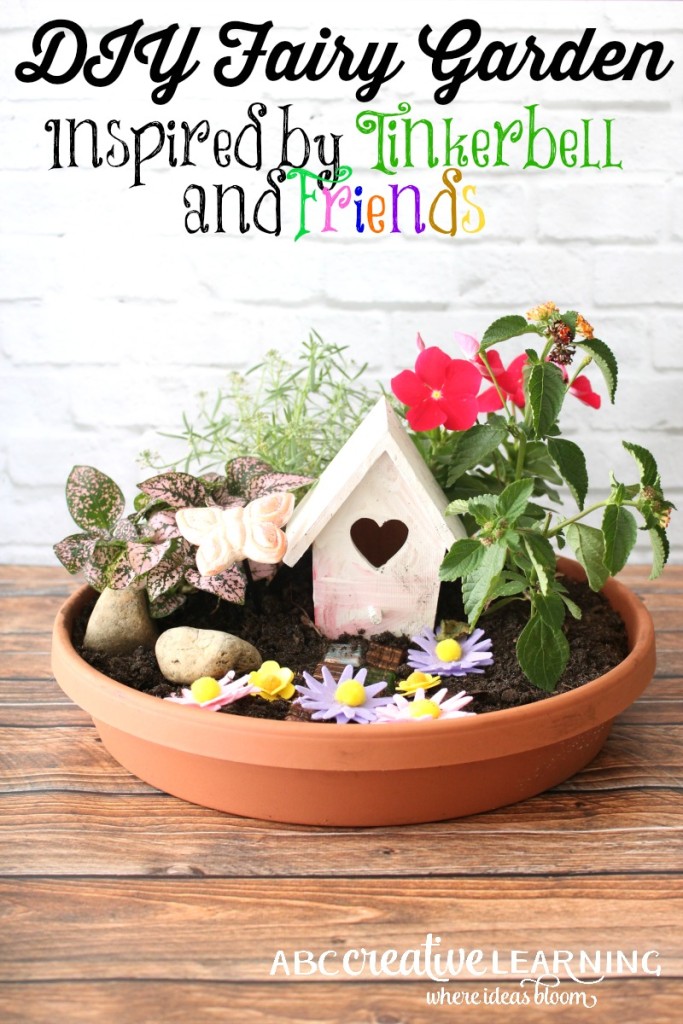
Our home is a huge Disney fan and I say home because that includes my hubby and myself. We are such big fans that the girls own every single Disney animation movie and I have a few collectibles myself. With Spring here and Earth Day being next week the girls wanted to create something with plants, but of course it needed to be inspired by our favorite Disney Fairies! Check out our super fun DIY Fairy Garden Inspired by TinkerBell and Friends!
DIY Fairy Garden Inspired by Tinkerbell and Friends
Materials Needed to create your fairy garden:
- Large pot dish
- Soil
- Your favorite flowers
- Small bird house with opening (you can find these at JoAnn or Michaels)
- Acrylic paint and paint brushes
- Special decorations (rocks, marbles)
- Pixie Dust (glitter)
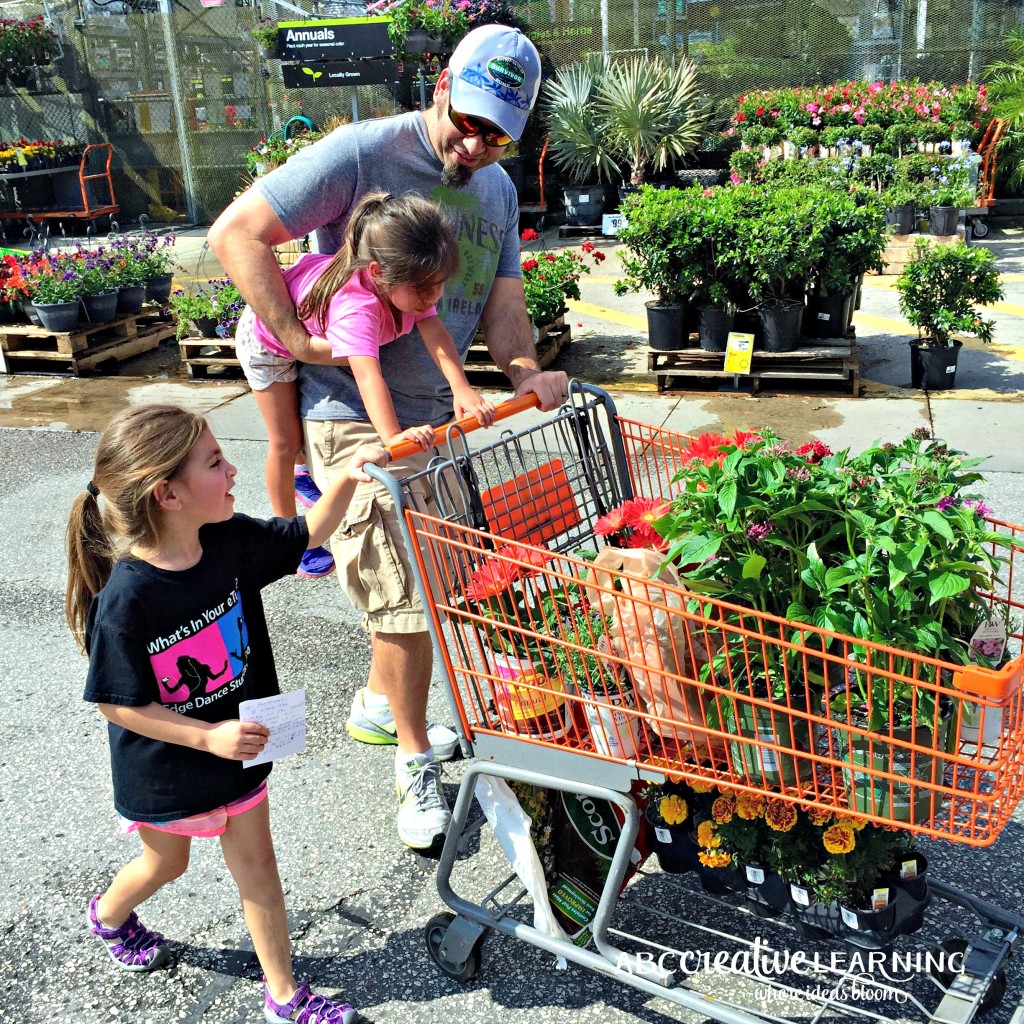
I don’t know about your kiddos, but my girls love going to Home Depot! They think it’s a fun place we go to for materials and supplies when mommy is planning something messy! On this special Home Depot trip, we purchased all of our Fairy Garden materials. Plus, as soon as daddy found out where we were going he was in the car before the girls!
After a fun morning at Home Depot we were ready to start our Fairy Flower Garden!
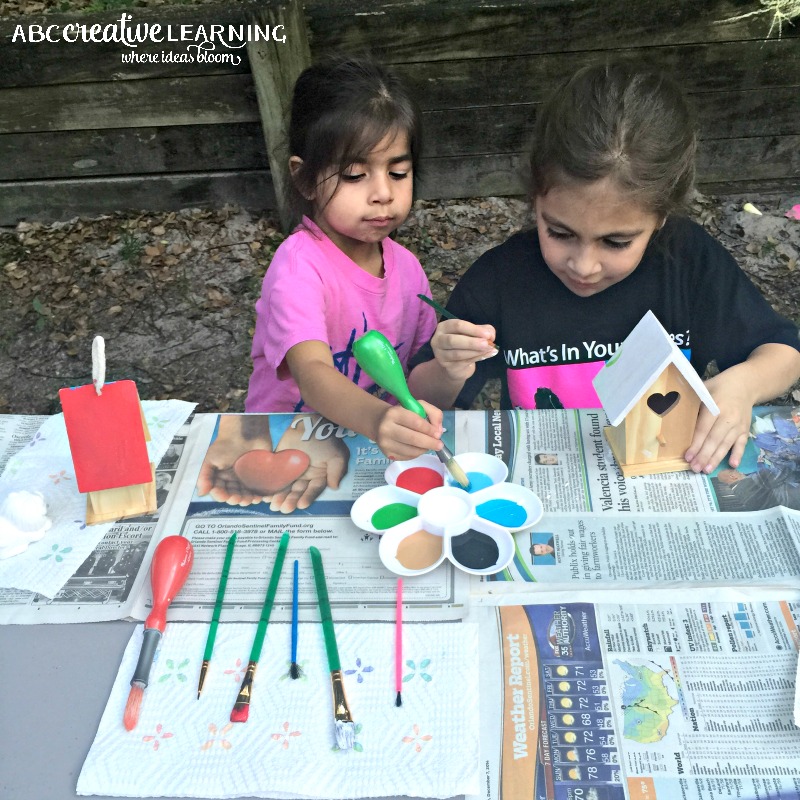
Step One: The first thing you want to do is paint your fairy house, so that it has enough time to dry before adding it to the garden.
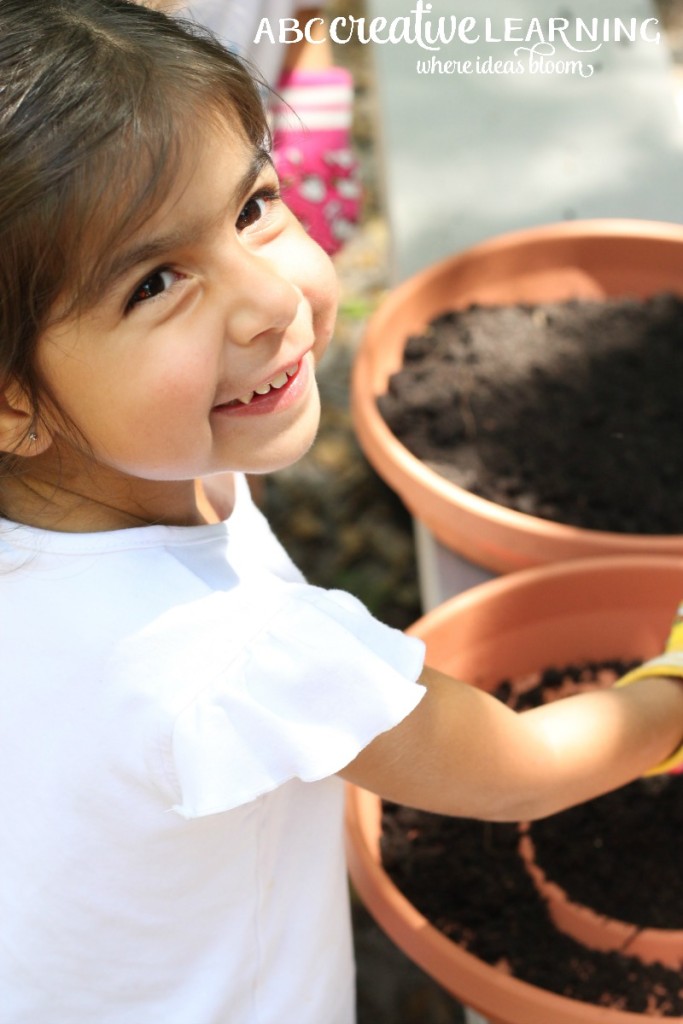
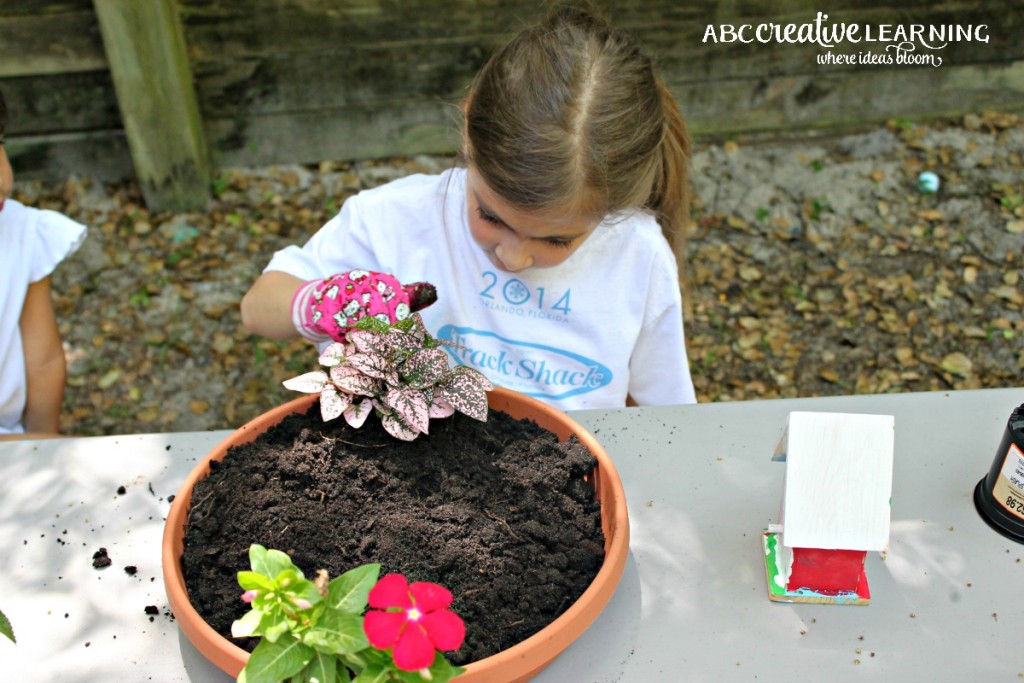
Step Two: While your fairy house is drying, begin planting your garden using the potting dish. Add soil half way up the dish to give you room for planting. You can then go back and add more soil around the plants to make sure that they are secured.
** If you want your dish to have drainage on the bottom, just drill several holes with a drill.
Step Three: Begin planting your flowers. Make sure to leave room for your fairy house.
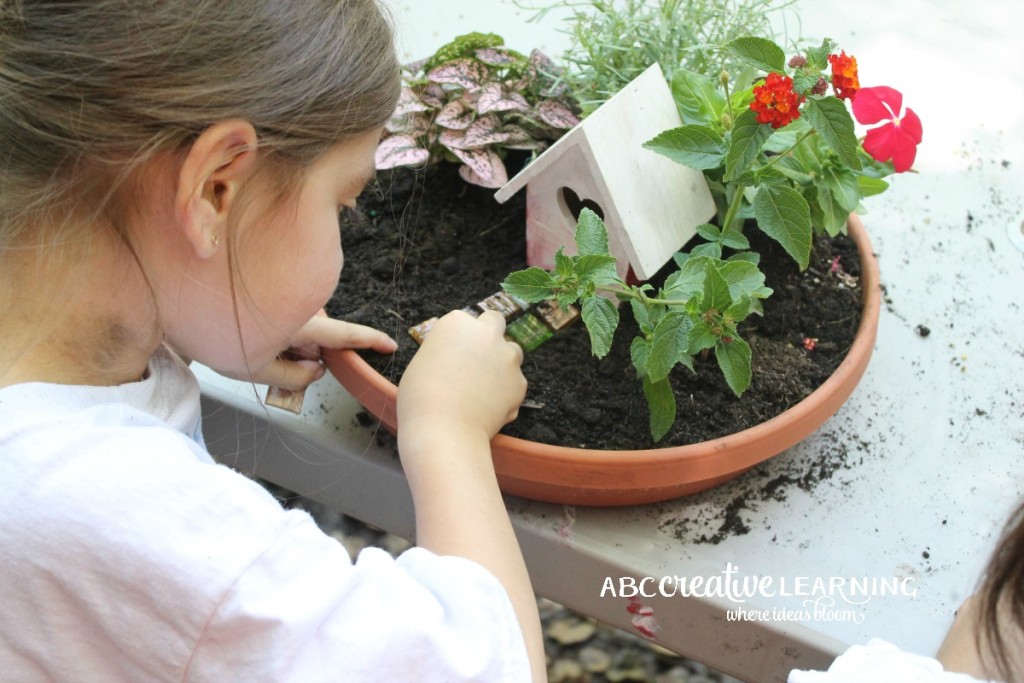
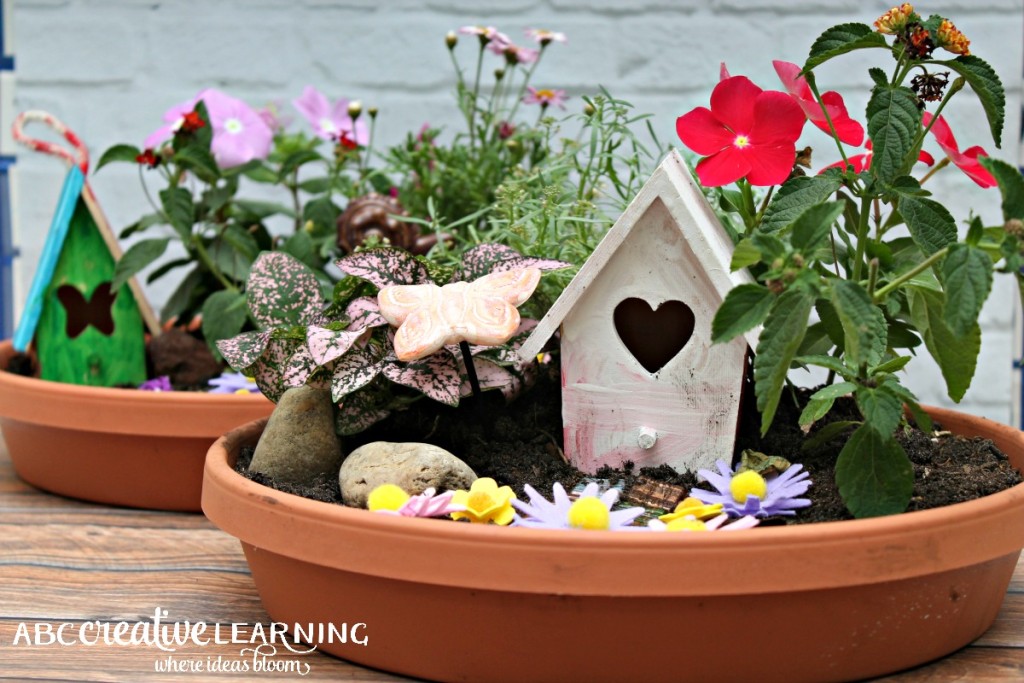
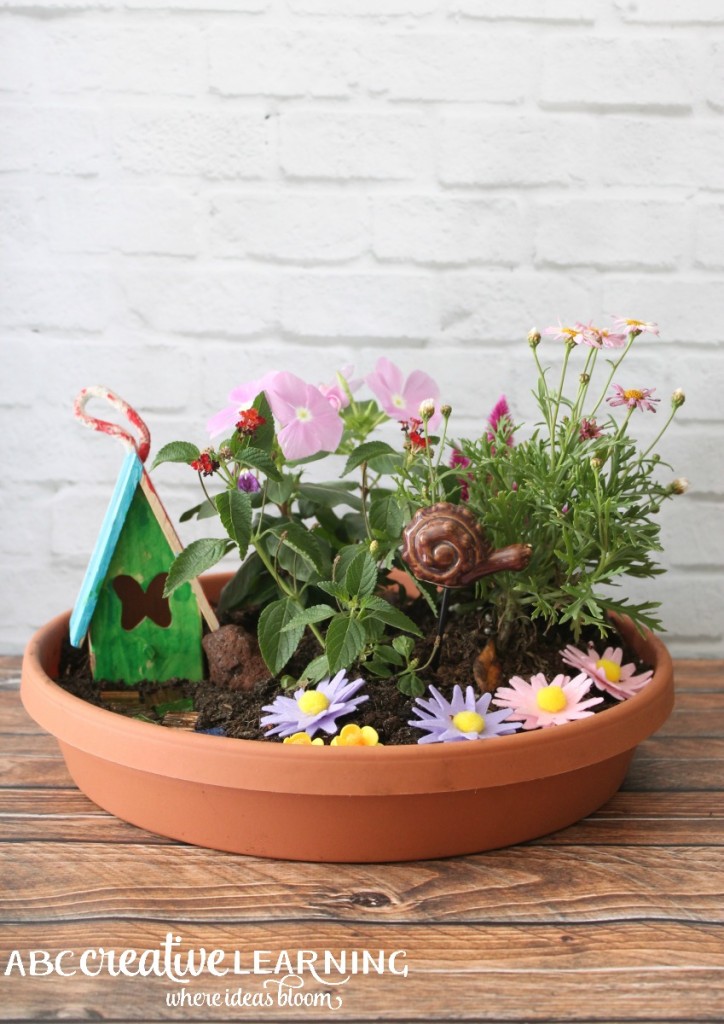
Step Four: Add your fairy house and decorations like marbles, flowers, rocks, or lost things 😉 Anything, you think your fairy might love to have in their home.
Step Five: Once you have completed adding everything to you fairy garden, all that’s left is Faith… Love… and a little bit of Pixie Dust! In a small container or baggy add some gold glitter and have your child sprinkle a bit over the fairy garden as pixie dust! My girls absolutely loved this so much!
Step Six: Water your garden, give it lots of lights, and love! Hopefully you’ll see a fairy move in soon!
I also have a special surprise for all of my readers! I was waiting to get this post shared so that I can Giveaway a Blu-Ray + DVD + Digital HD of Disney TinkerBell and the Legend of the Neverbeast!
Enter to win by entering the Rafflecopter below! The winner will be randomly selected and will be notified by me, ABC Creative Learning via email and posted here. This giveaway is open to all entrants aged 18 and over that has an U.S. mailing address.
By entering this giveaway you are also acknowledging that you have read and agree to all of the disclosures found here.
Who’s your or your child’s favorite fairy friend?



So cute!
I would love to do a fairy garden with my girls this year. Thank you for sharing your ideas! I just bought 3 of those little craft birdhouses that I could let my girls decorate and we could use. =)
Wonderful! They will have so much fun making them!
Hi,
Hopefully, you will still see this! What size is the dish for your planters. They look like “saucers” that go under planters?
Thank you.
Sue
Hi Sue! Yes, I can’t remember the size, but I just got saucers large enough for the pots to sit on for when they get watered. Hope that helps 🙂